Santa’s Workshop at the North Pole and Reindeer Games
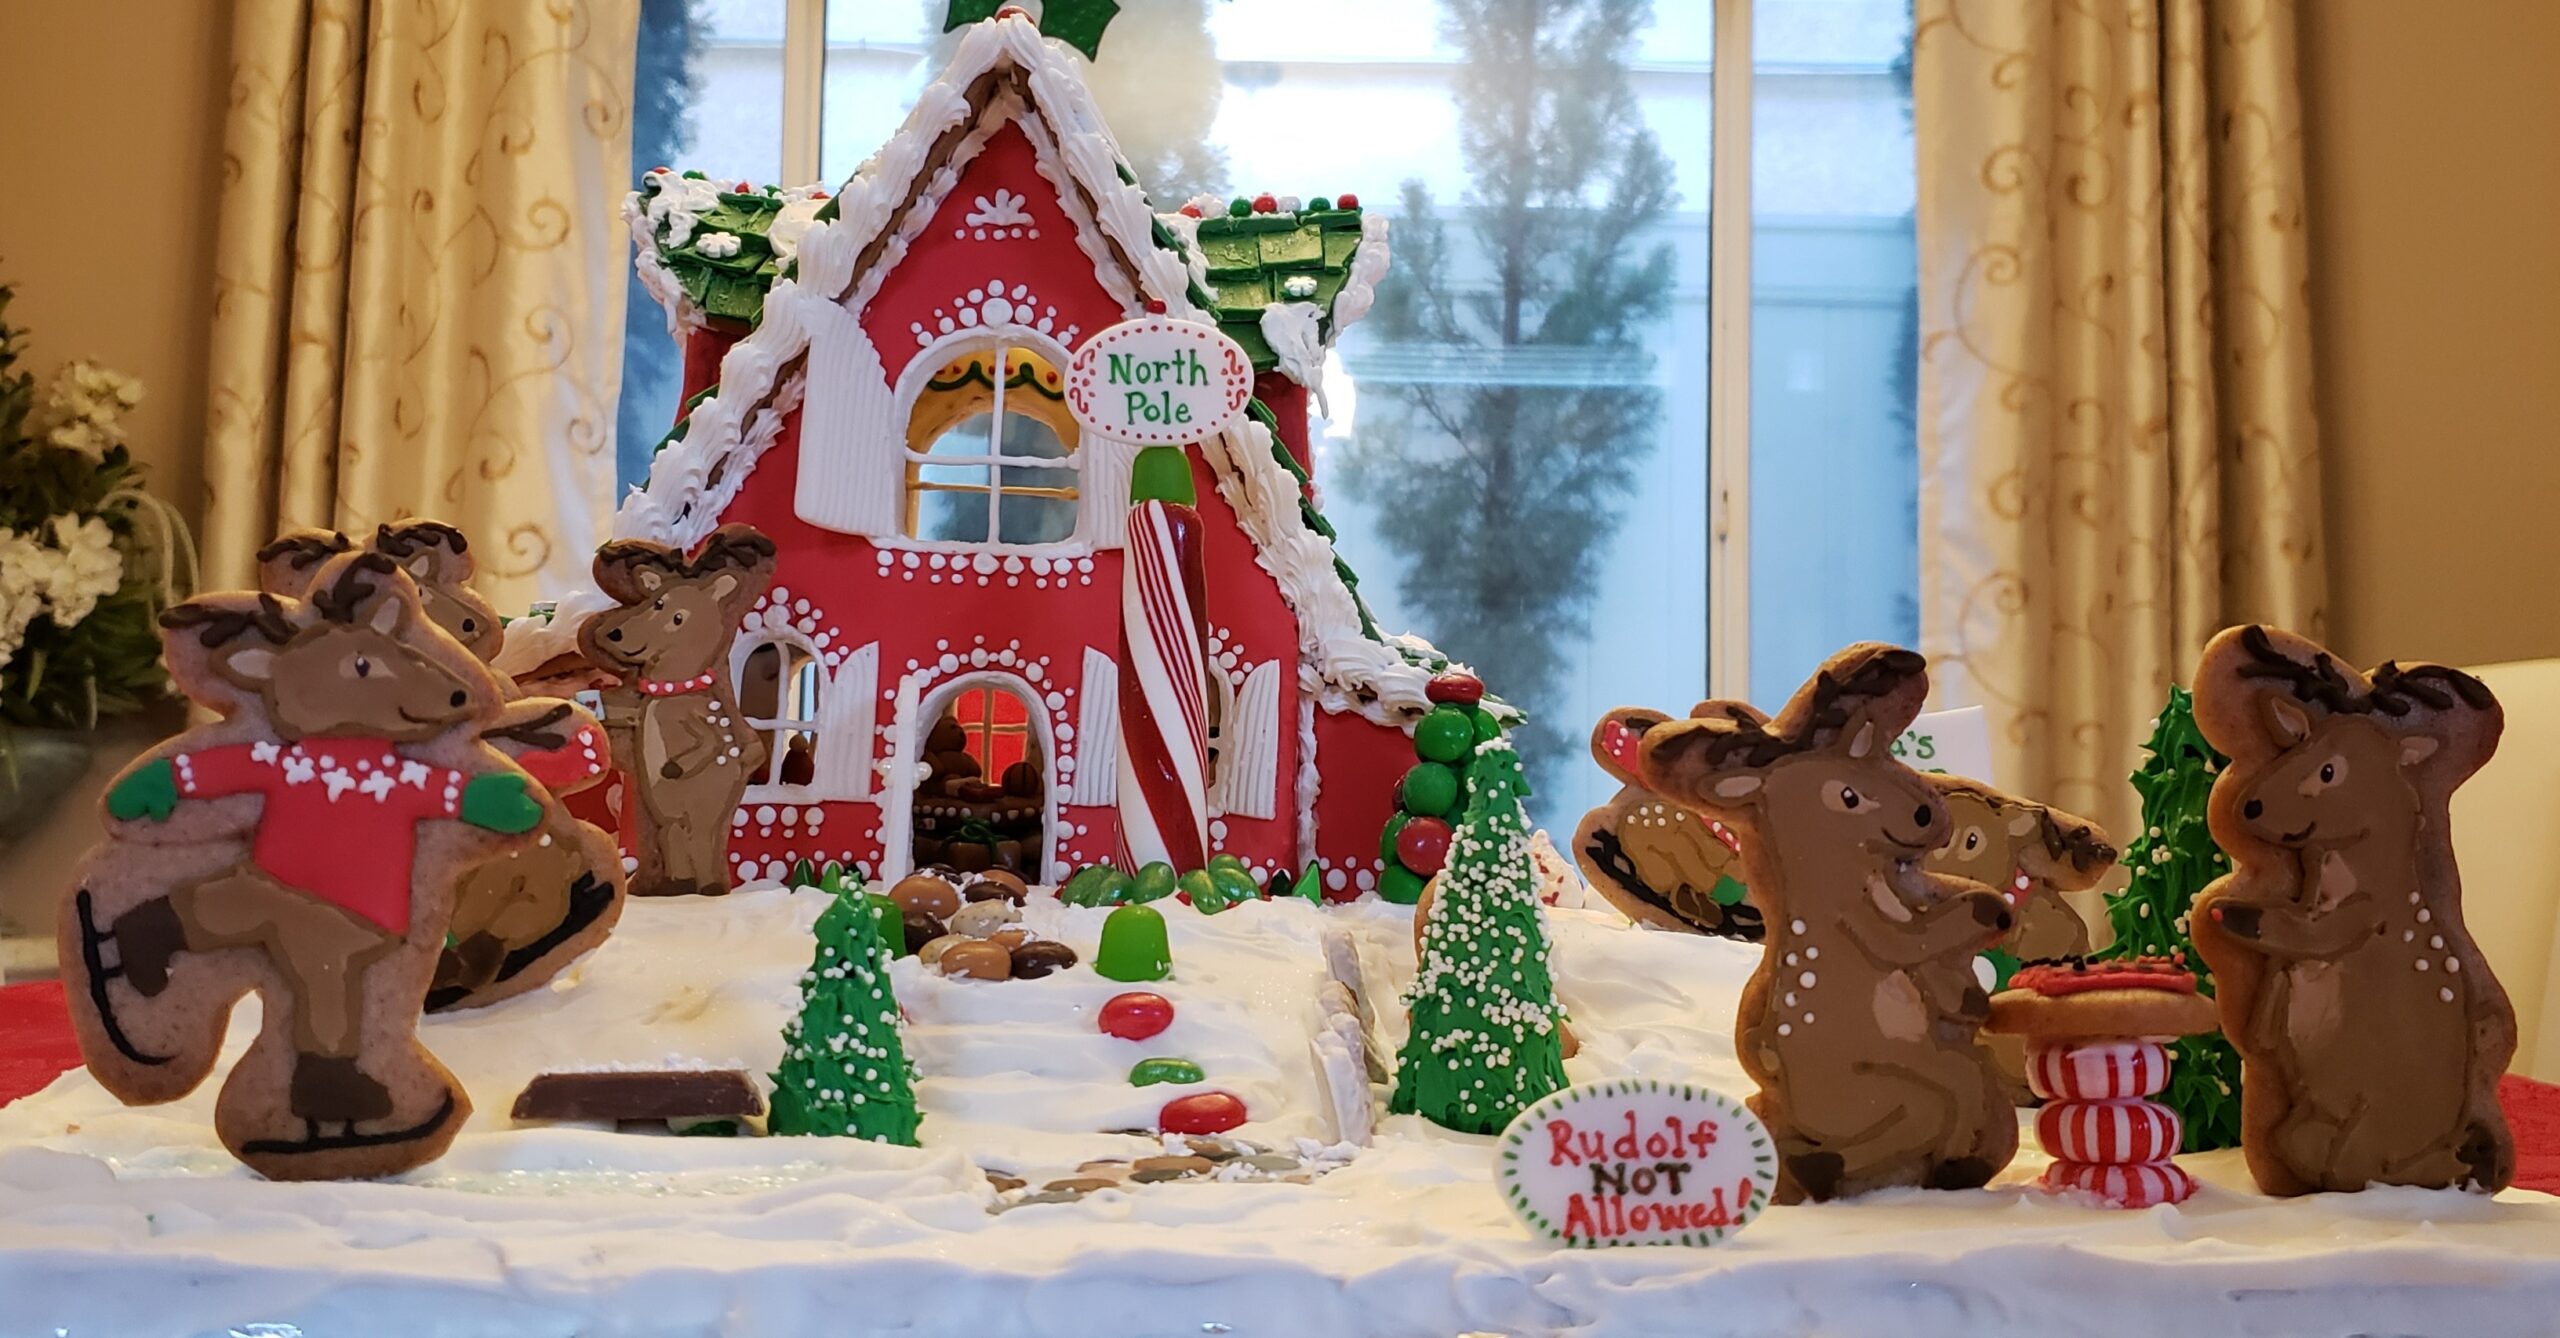
This is our 2021 gingerbread house. I loved Garrison’s idea of the reindeer playing all kinds of games! Notice the sign: Rudolf not allowed!
Here’s how we did it…
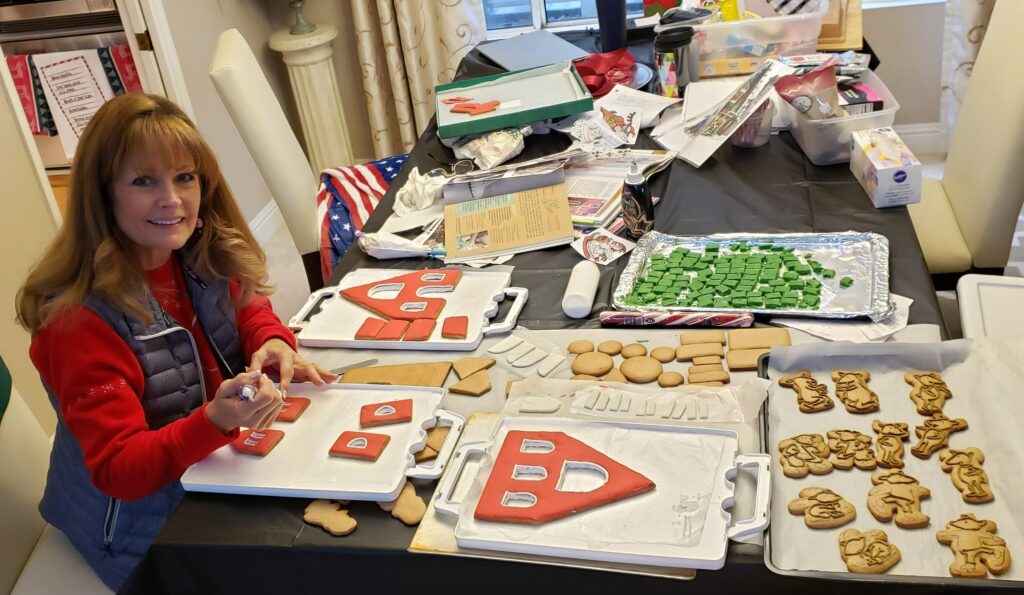
Once we decided to make Santa’s Workshop, we used freezer paper to design and cut out the shapes of the house. The chilled dough was ready to roll and bake.
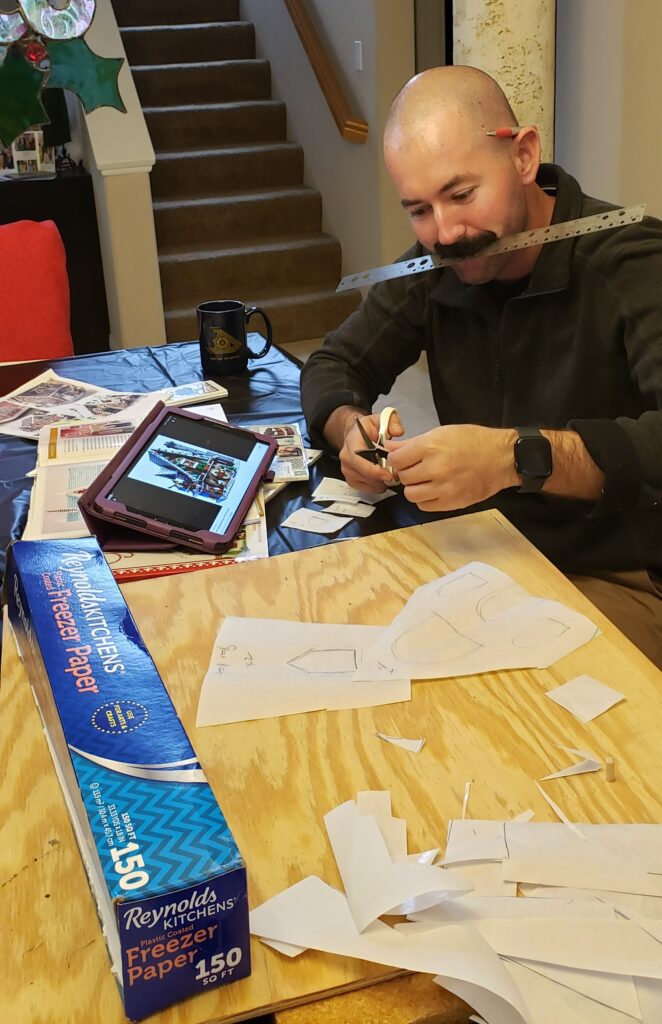
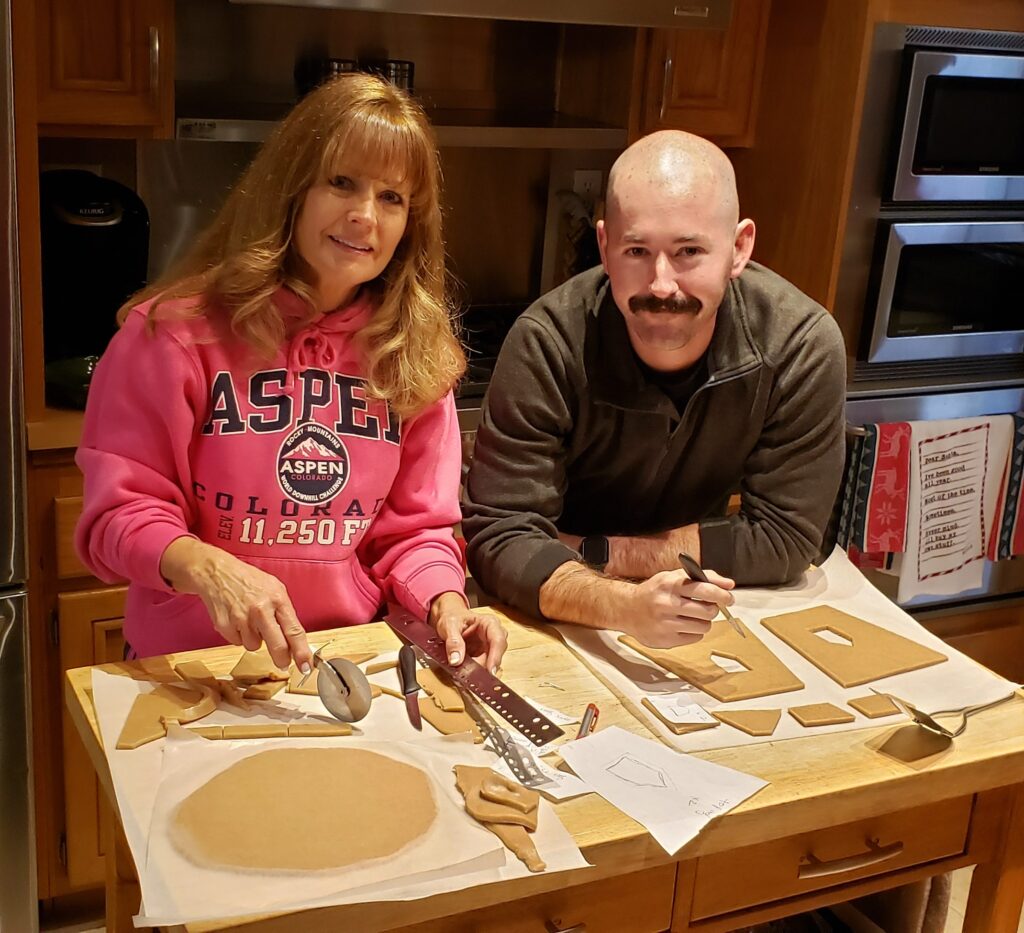
When the pieces are baked, they tend to round out, so we use a large metal file and a belt sander to square out the gingerbread pieces.
We play the “gingerbread guessing game” with my family each year by texting clues each day to see if they can guess what it is going to be. Here was the first clue:
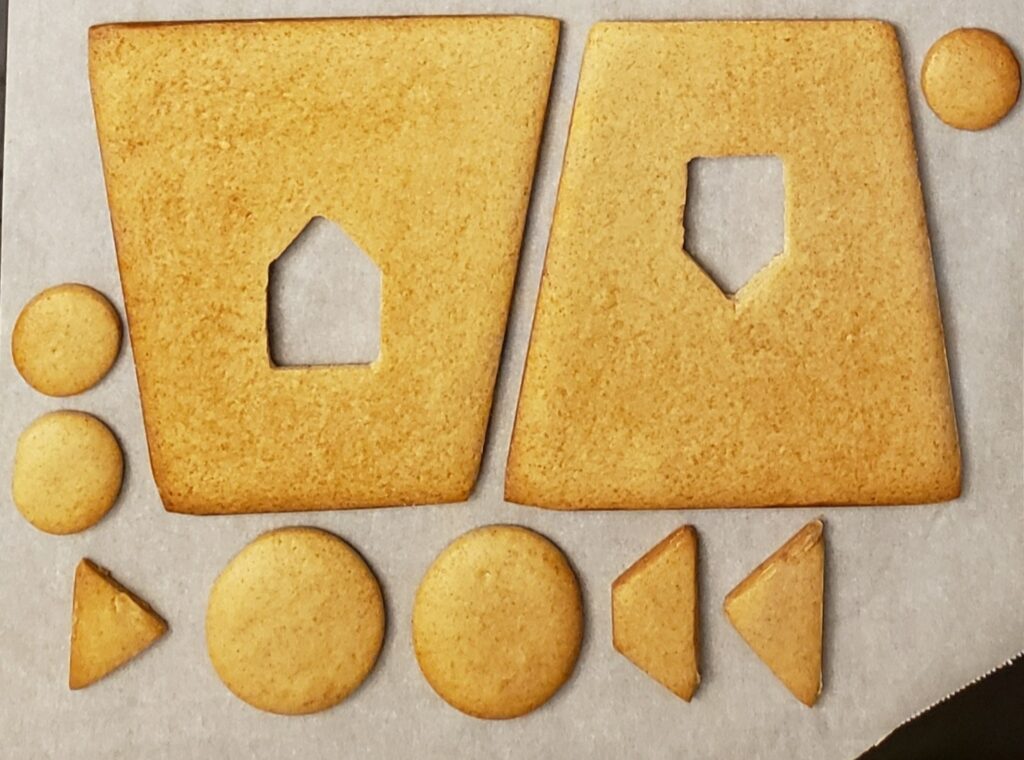
Each day I sent out more and more clues, so by day five, this is the clue with all the cut-out pieces:
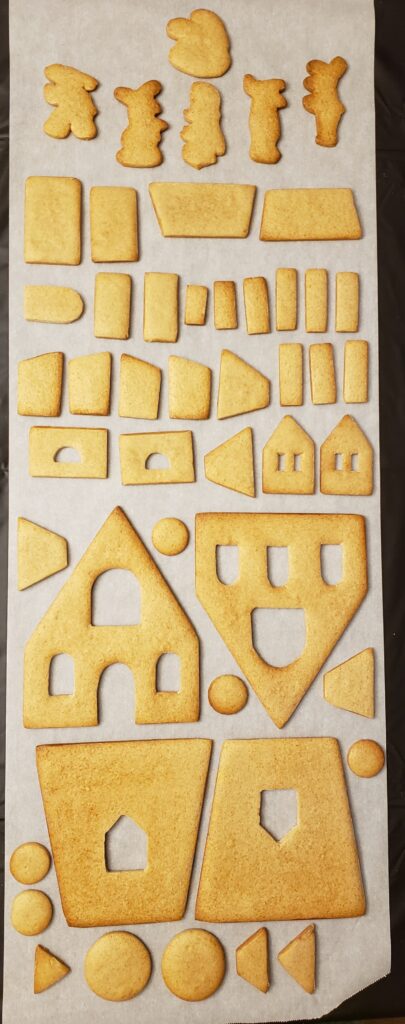
On day 5 we had a winning guess! Then I revealed the rest of the photos so they can see the end result.
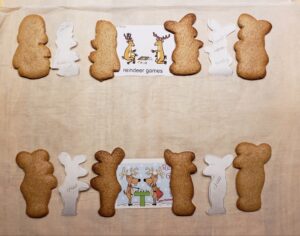
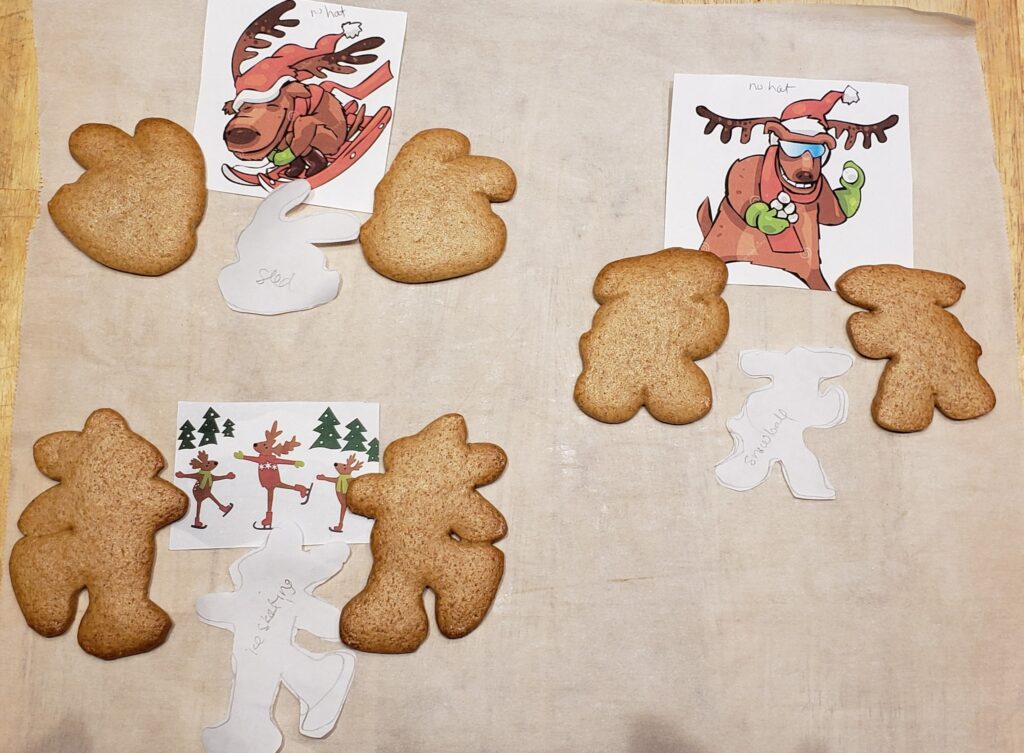
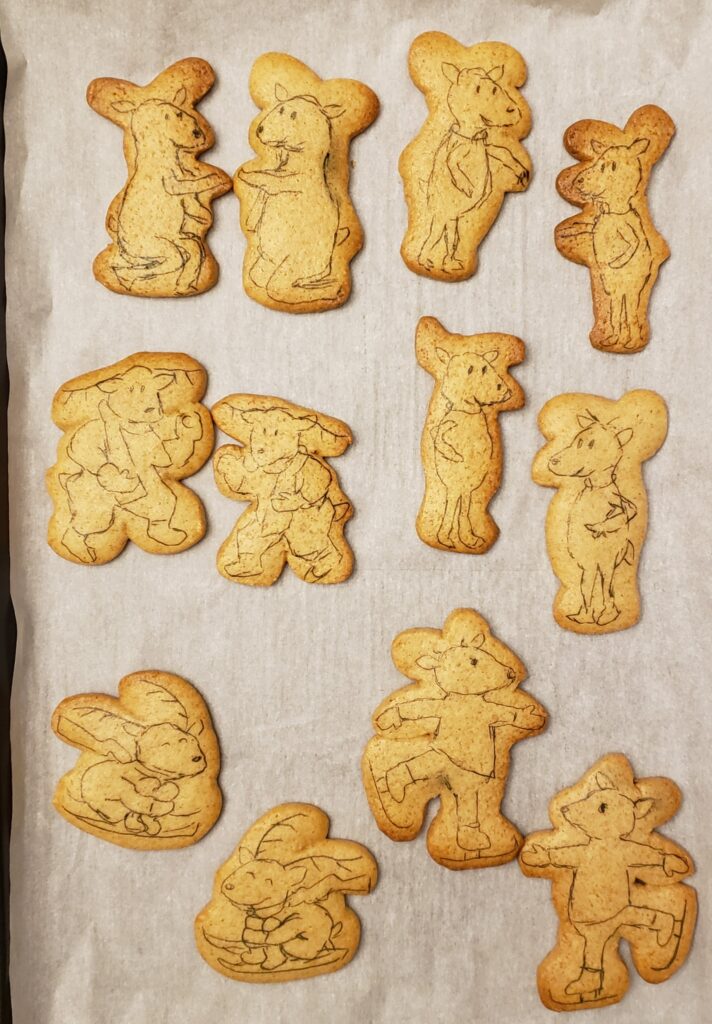
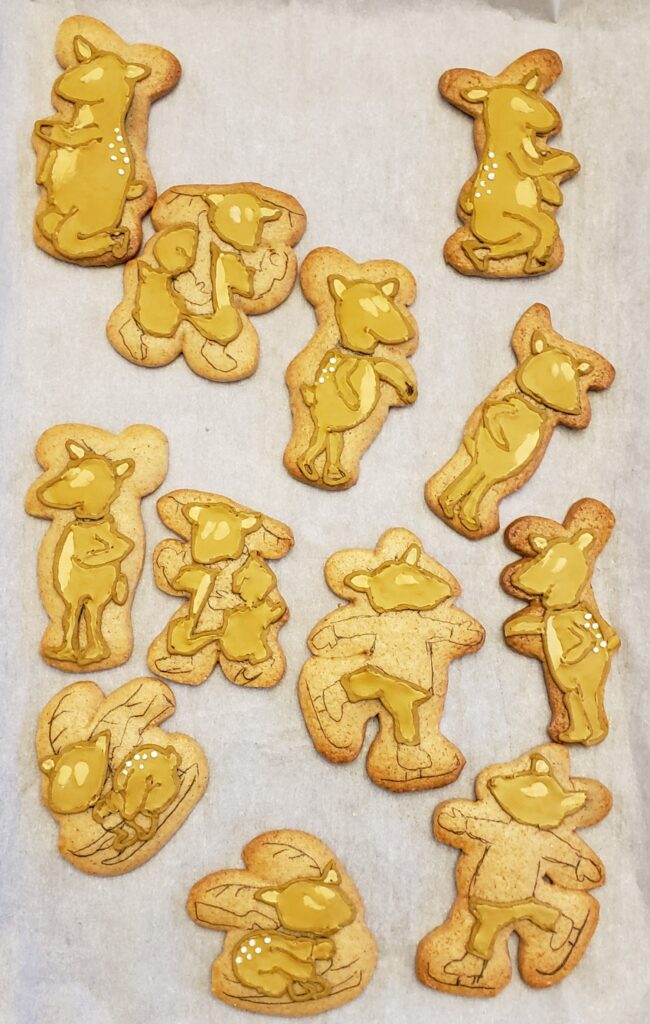
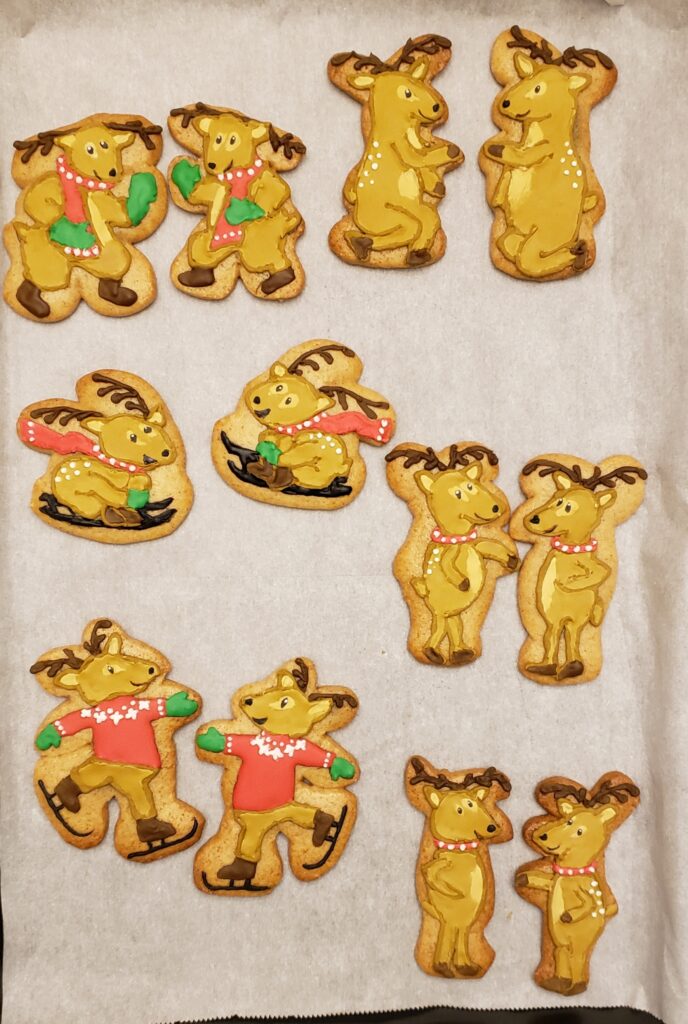
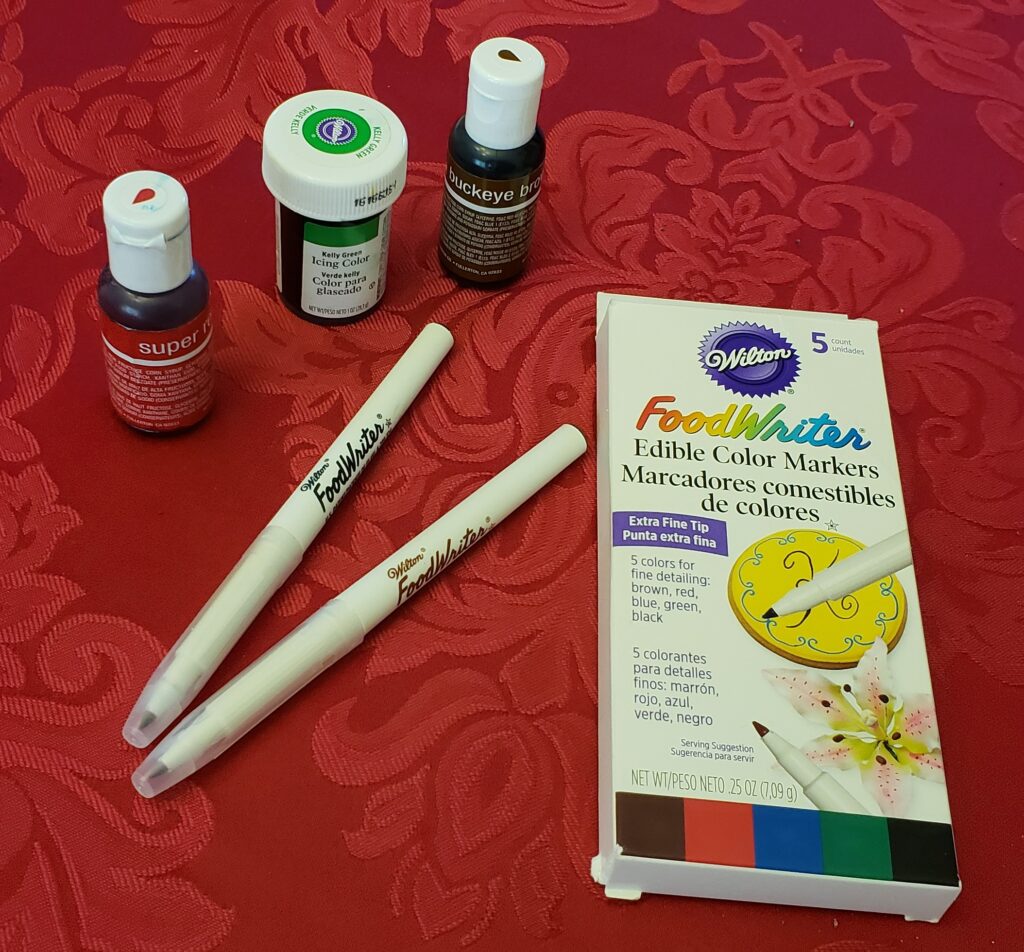
Here are the reindeer taking shape. I took some ideas from the internet and cut out basic shapes. I used edible food markers to draw the reindeer in and then filled it in with flow icing and piping.
Here’s a new gift I received for Christmas: a battery powered sifter! This was AMAZING to make royal icing! I always sift the powdered sugar so clumps don’t form at the end of the little decorating tips. The battery powered sifter takes less and a minute to sift 2 cups of powdered sugar!

If there is a lot of detail on the outside of the gingerbread house, I find it’s easier to decorate them flat on the table rather than after they’re assembled. Yes, I take over the whole dining room table!
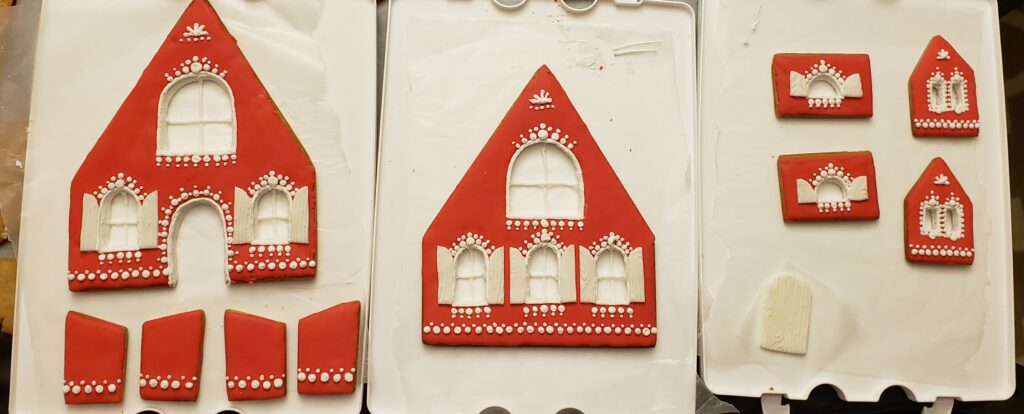
After the flow icing is dry, they are ready to assemble using piped royal icing as “glue” on the edges and bottom.
Now I can decorate inside the workshop. Remember, everything is edible (other than a few wooden dowels as stabilizers). The inside floor and toys are made of edible fondant.
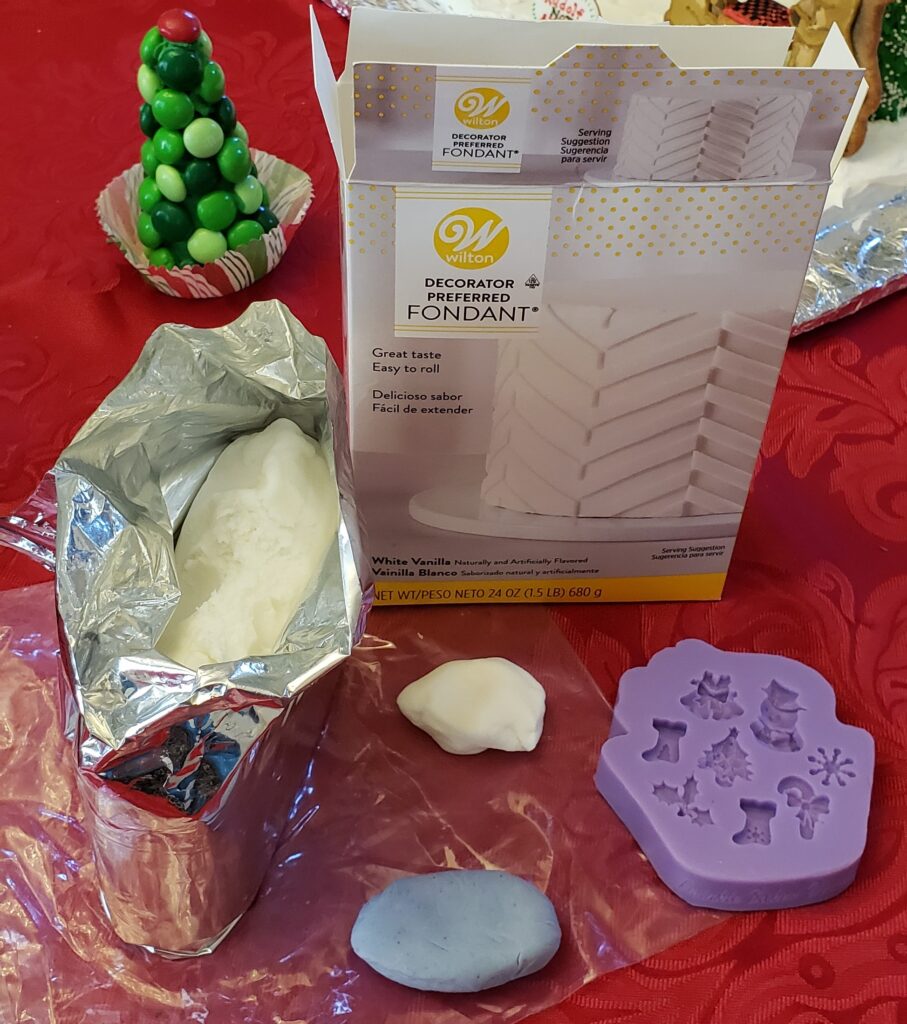
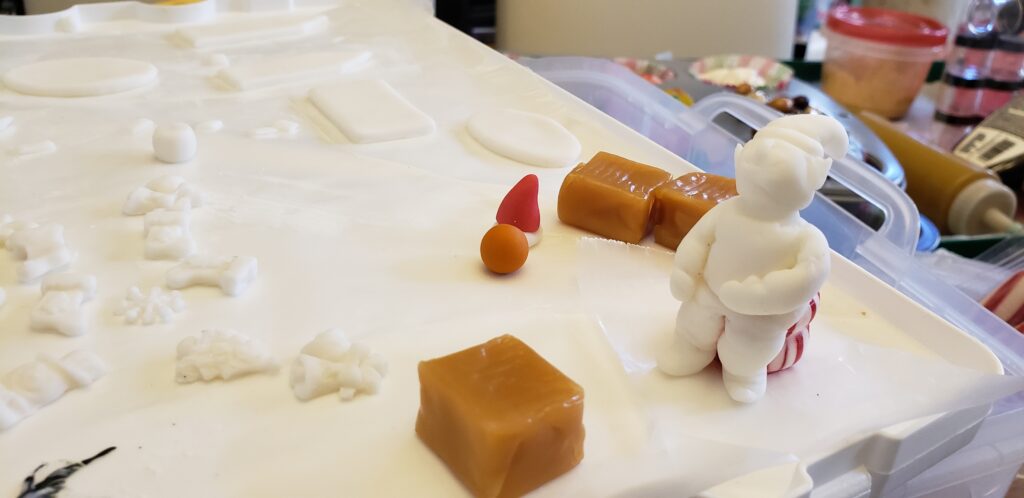
I used molds for some of the tiny toys but the teddy bear and elf were made free-hand. Once they’re dry they can be painted with edible color gel.
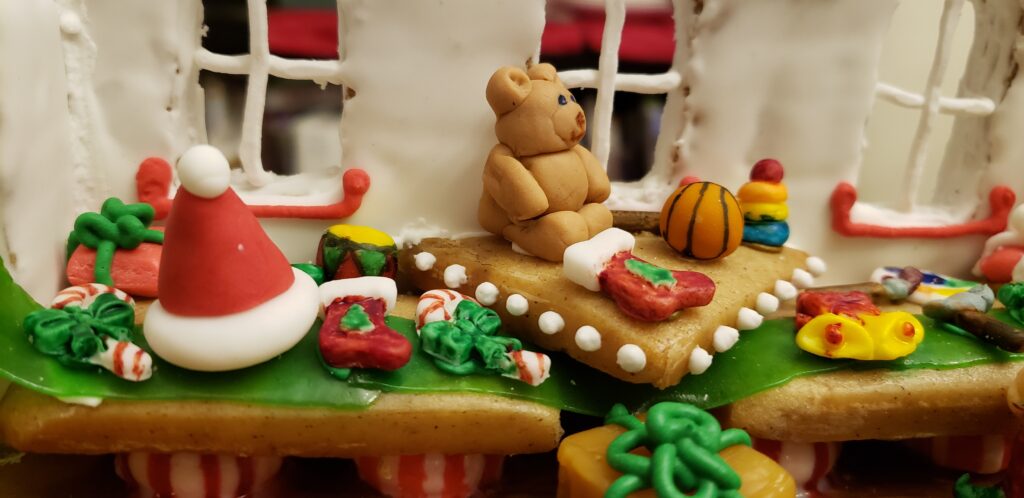
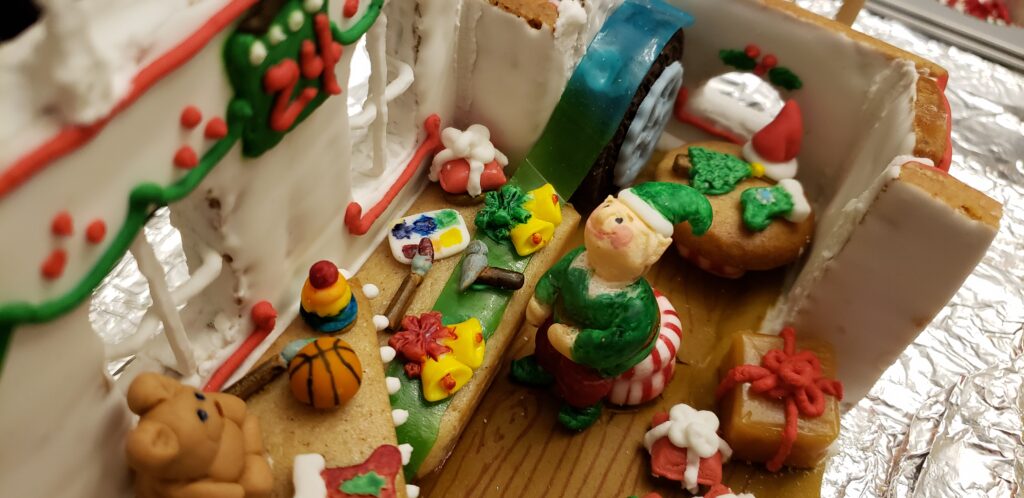
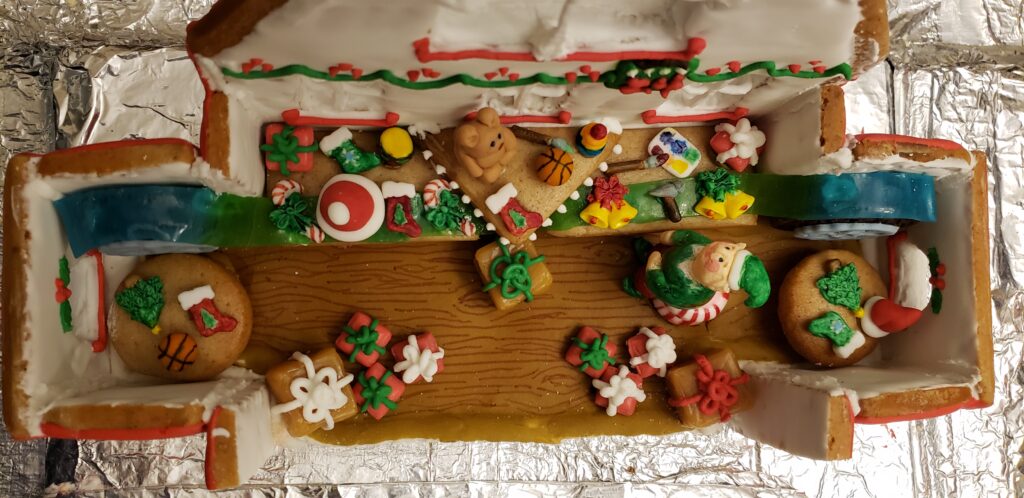
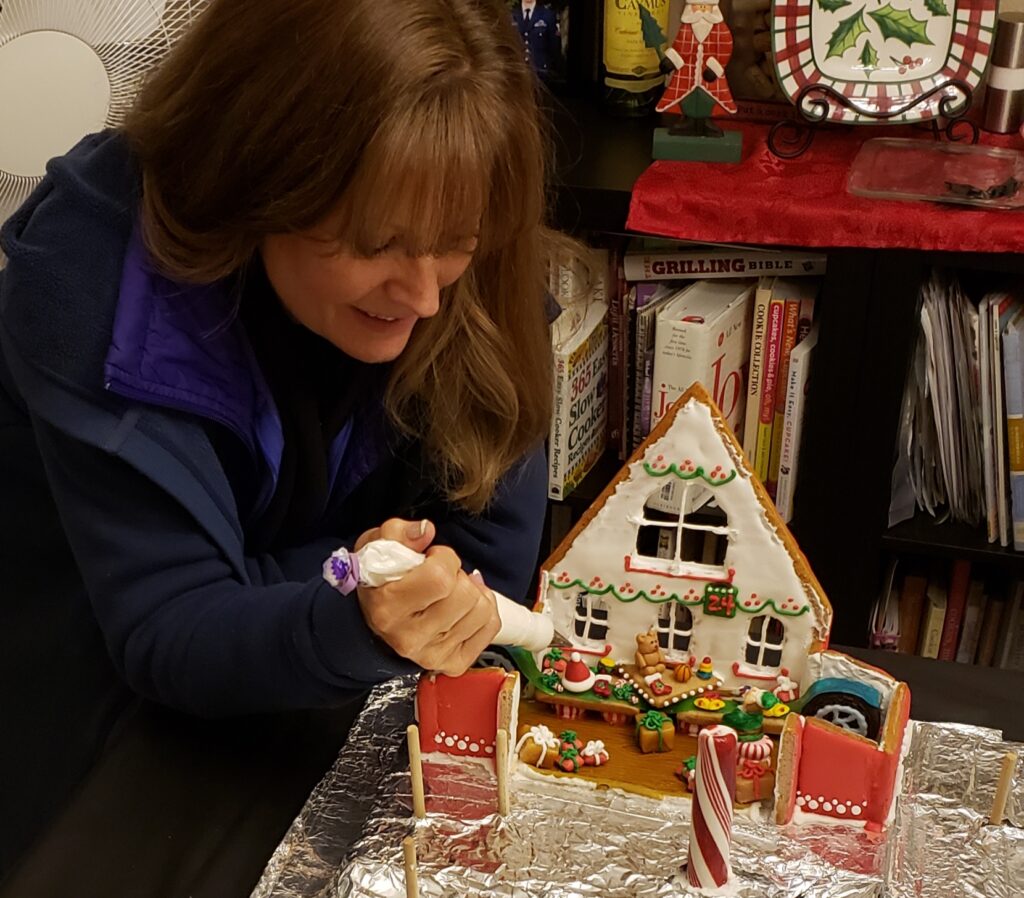
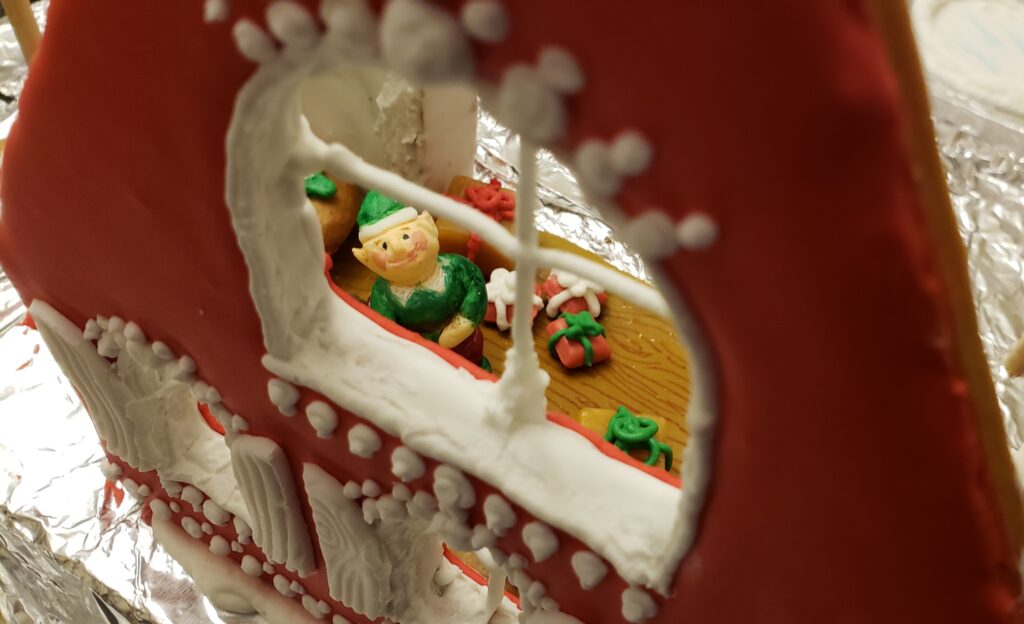
After the inside is complete, I add the front of the house and let it dry overnight to harden. The heavy food cans assure the pieces don’t move as they dry.
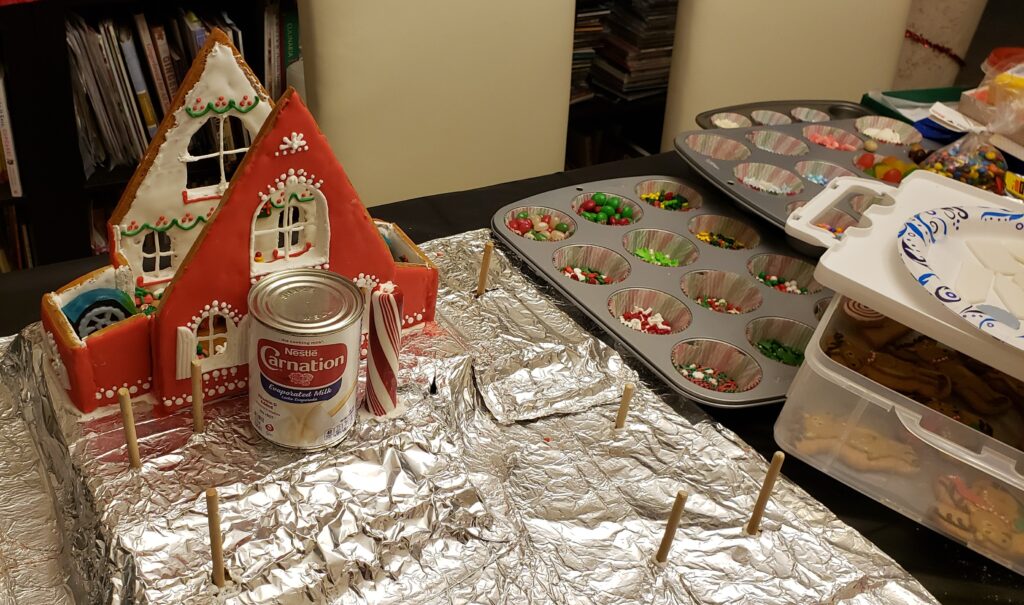
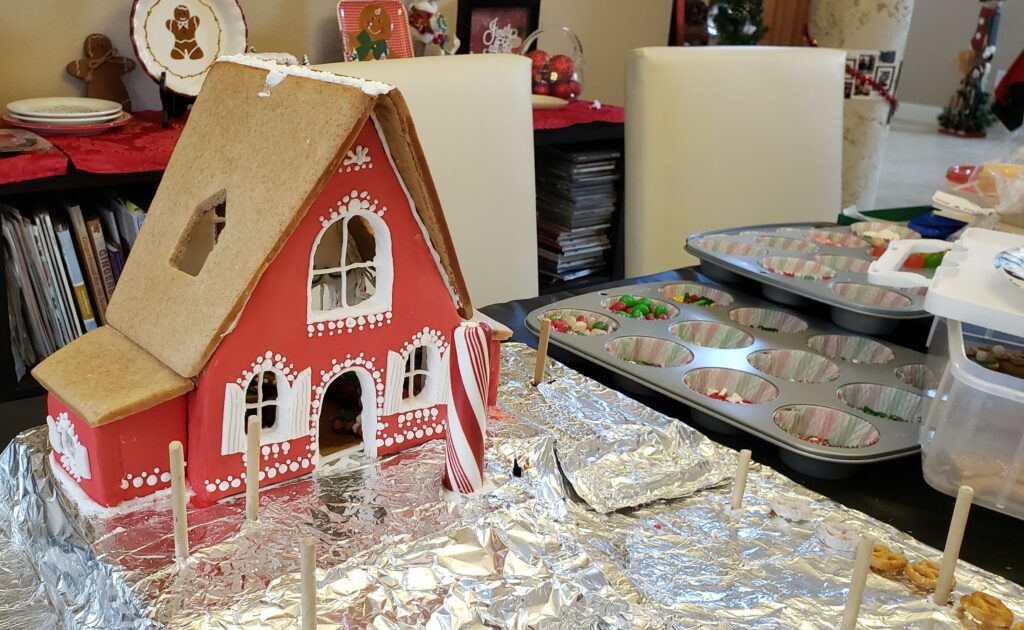
The roof is next and the little lights are attached to the top inside of the roof (sorry I didn’t think to take a photo of that).
The custom shingles were made from melting green and yellow candy melts then smoothing them onto a foil-lined cookie sheet. They dry very fast, so I scored them into shingle size pieces before they dried.
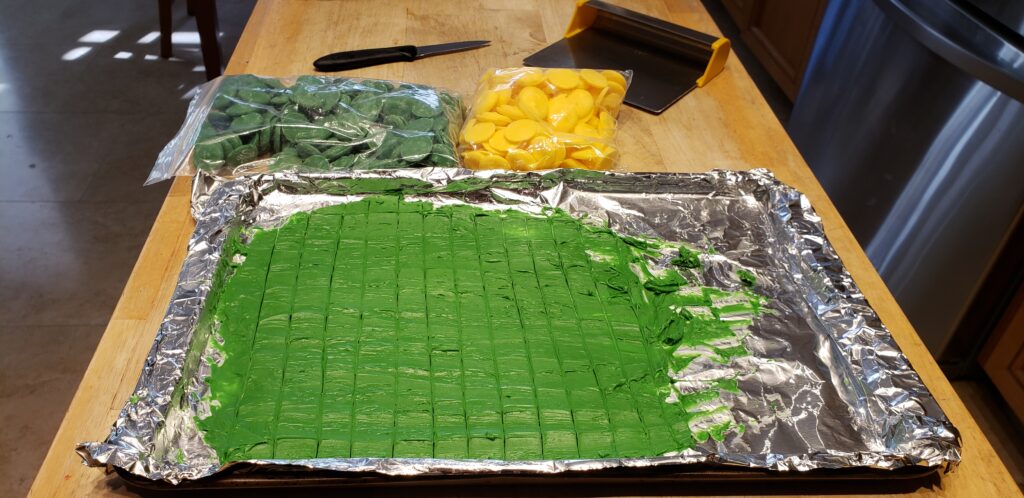
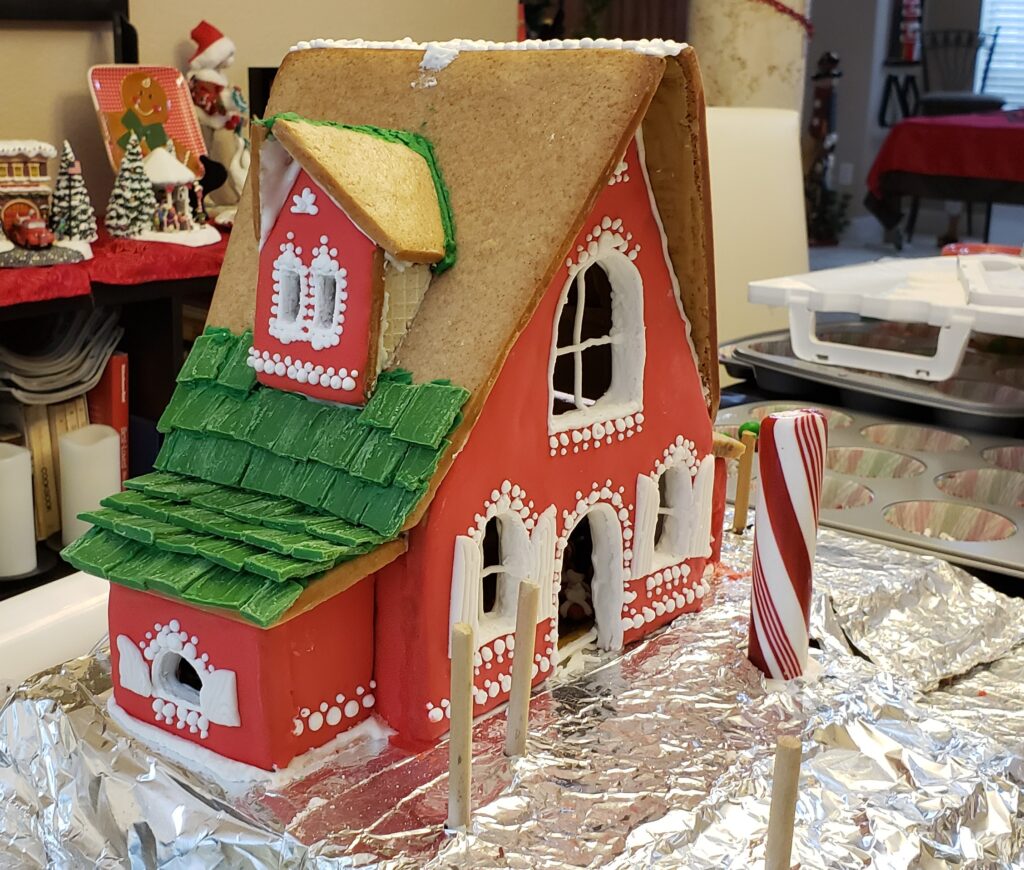
The shingles were attached to the gingerbread roof using green piping. We didn’t need to cover the whole roof with shingles since we wanted part of the roof to have white snow.
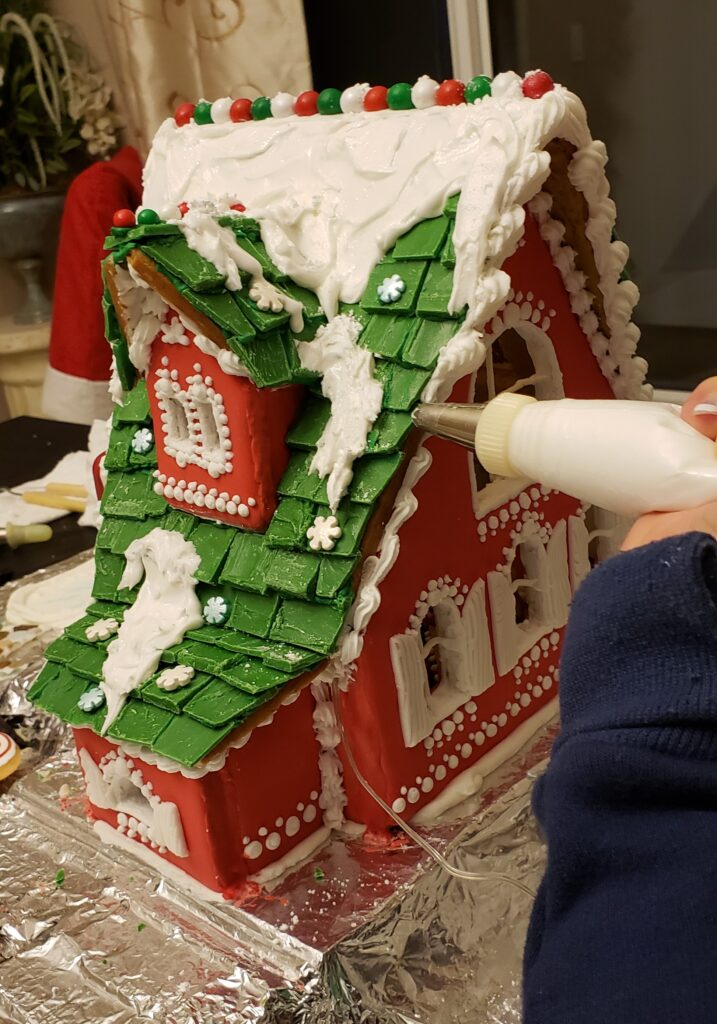
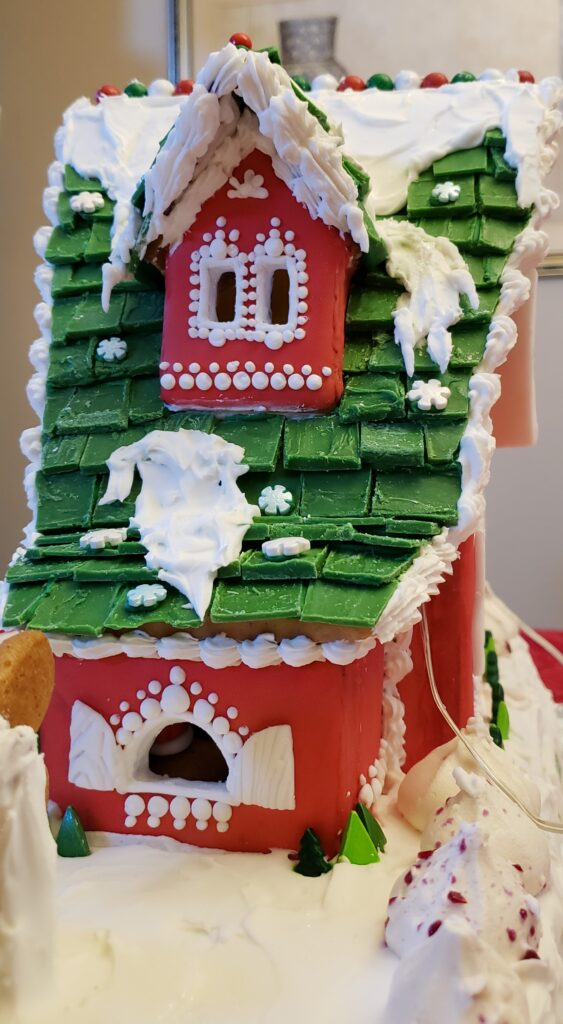
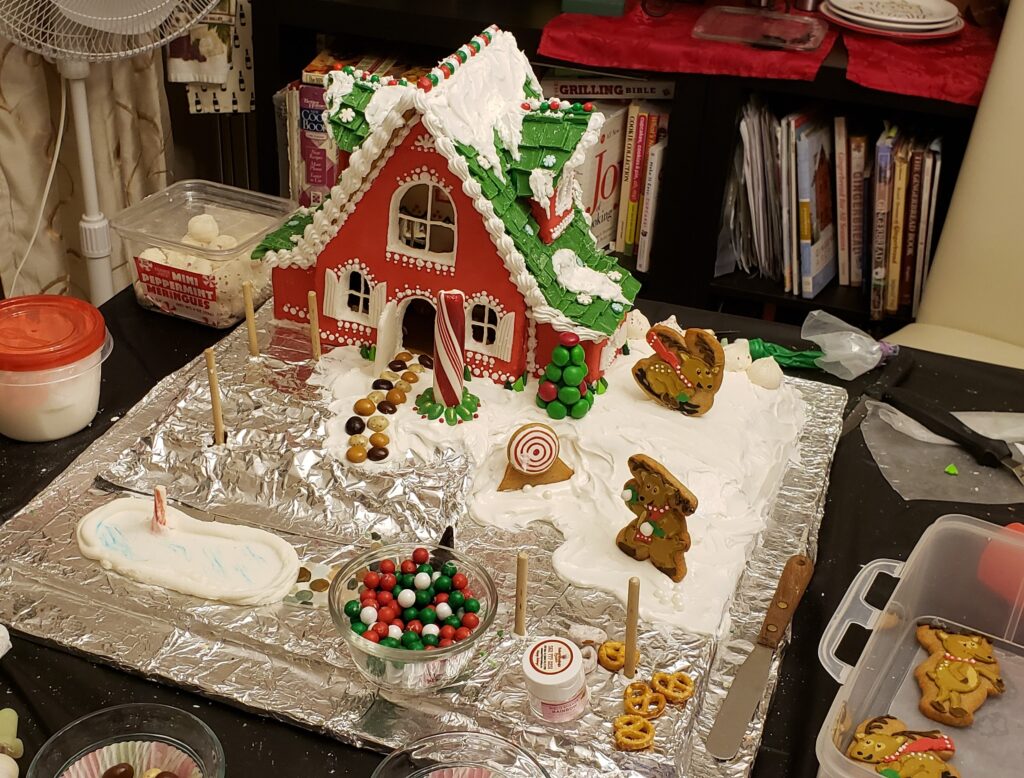
The reindeer and snow should be done in sections before the royal icing “snow” can dry. I used a little disco glitter to make the snow sparkle.
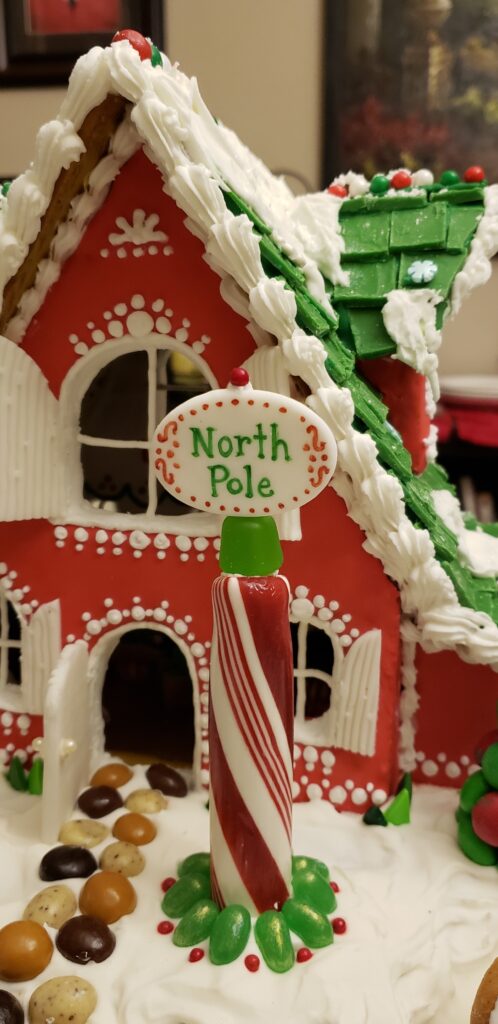
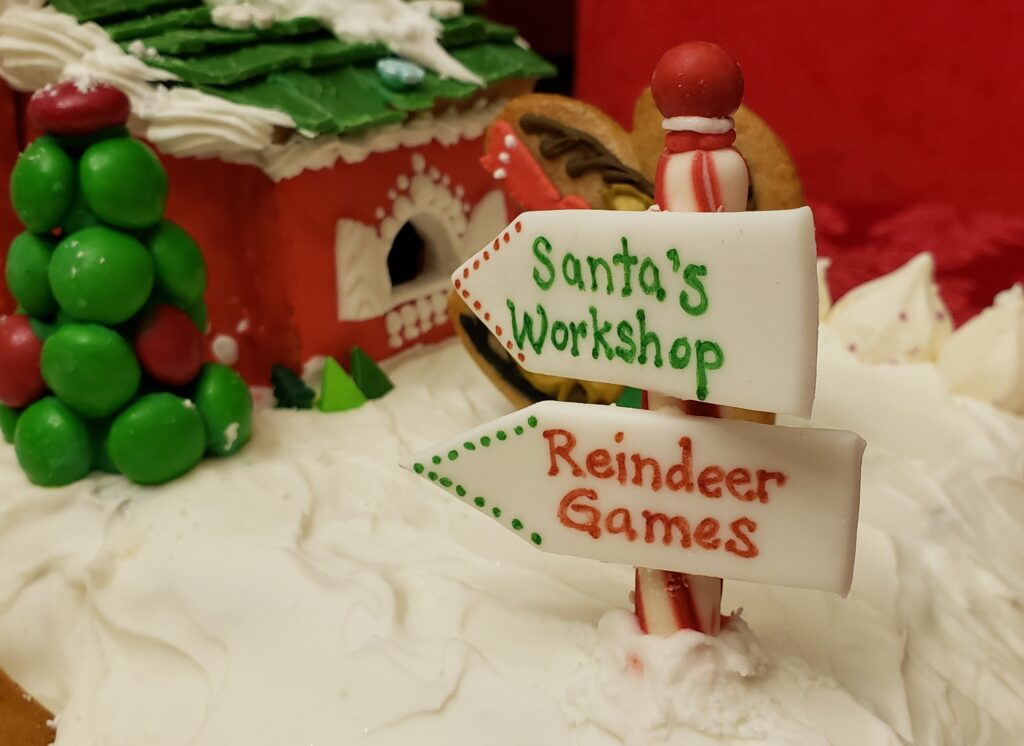
The signs were too small to use piping, so I used edible markers. Here are the reindeer enjoying their games:
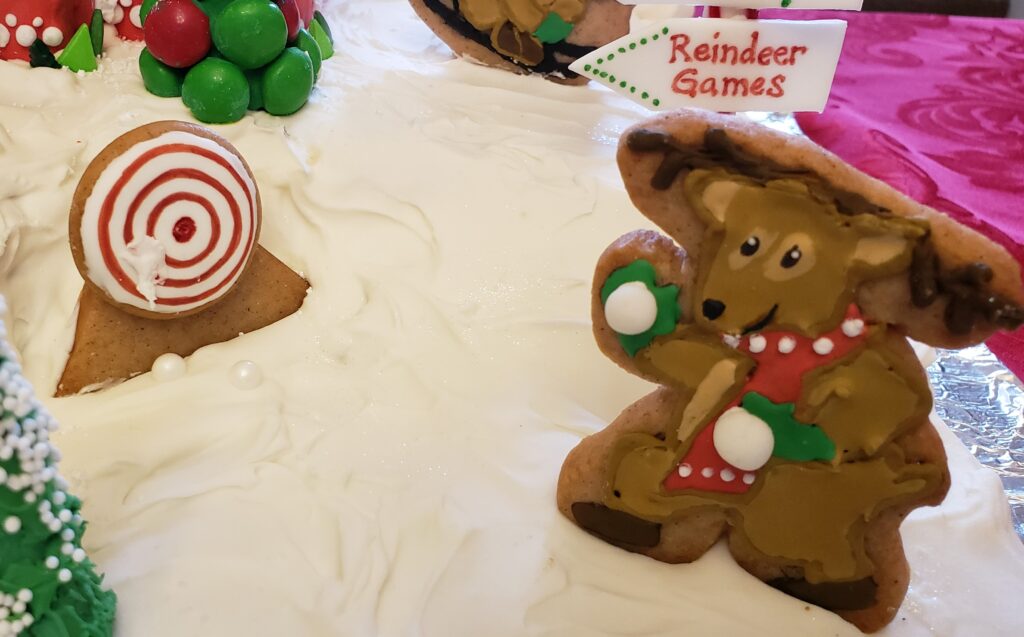
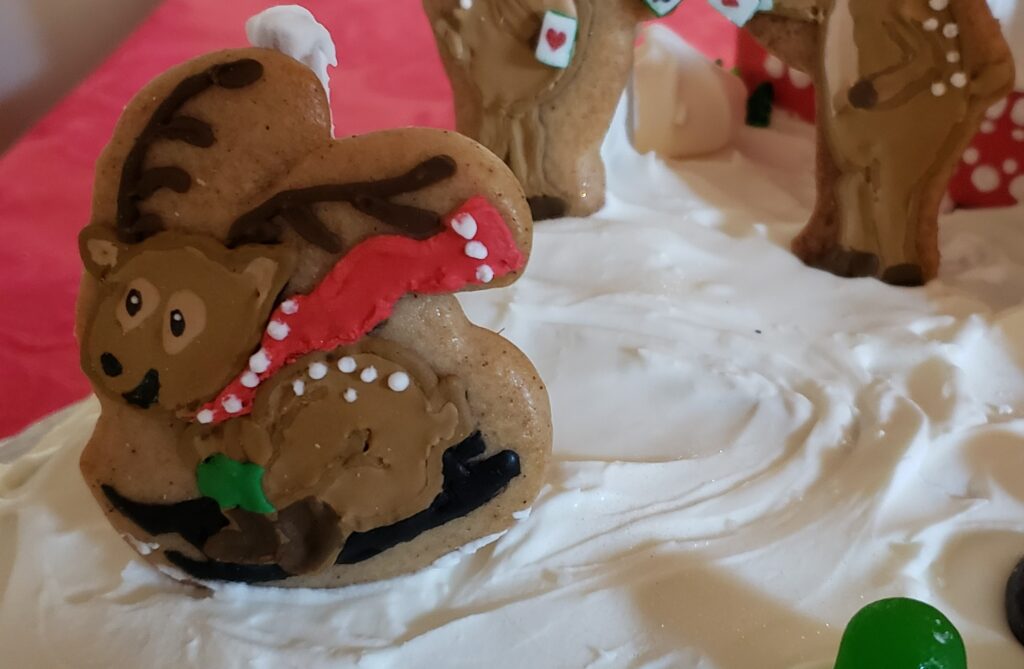
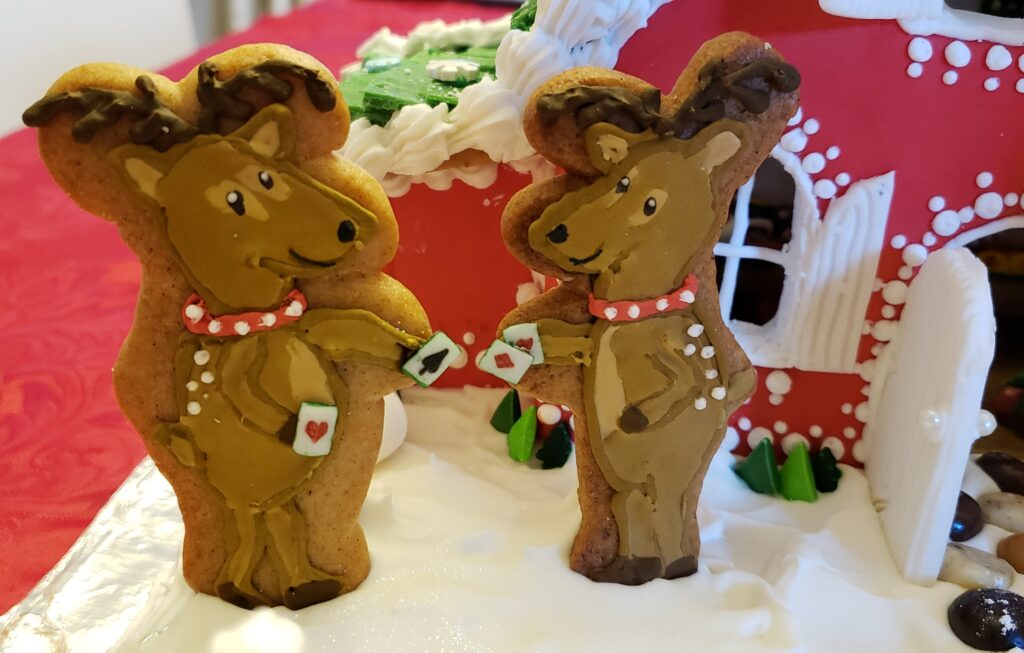
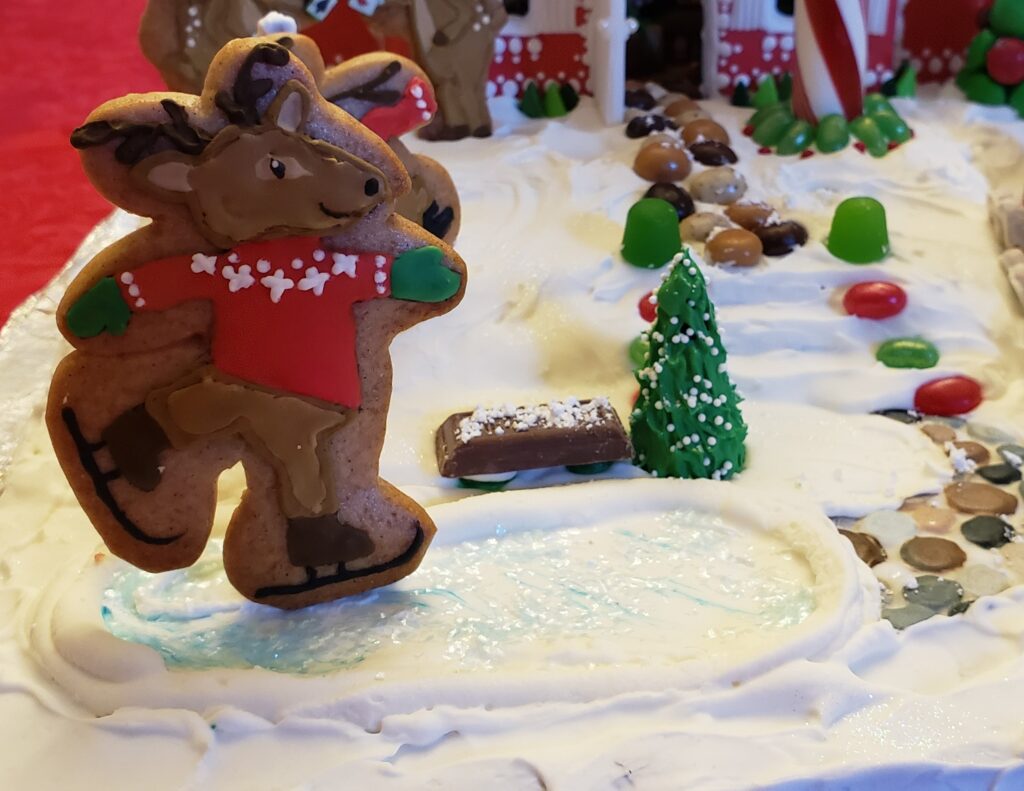
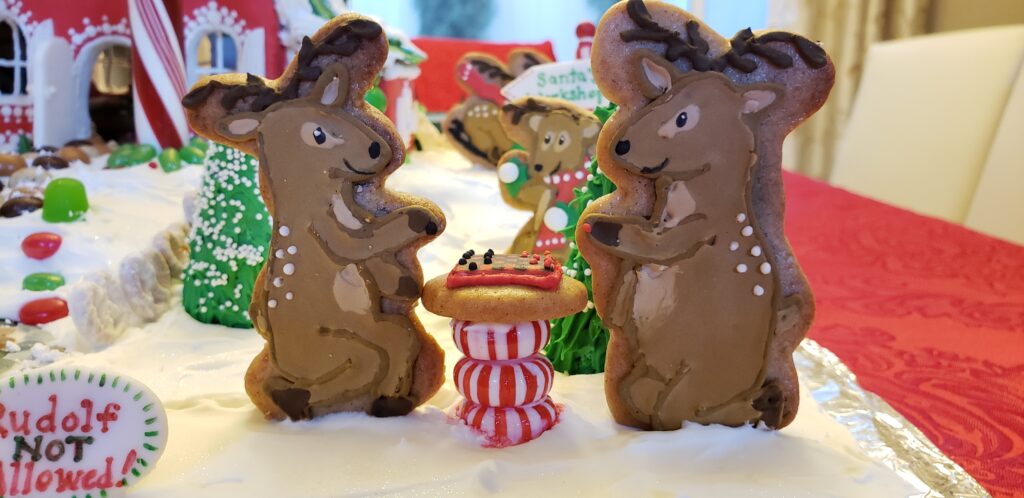
After adding other yummy candy and trees (upside down sugar cones), the masterpiece is complete!
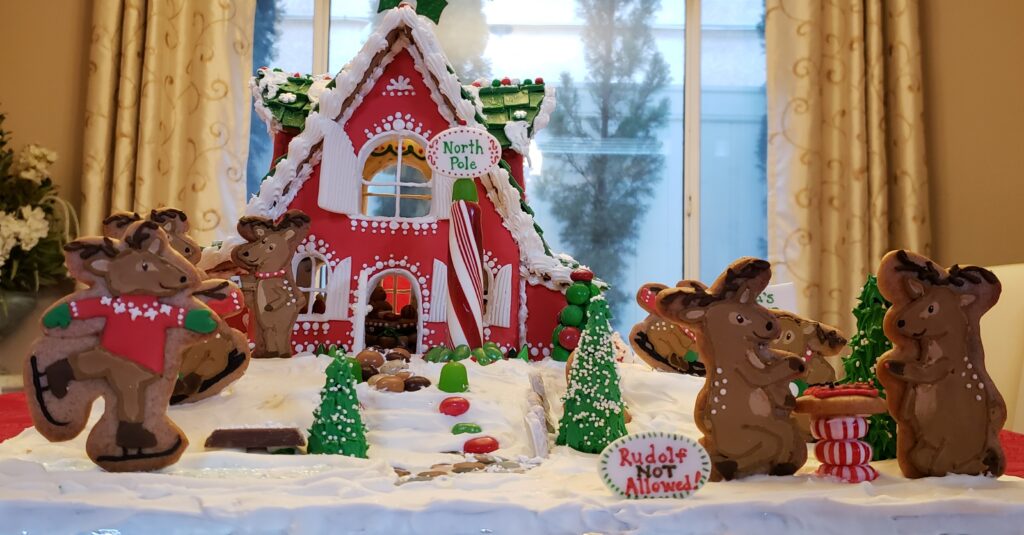
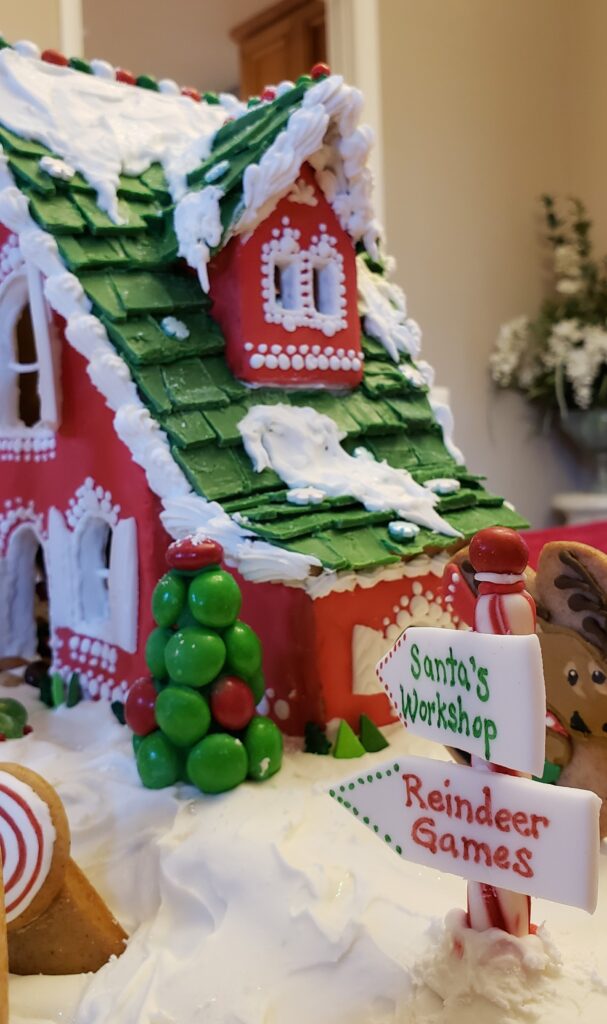
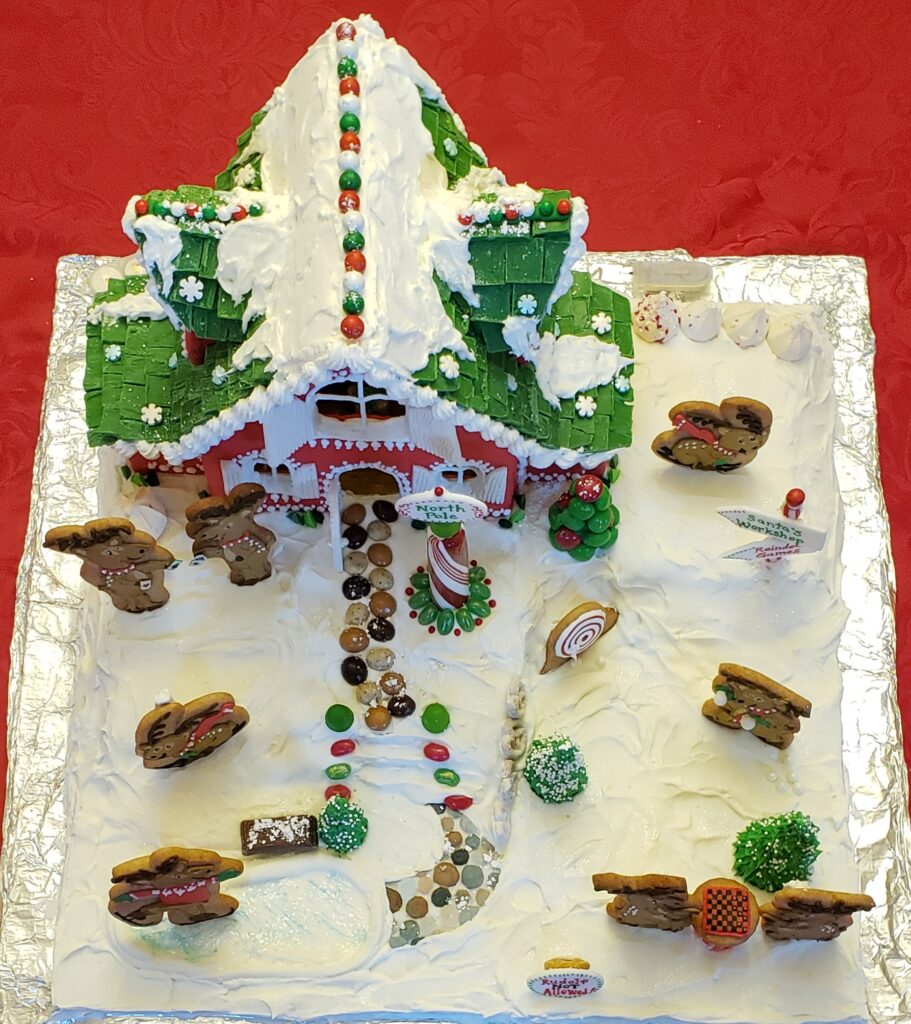
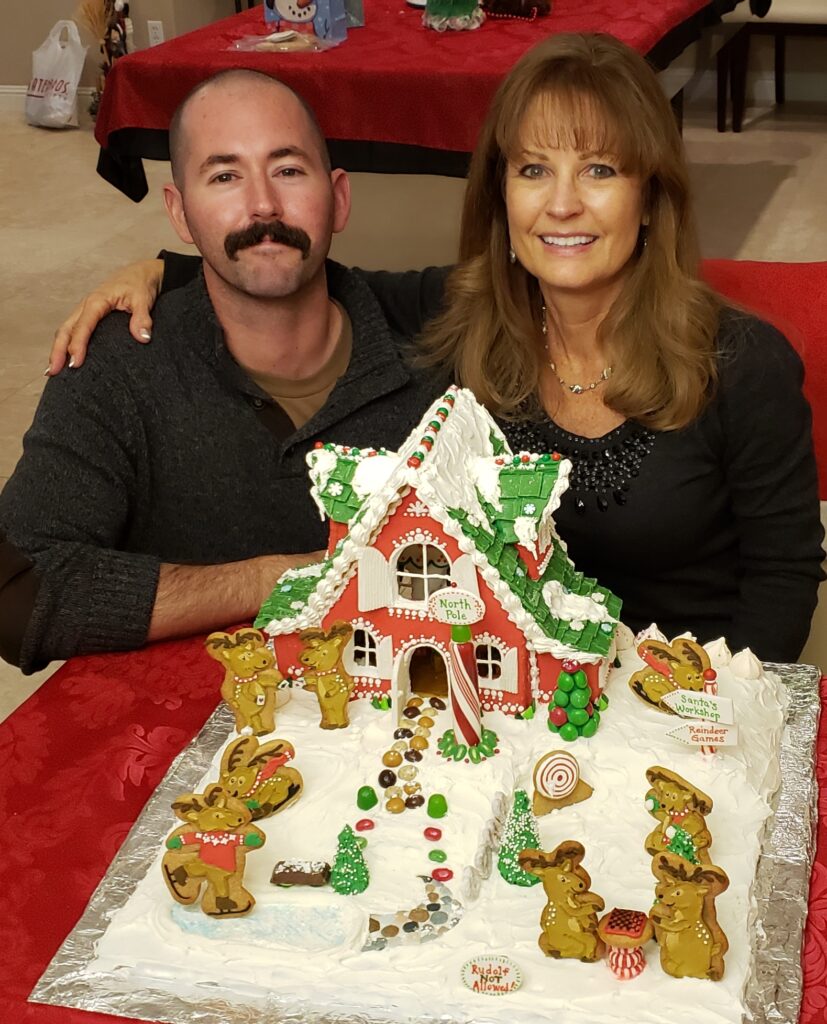
Another fun project and a wonderful memory! We hope you’ve enjoyed watching the creation of this gingerbread house!
The last part of this chapter is the destruction! Here it is…
Get ready…
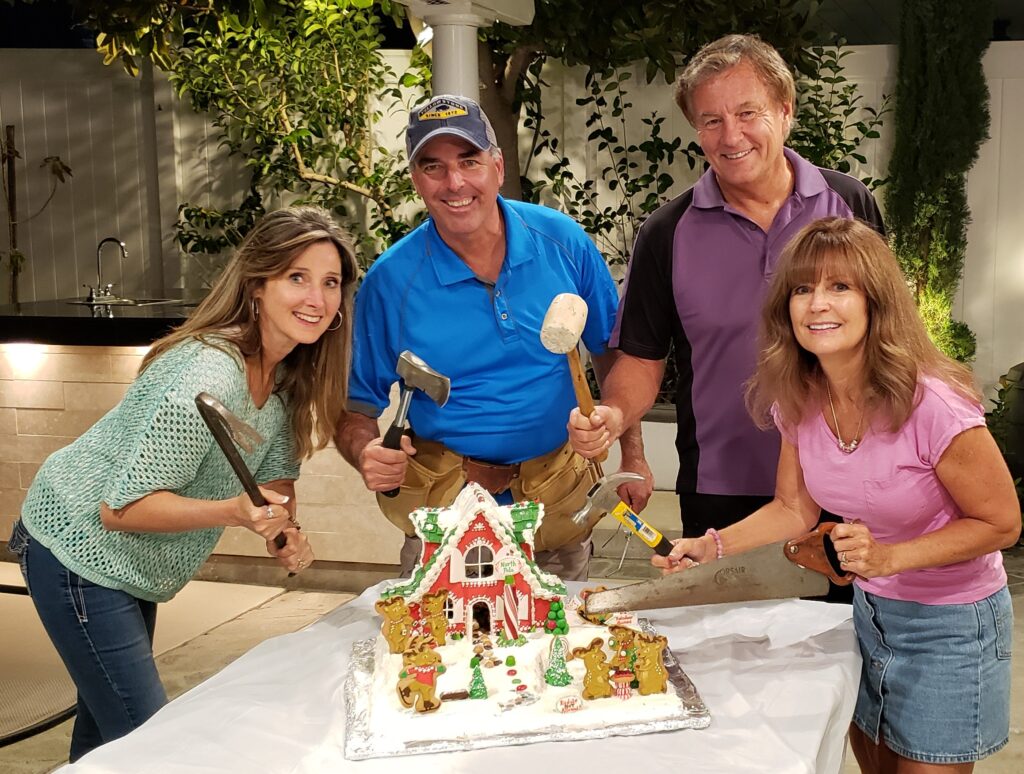
Get set…
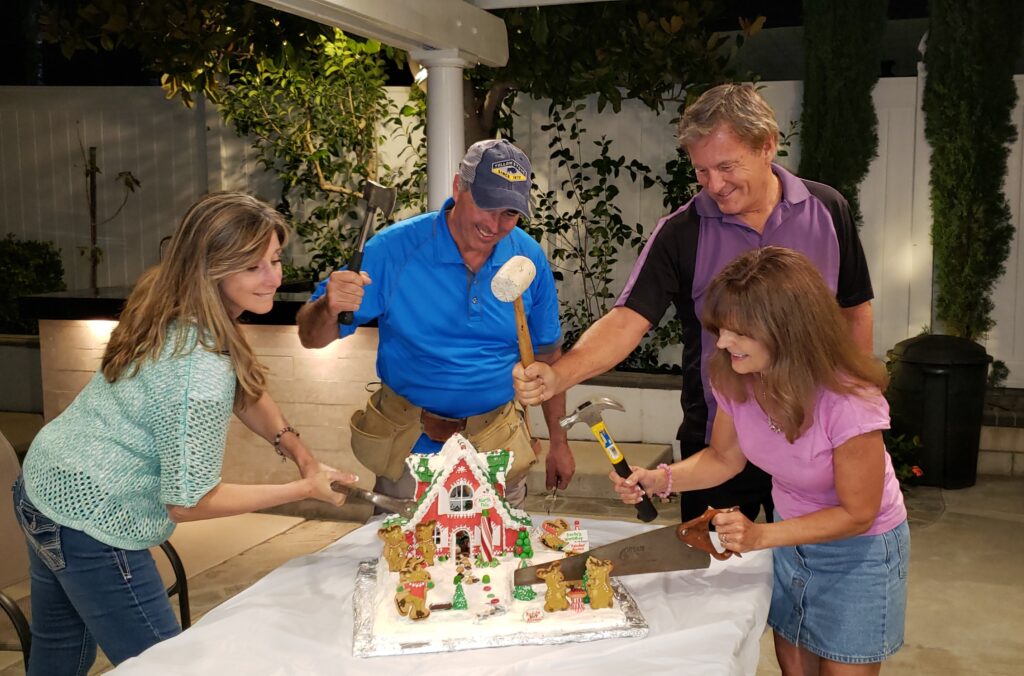
Go!
And it’s GONE!
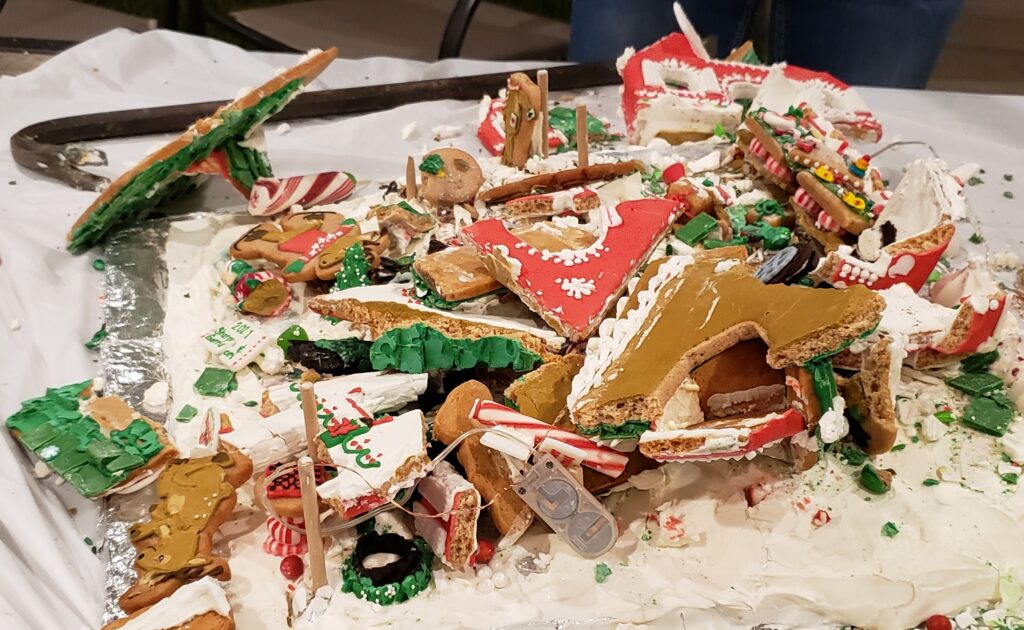
THE END!