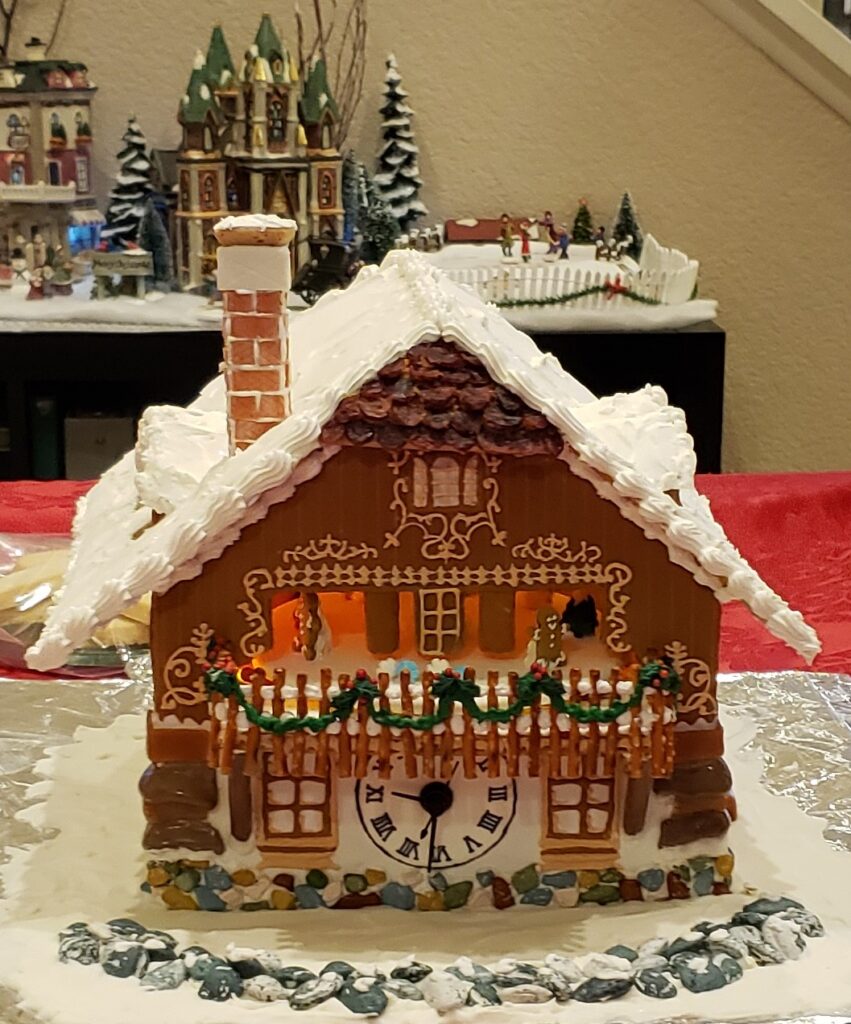
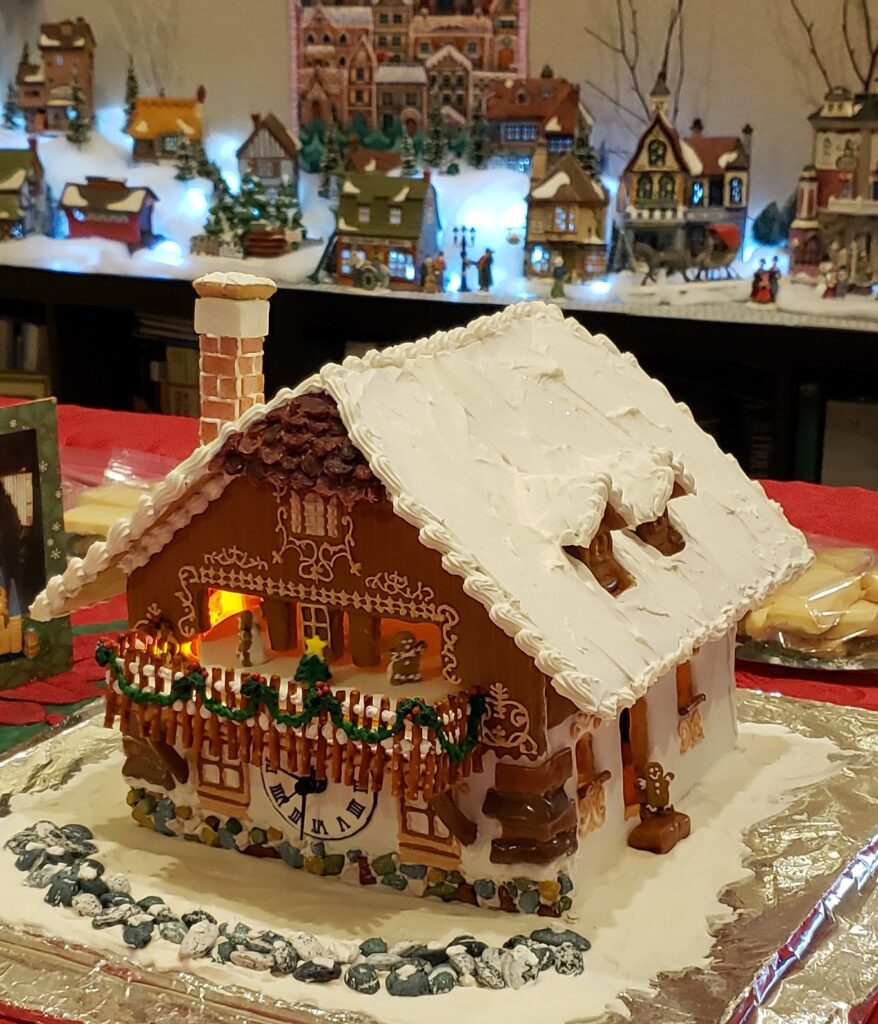
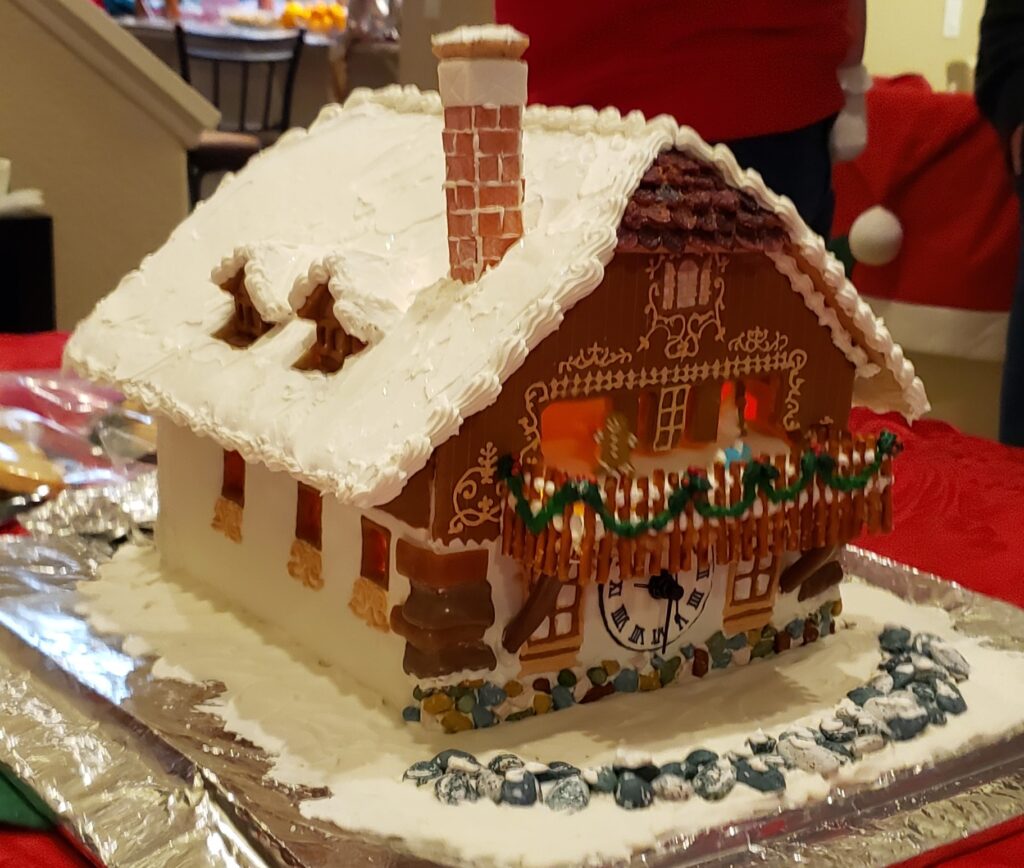
This is the first time we’ve had two electronic parts inside the gingerbread house. Usually, we just have lights. This time we added a working clock and a turntable for the cuckoo gingerbread boys. I wish the turntable was a little slower, but overall, I’m happy at least we found a small enough rotating device that would fit into the little space.
Here’s how we did it…
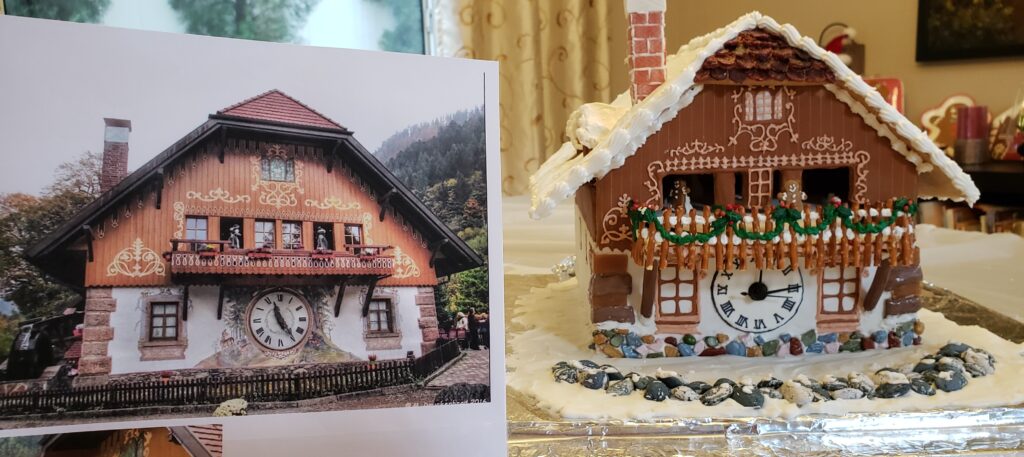
First of all, the inspiration for this particular piece was from our Viking River Cruise in November 2023. Part of the Rhine River cruise included a tour of a little hidden artisan village in the Black Forest of Germany. It’s called Hofgut Sternan in Breitnau, and is known for their production of cuckoo clocks. On the hour, the largest cuckoo clock in the Upper Black Forest had figures come out of the doorways and dance to the music. It was fascinating! Here’s a photo of the building in Germany (on the left side):
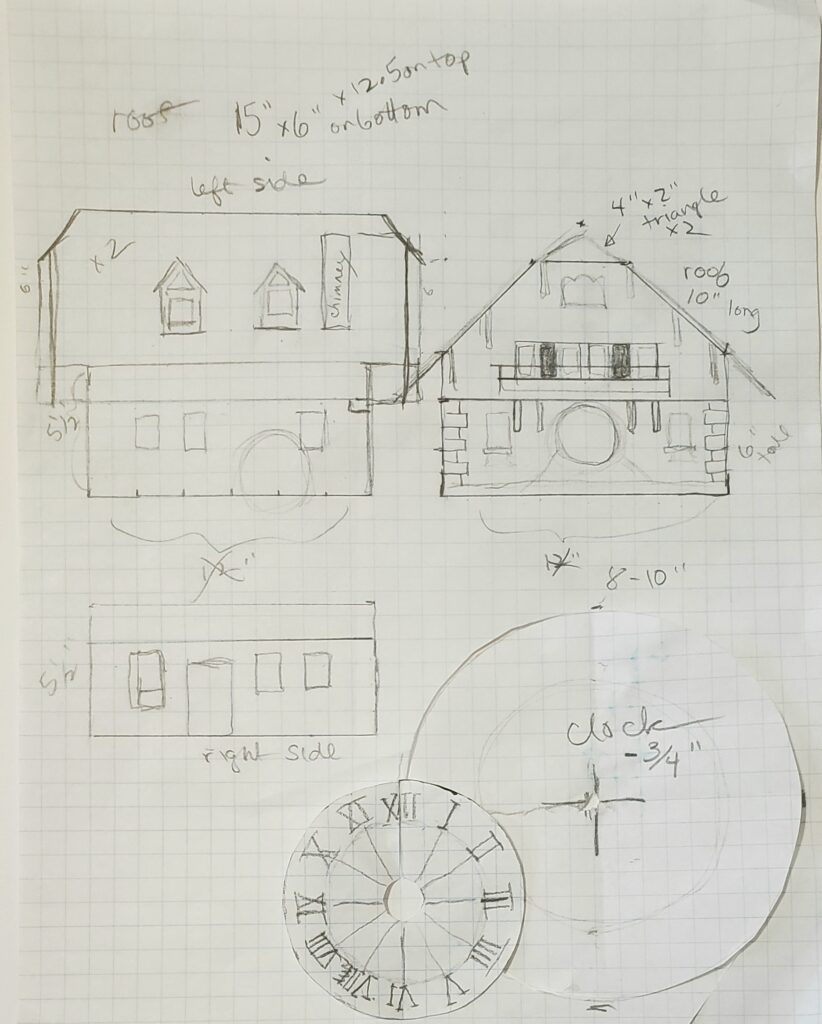
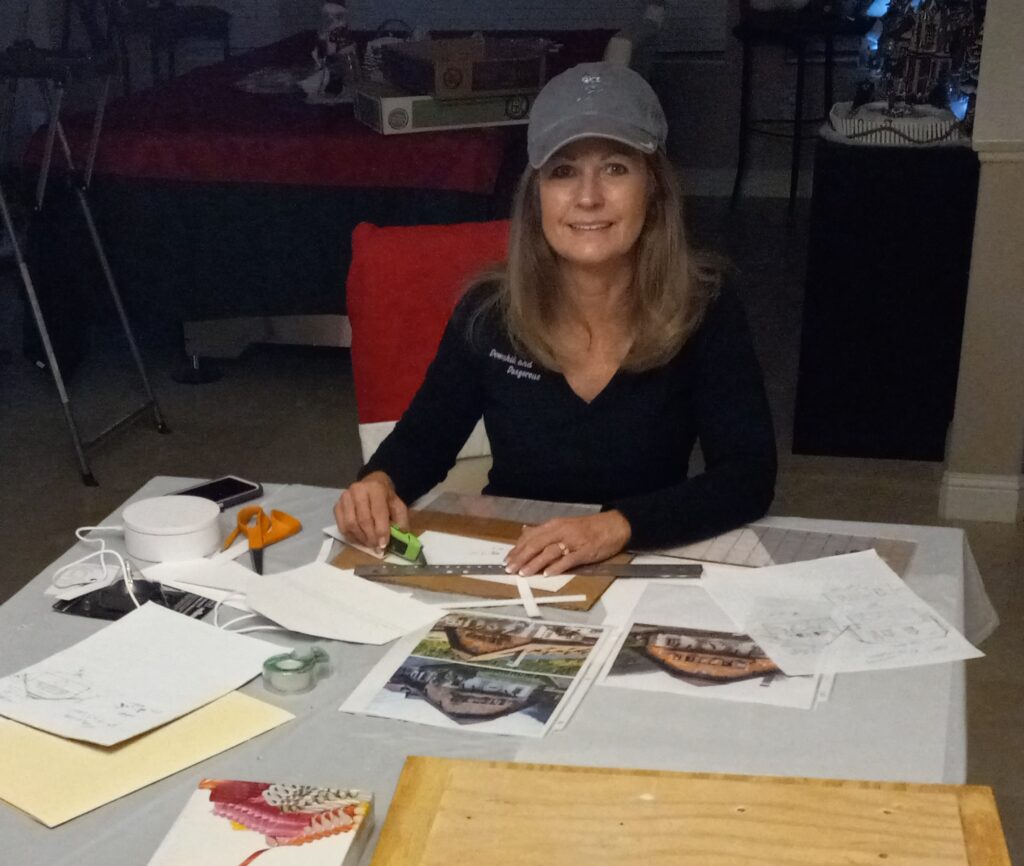
From photos of the large cuckoo clock building, I prepared drawings for the patterns.
Next, I made two batches of gingerbread dough and cut out the pieces (see recipe link here).
These are the pieces I baked and used for the 4 days of clues for our “Gingerbread Guessing Game”:
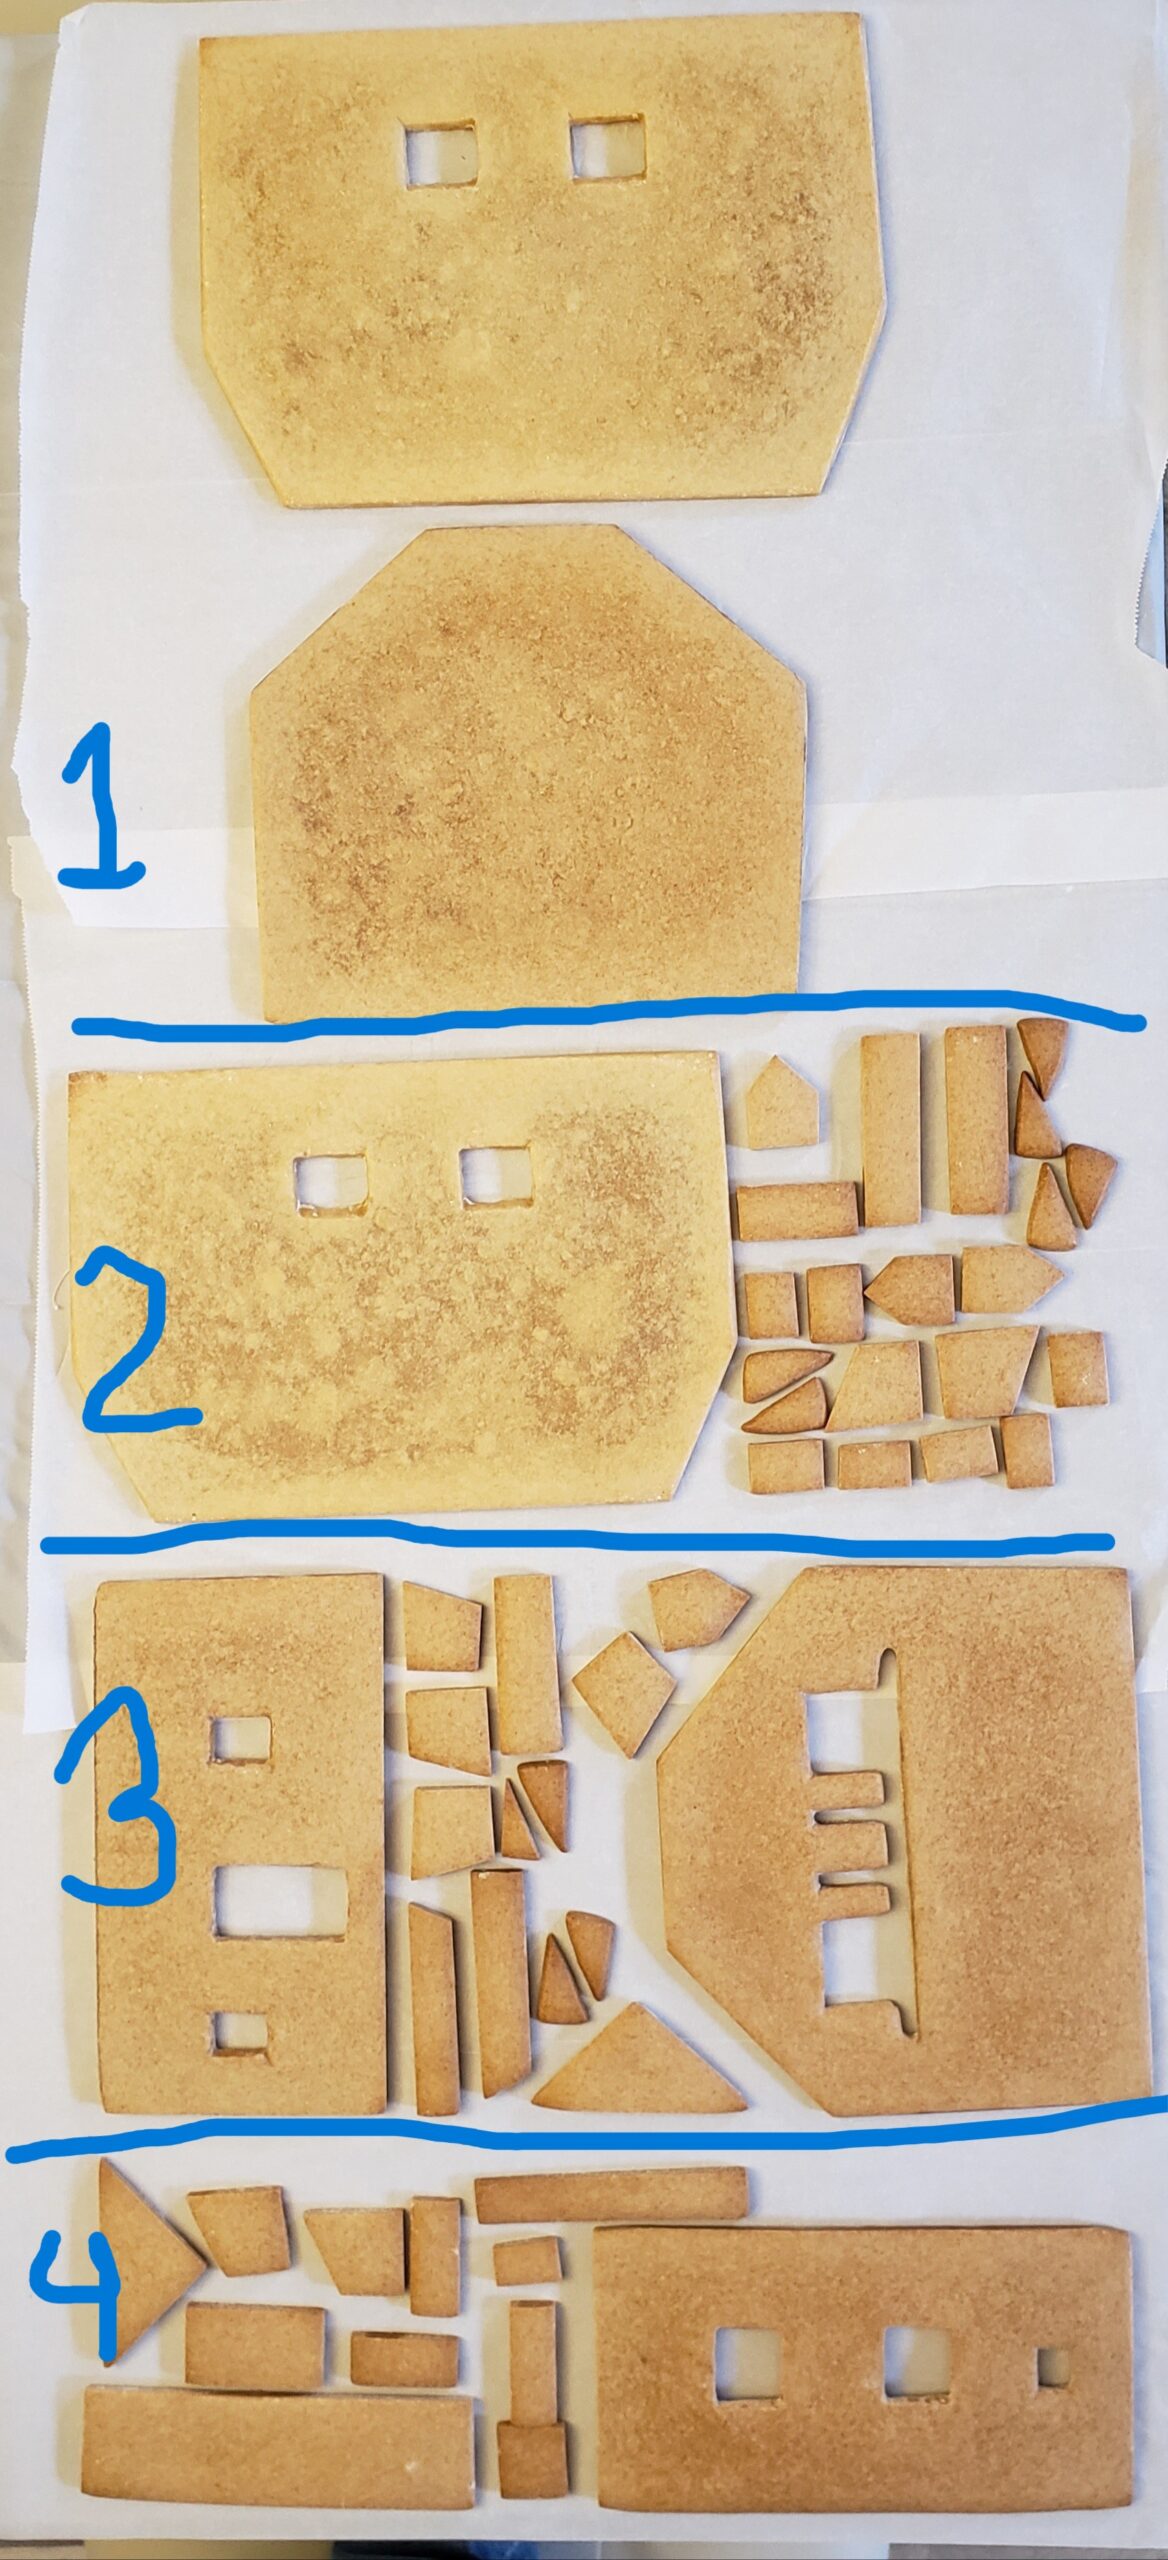
We sent the text clues to 13 members of our family and friends, and they had 63 amazing guesses: a barn, a fire station, a train station, a motorhome, Noah’s Ark, a Thomas Kincade Christmas house, a ski resort, North Woods Inn, Barbie’s house. On day 5, we gave another clue: “Do you need more “time” to figure it out?” Matthew finally had the correct guess: A Cuckoo Clock!
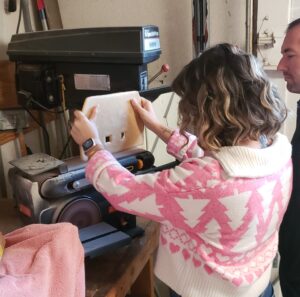
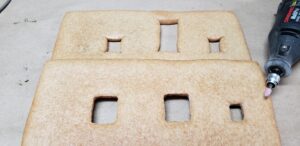
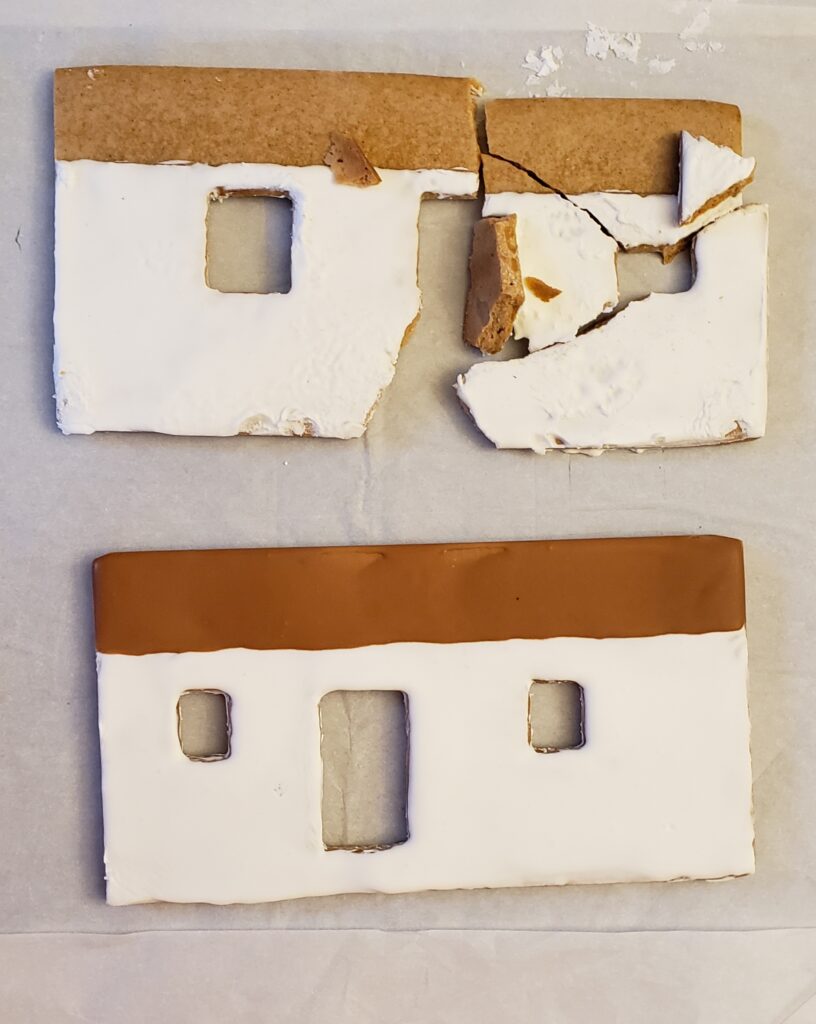
After the gingerbread pieces are baked, they lose their shape a little, so we use the belt sander for the outside angles and a Dremel tool for inside the windows and doors. Notice the difference between the windows before and after using the Dremel tool!
Next, I mix up a few batches of royal icing (see same reference under “Recipes”) for piping and flow. I prefer to decorate the pieces first when they can be laid out flat on the table.
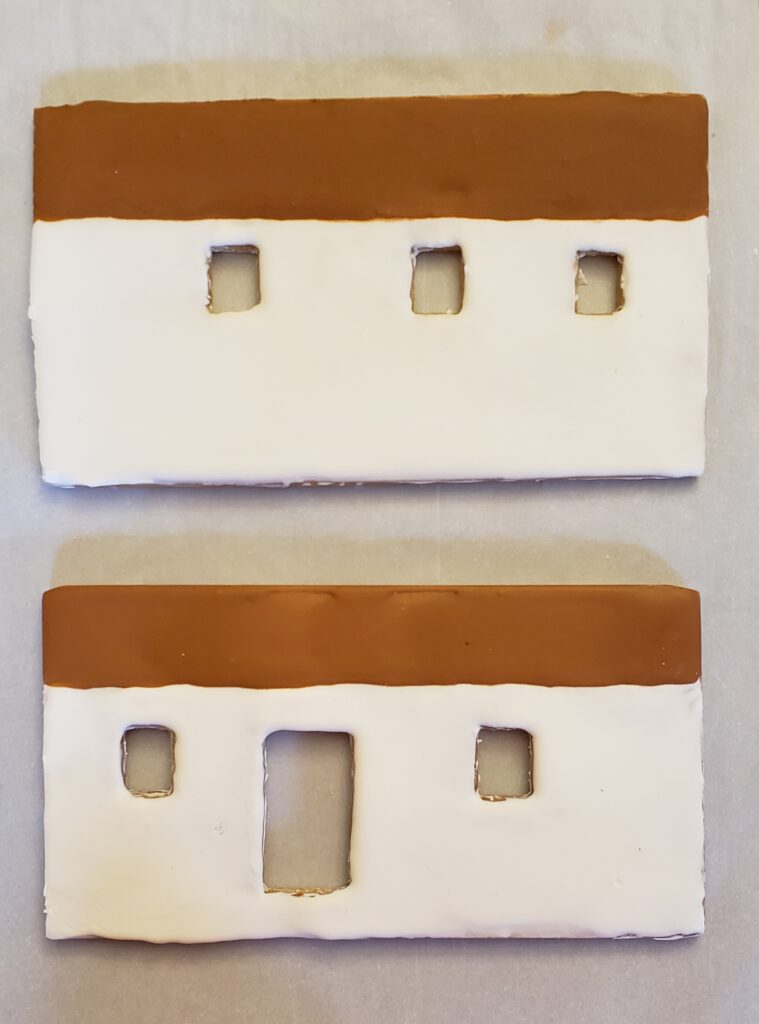
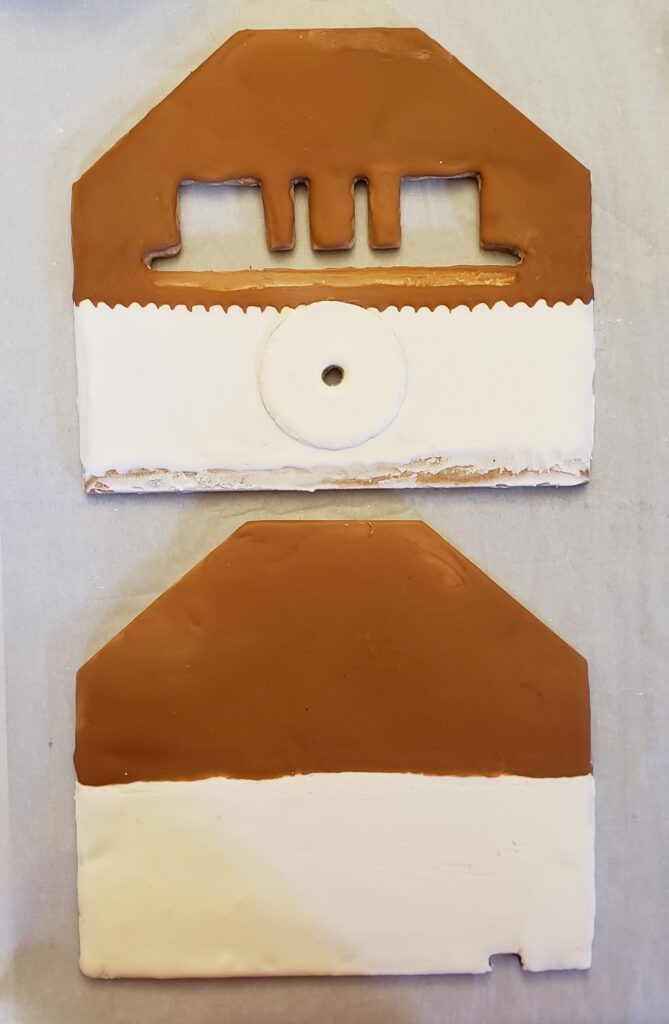
Oh no! One of the pieces mysteriously jumped off the table onto the floor. I had to bake a replacement piece with my left-over dough.
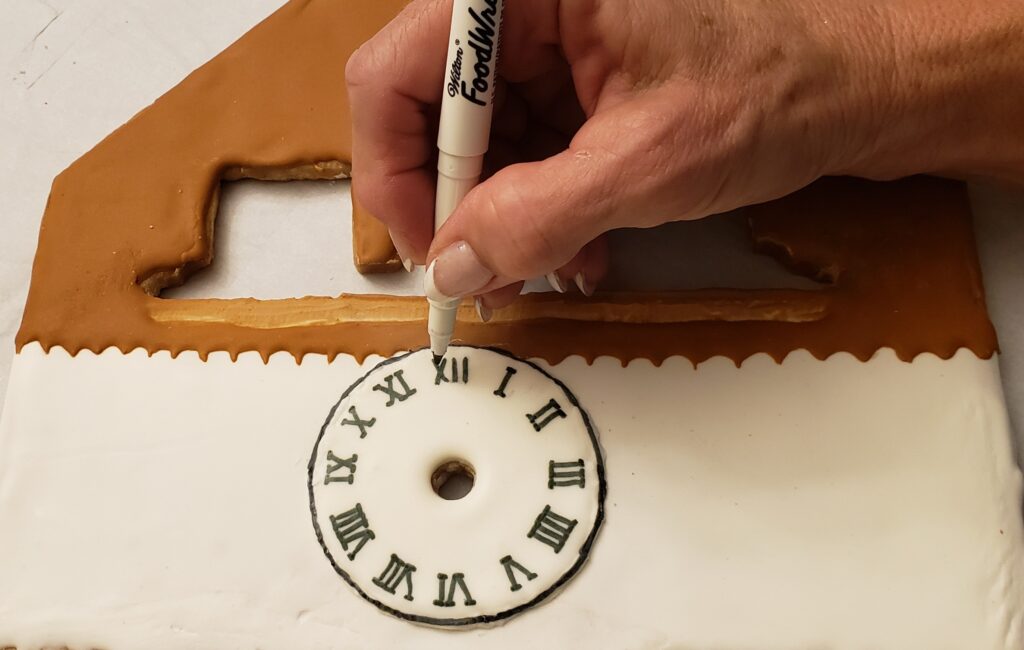
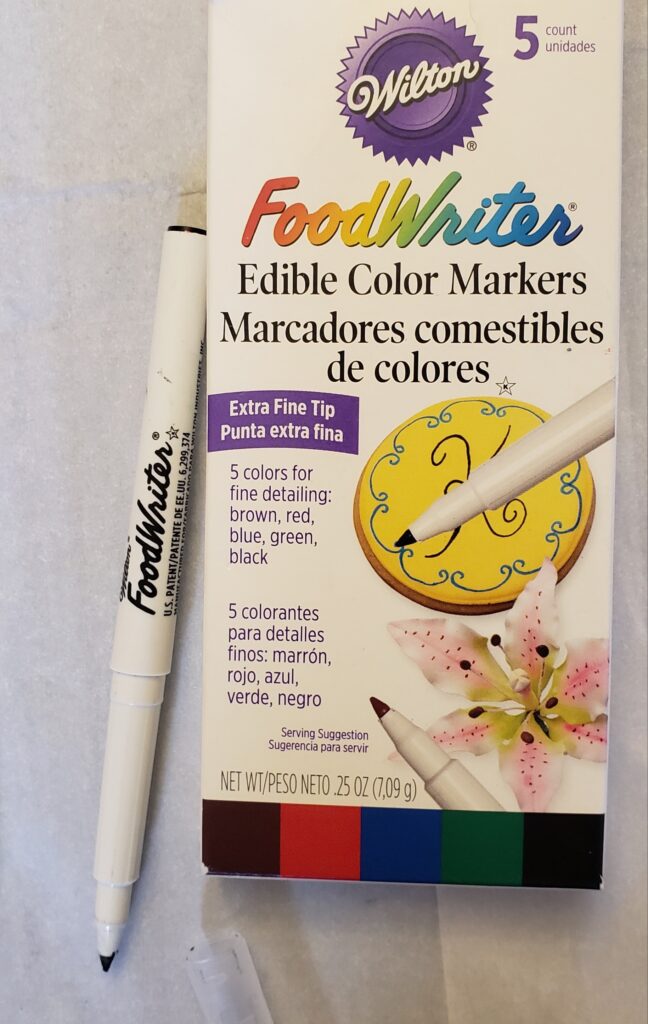
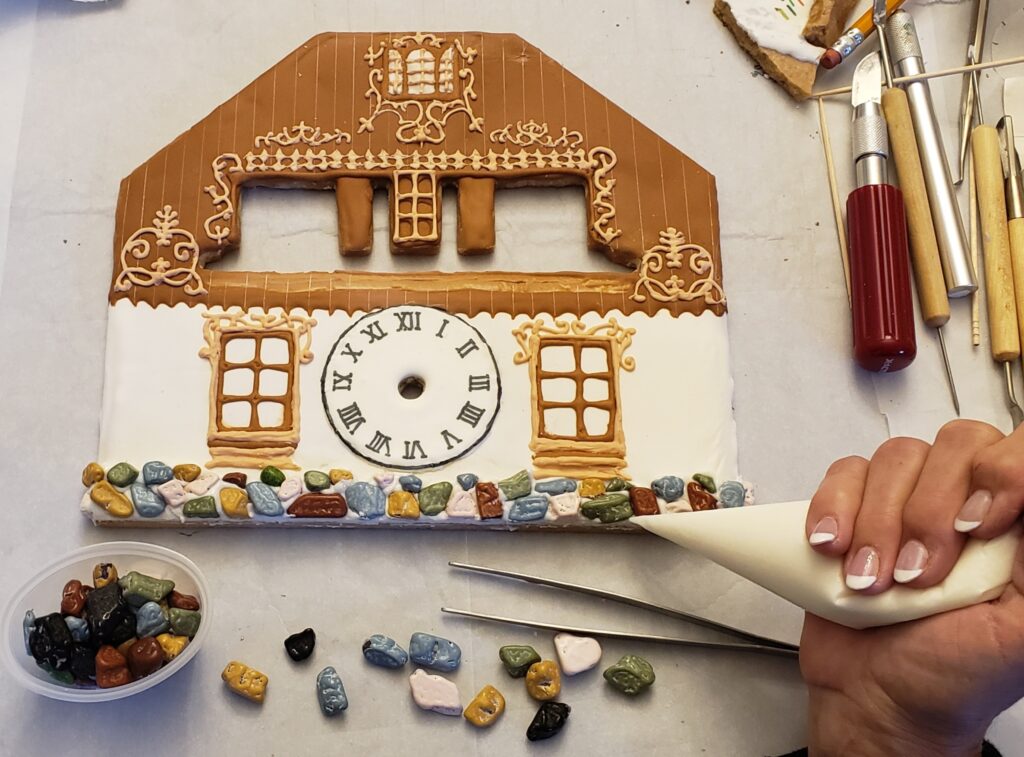
For the tiny details, I wait until the icing is super dry and then I prefer to use edible marking pens instead of piping with the royal icing:
I keep adding more and more designs and candy until I’m ready to put the structure together.
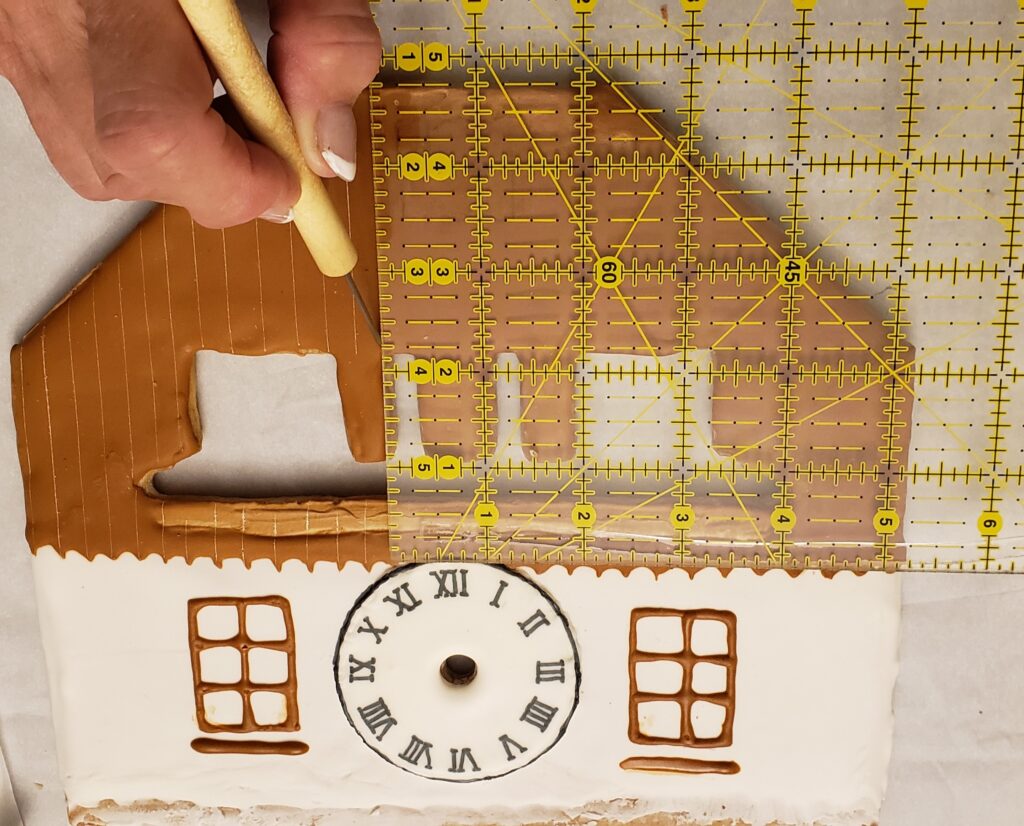
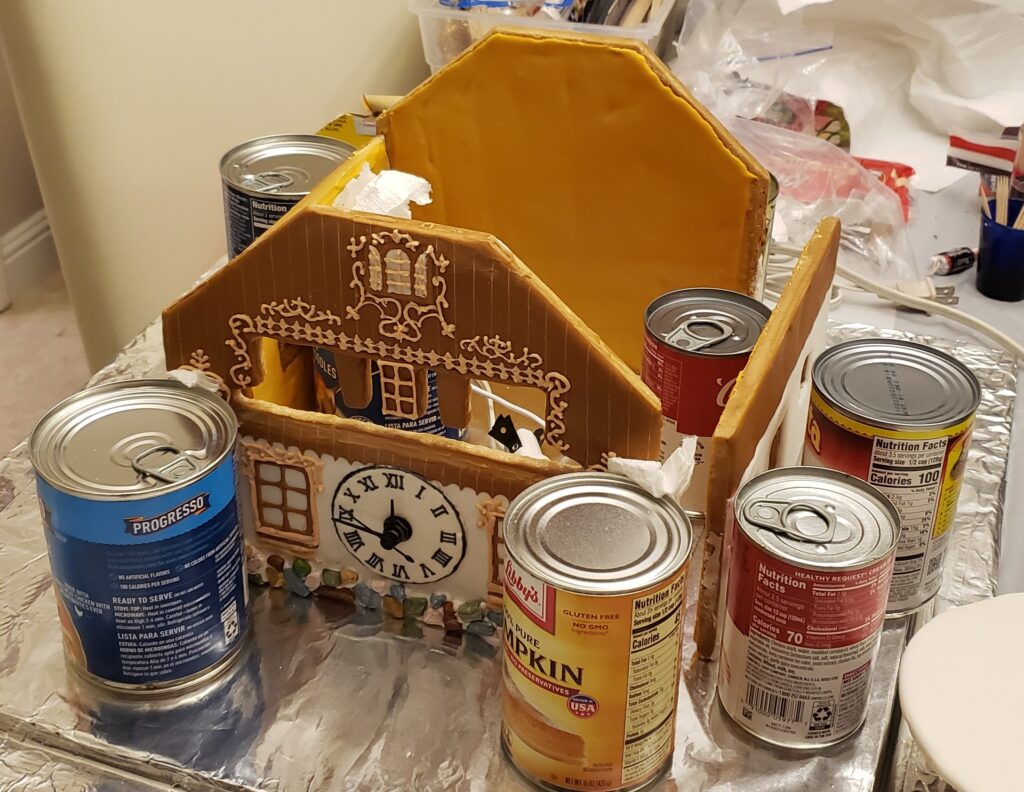
As you can see, I add royal icing to both sides of the walls because we like to build a scene inside the house too. You can only see inside through the little windows or doors, but having the inside wall finished is more appealing. I pipe royal icing to the edges for three of the four sides and prop it up with soup cans and let this dry overnight. I’ve learned from experience not to add the roof until the base is sturdy.
Time to add the turntable and have a test run to make sure it doesn’t wobble.
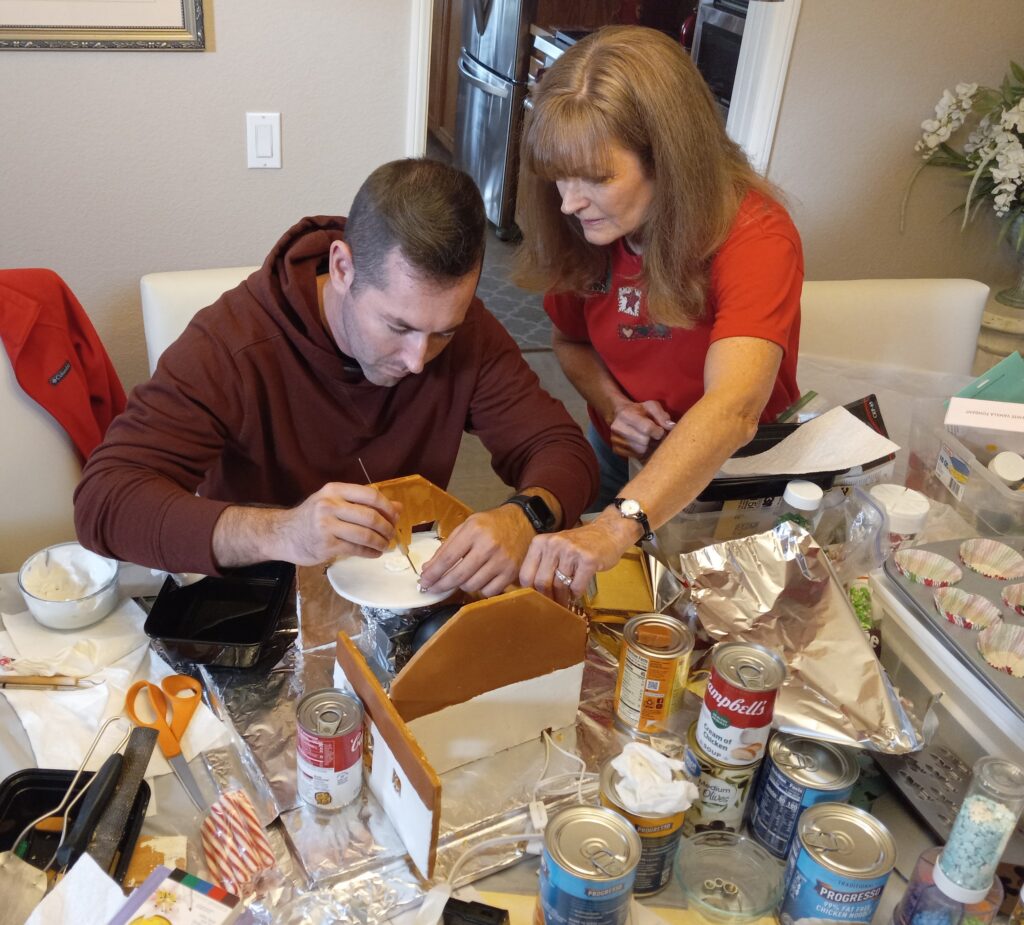
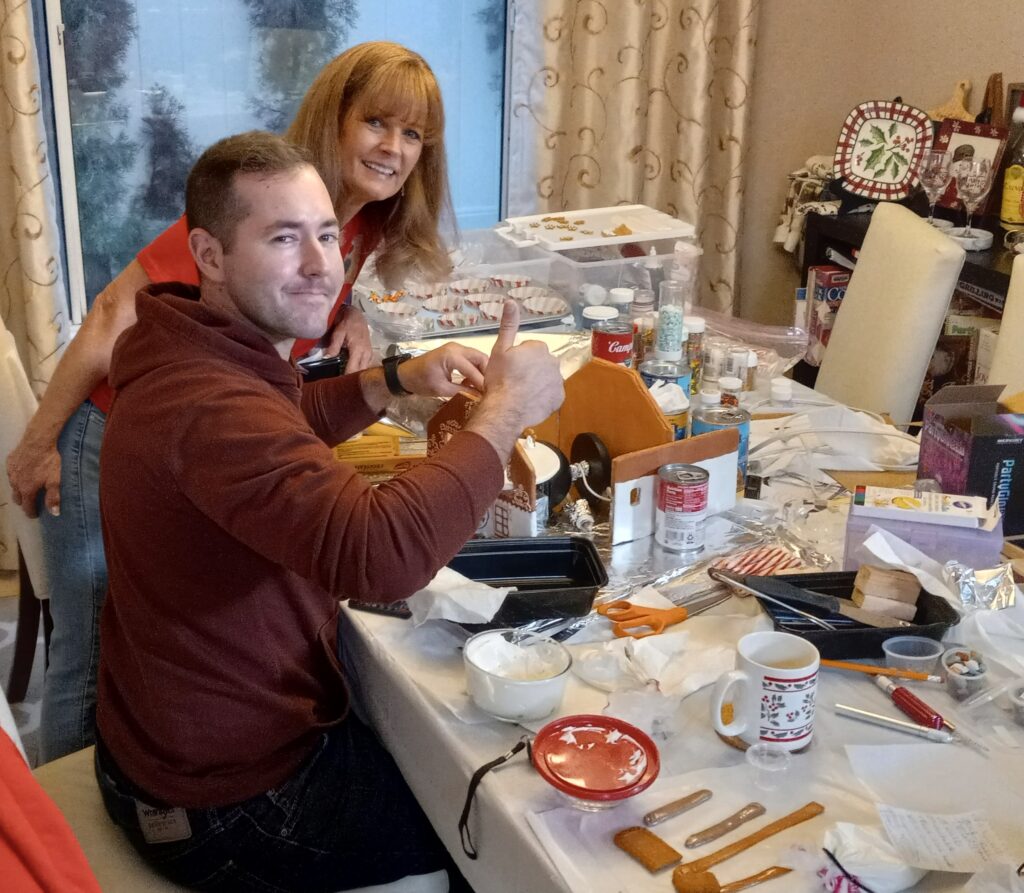
The most fun is to add all the details! Garrison is adding a cookie wafer floor and wall decorations.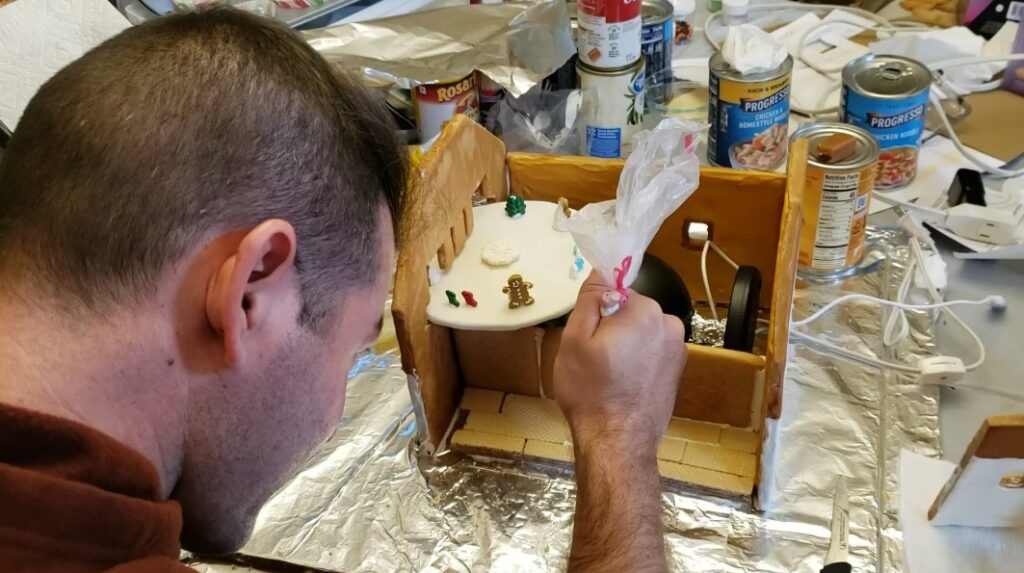
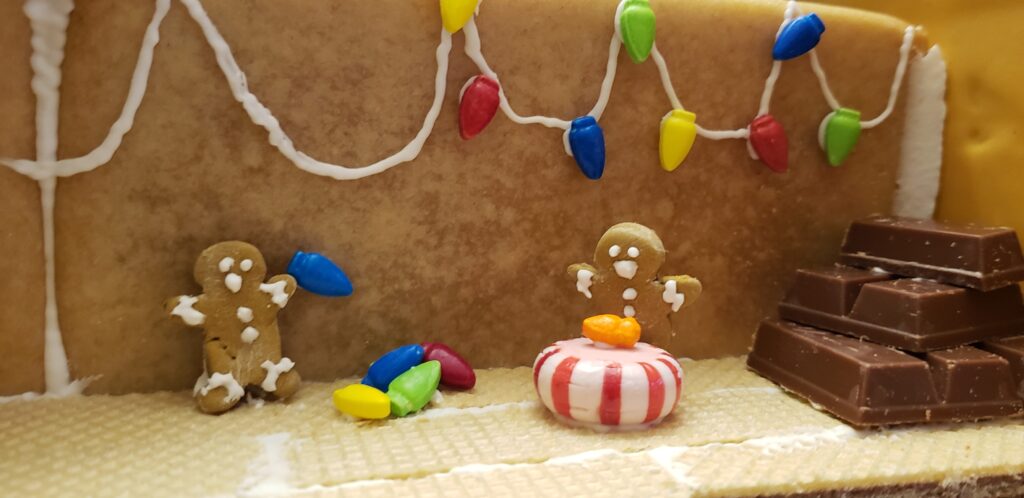
We’ve added the final wall and here’s our mechanical test run:
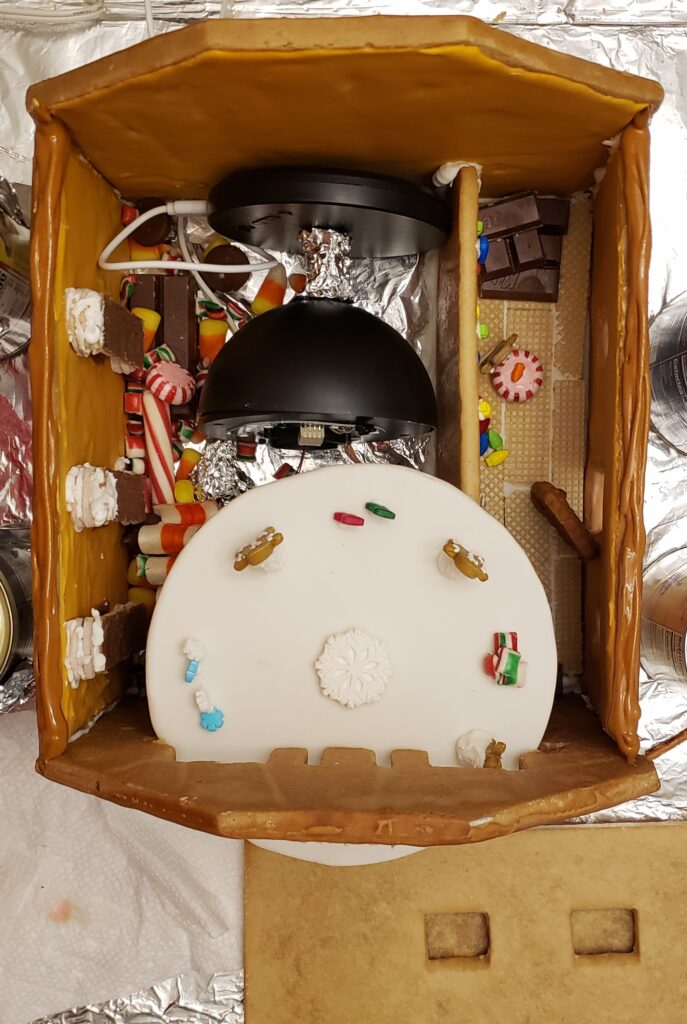
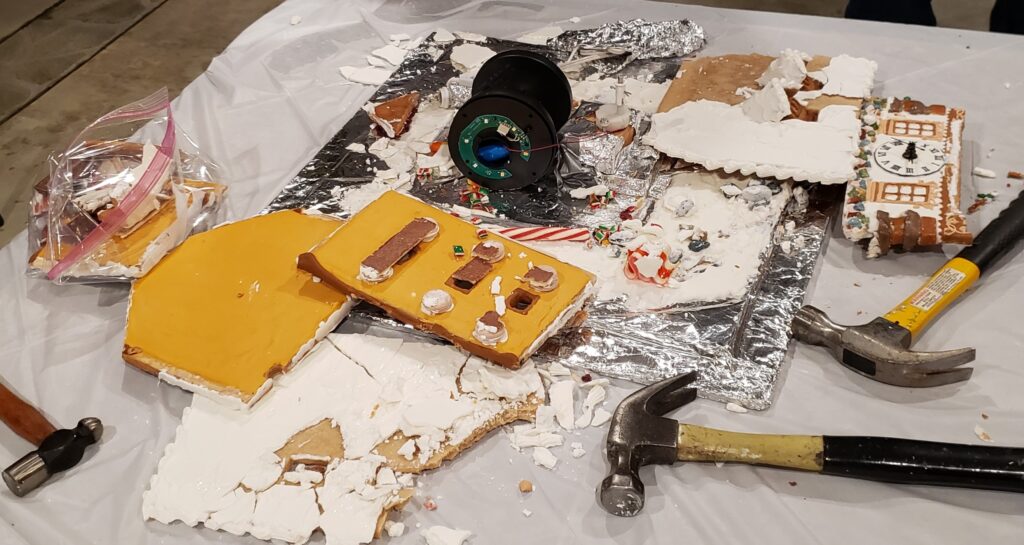
We like to add a bunch of candy hidden inside so when the house is in its final stages of de-construction, there is a sweet surprise! The black semi-sphere is not edible…it is part of the lighting and turntable wiring. We always try to have everything edible… except the electrical necessities, of course.
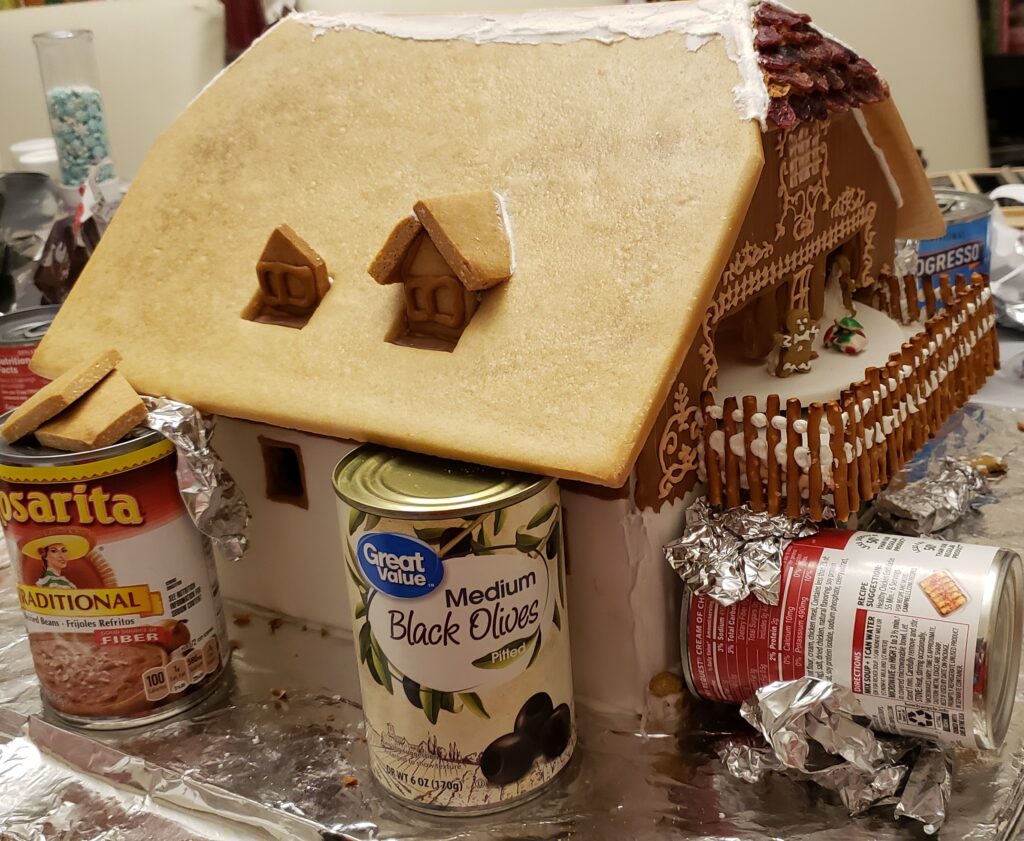
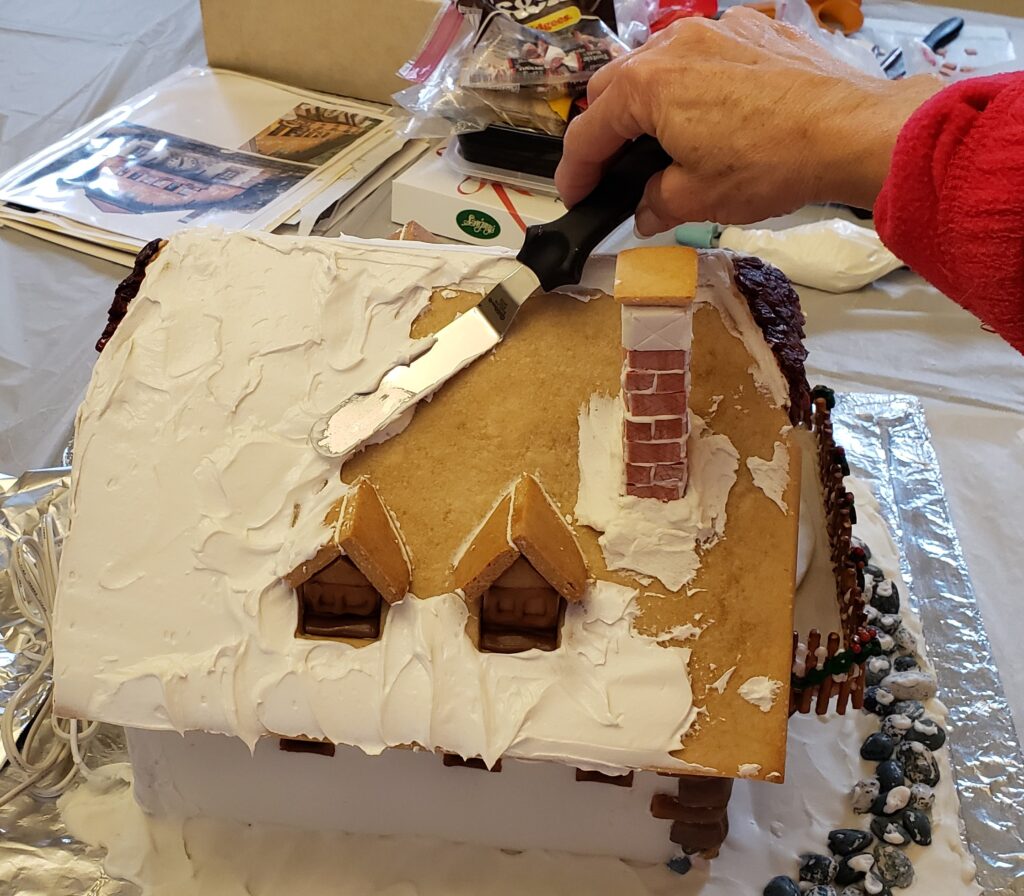
The roof is next! We had to make sure the insides are stable because we can no longer get inside to make any adjustments. I used some aluminum foil (above and below the soup can) to prop up the deck after the pretzels were already dry. The roof dries overnight, then adding the dormer windows can be done the next day and preparing for the chimney.
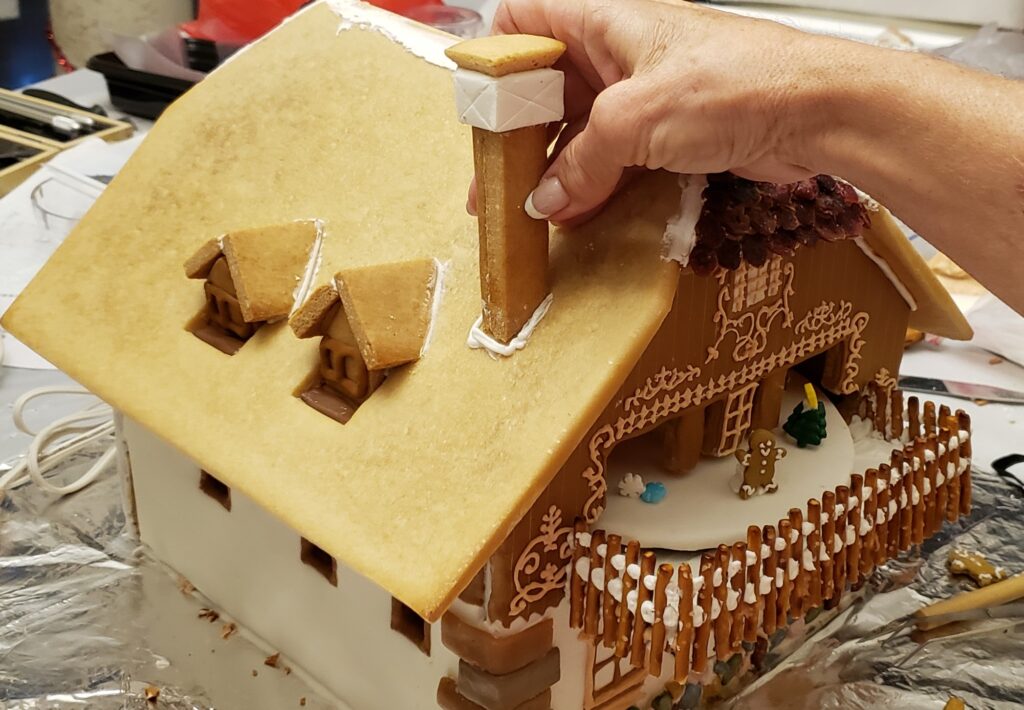
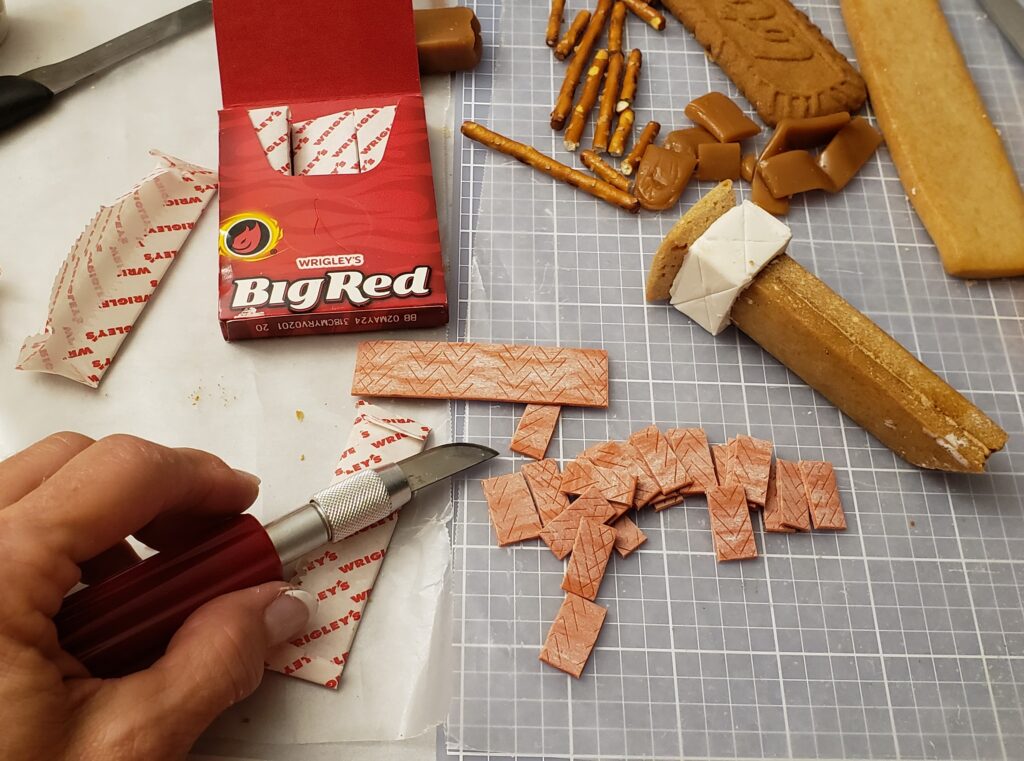
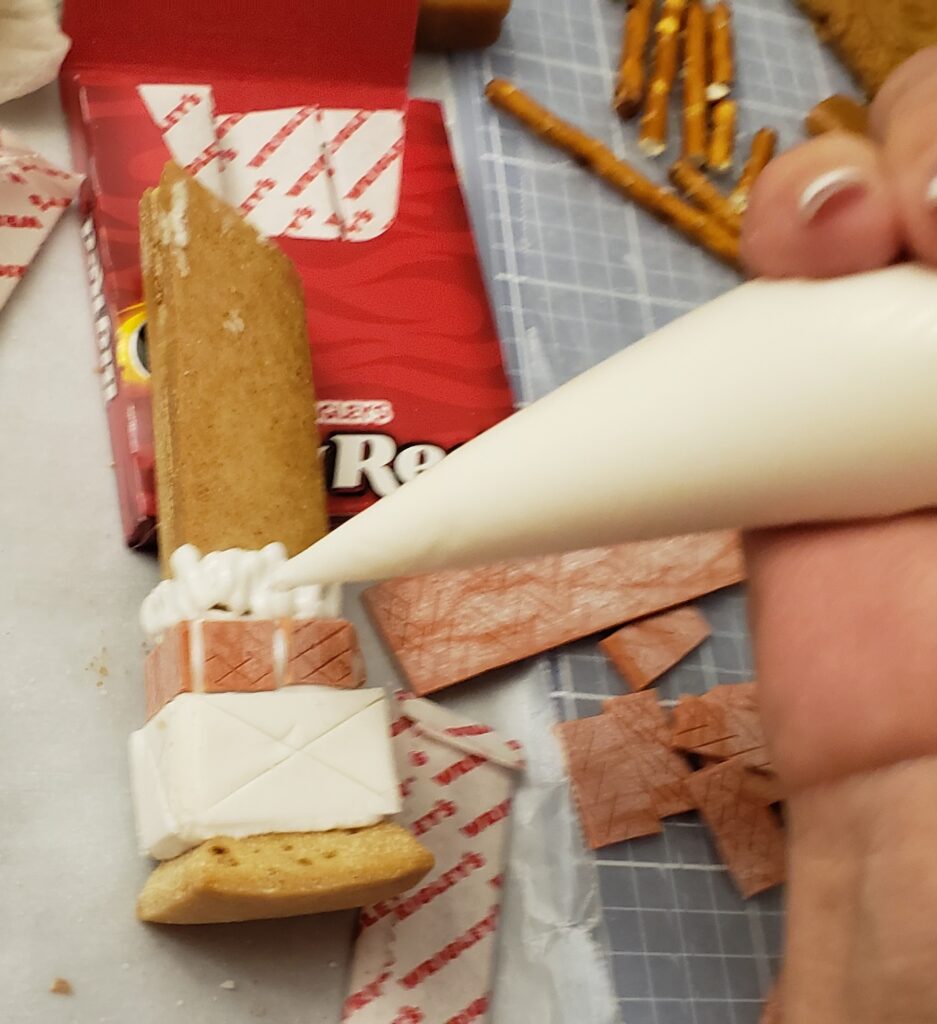
Cinnamon gum looks just like little bricks! Another method I’ve used in the past is to score the dough before it is baked, then add red color food dust and pipe the mortar with royal icing.
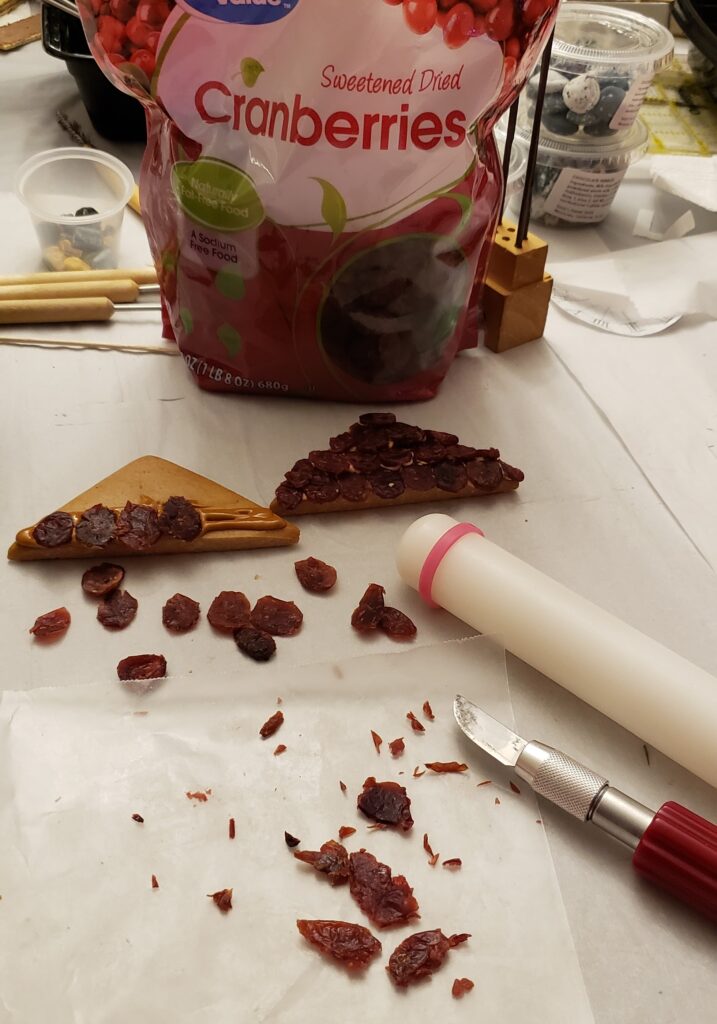
Dried cranberries rolled out flat were perfect for part of the roof – and even the right color I was looking for.
As I was adding royal icing to the snowy roof, I added some edible luster dust that gives it a shiny sparkle.
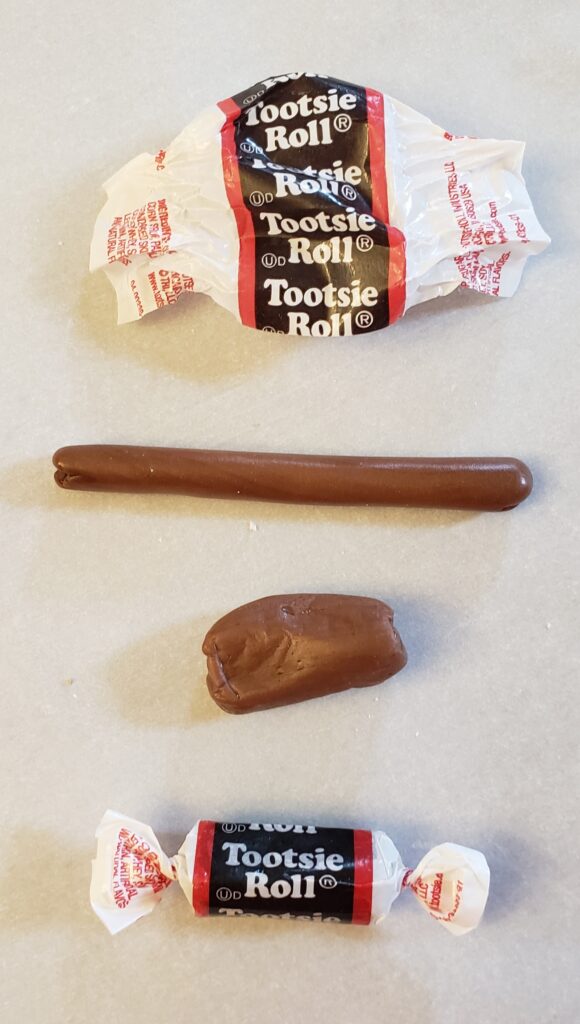
Tootsie Rolls can easily be shaped using the warmth of your hands.
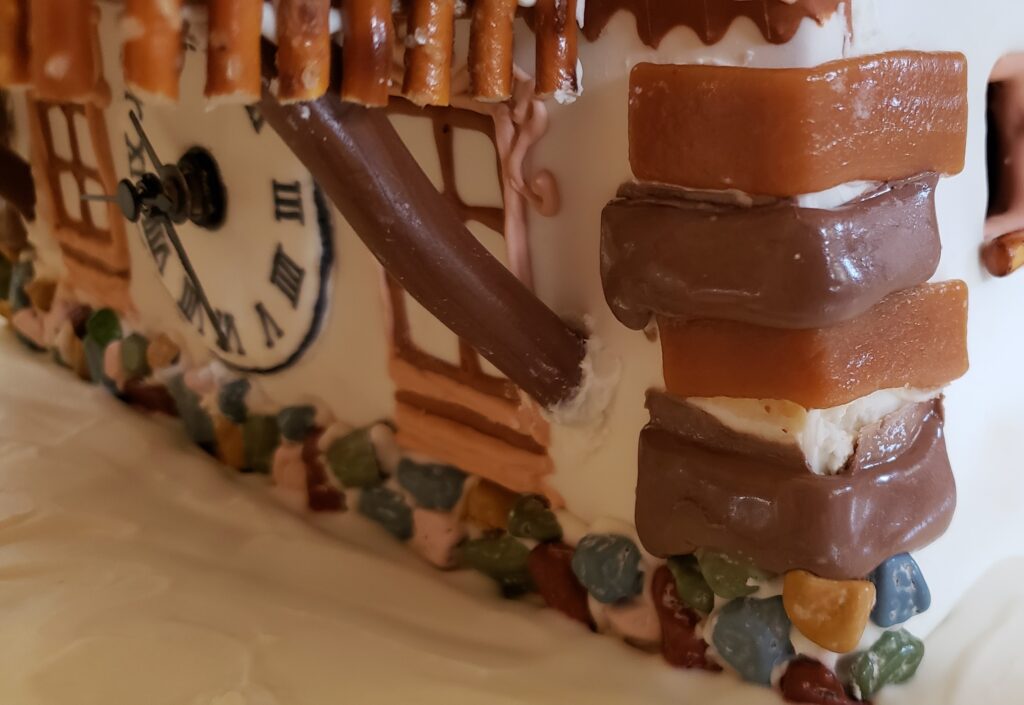
Woops – the darker brown taffy I used for the corner bricks were still soft and slipping down the next day! I had to push it up and do a little repair. The caramel corner did just fine. The Tootsie Roll that I re-rolled didn’t droop too much for the deck support.
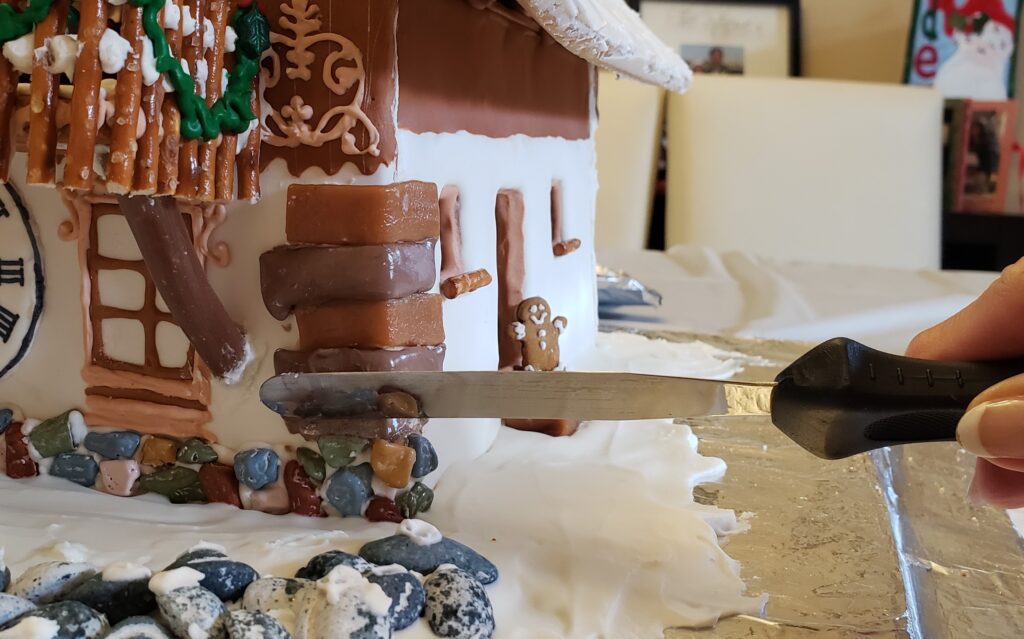
After the landscaping is complete with chocolate rocks (they taste like M&M’s!), the final step is to add the white swirly piping along the edges. Ready for display when the family comes over for Christmas dinner!
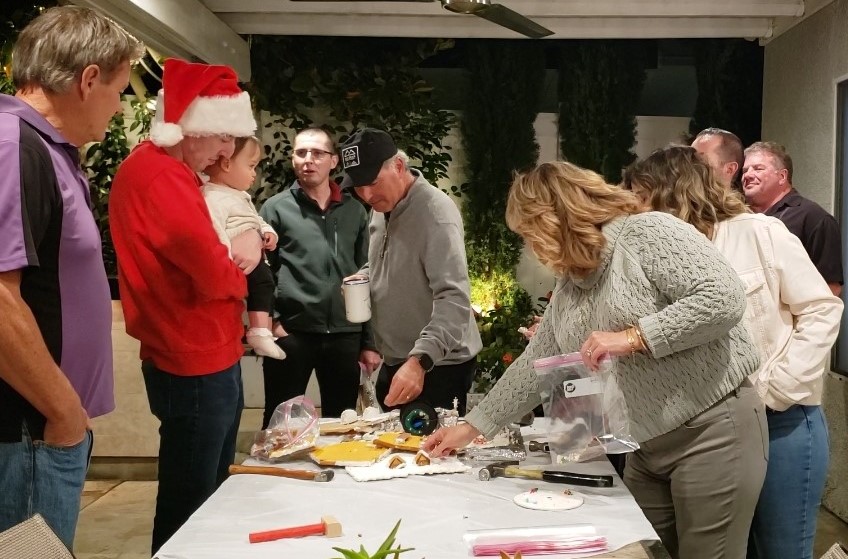
As you know, our gingerbread houses are only temporary. Our family has a ceremonial destruction-and-eating of the art piece at the end of the evening. This was baby Olivia’s first year to partake in the celebration. She was given a special wooden toy hammer for the first whack!
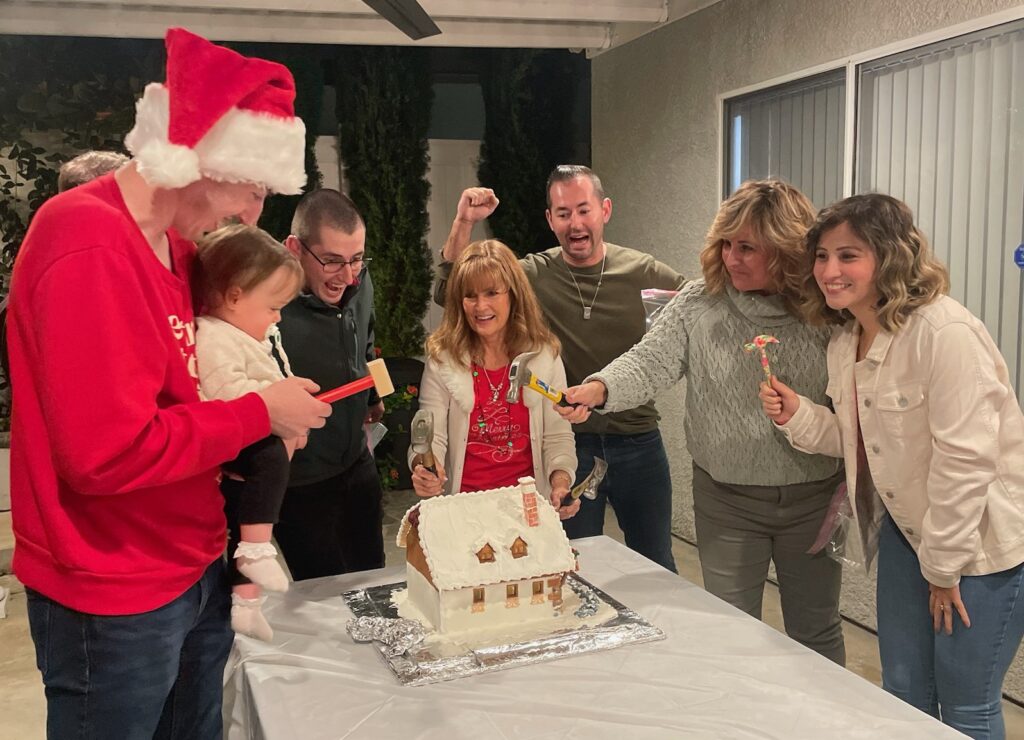
And just like that…the life of the gingerbread house is over! Time to think of what to create next in just 11 short months!
The End!