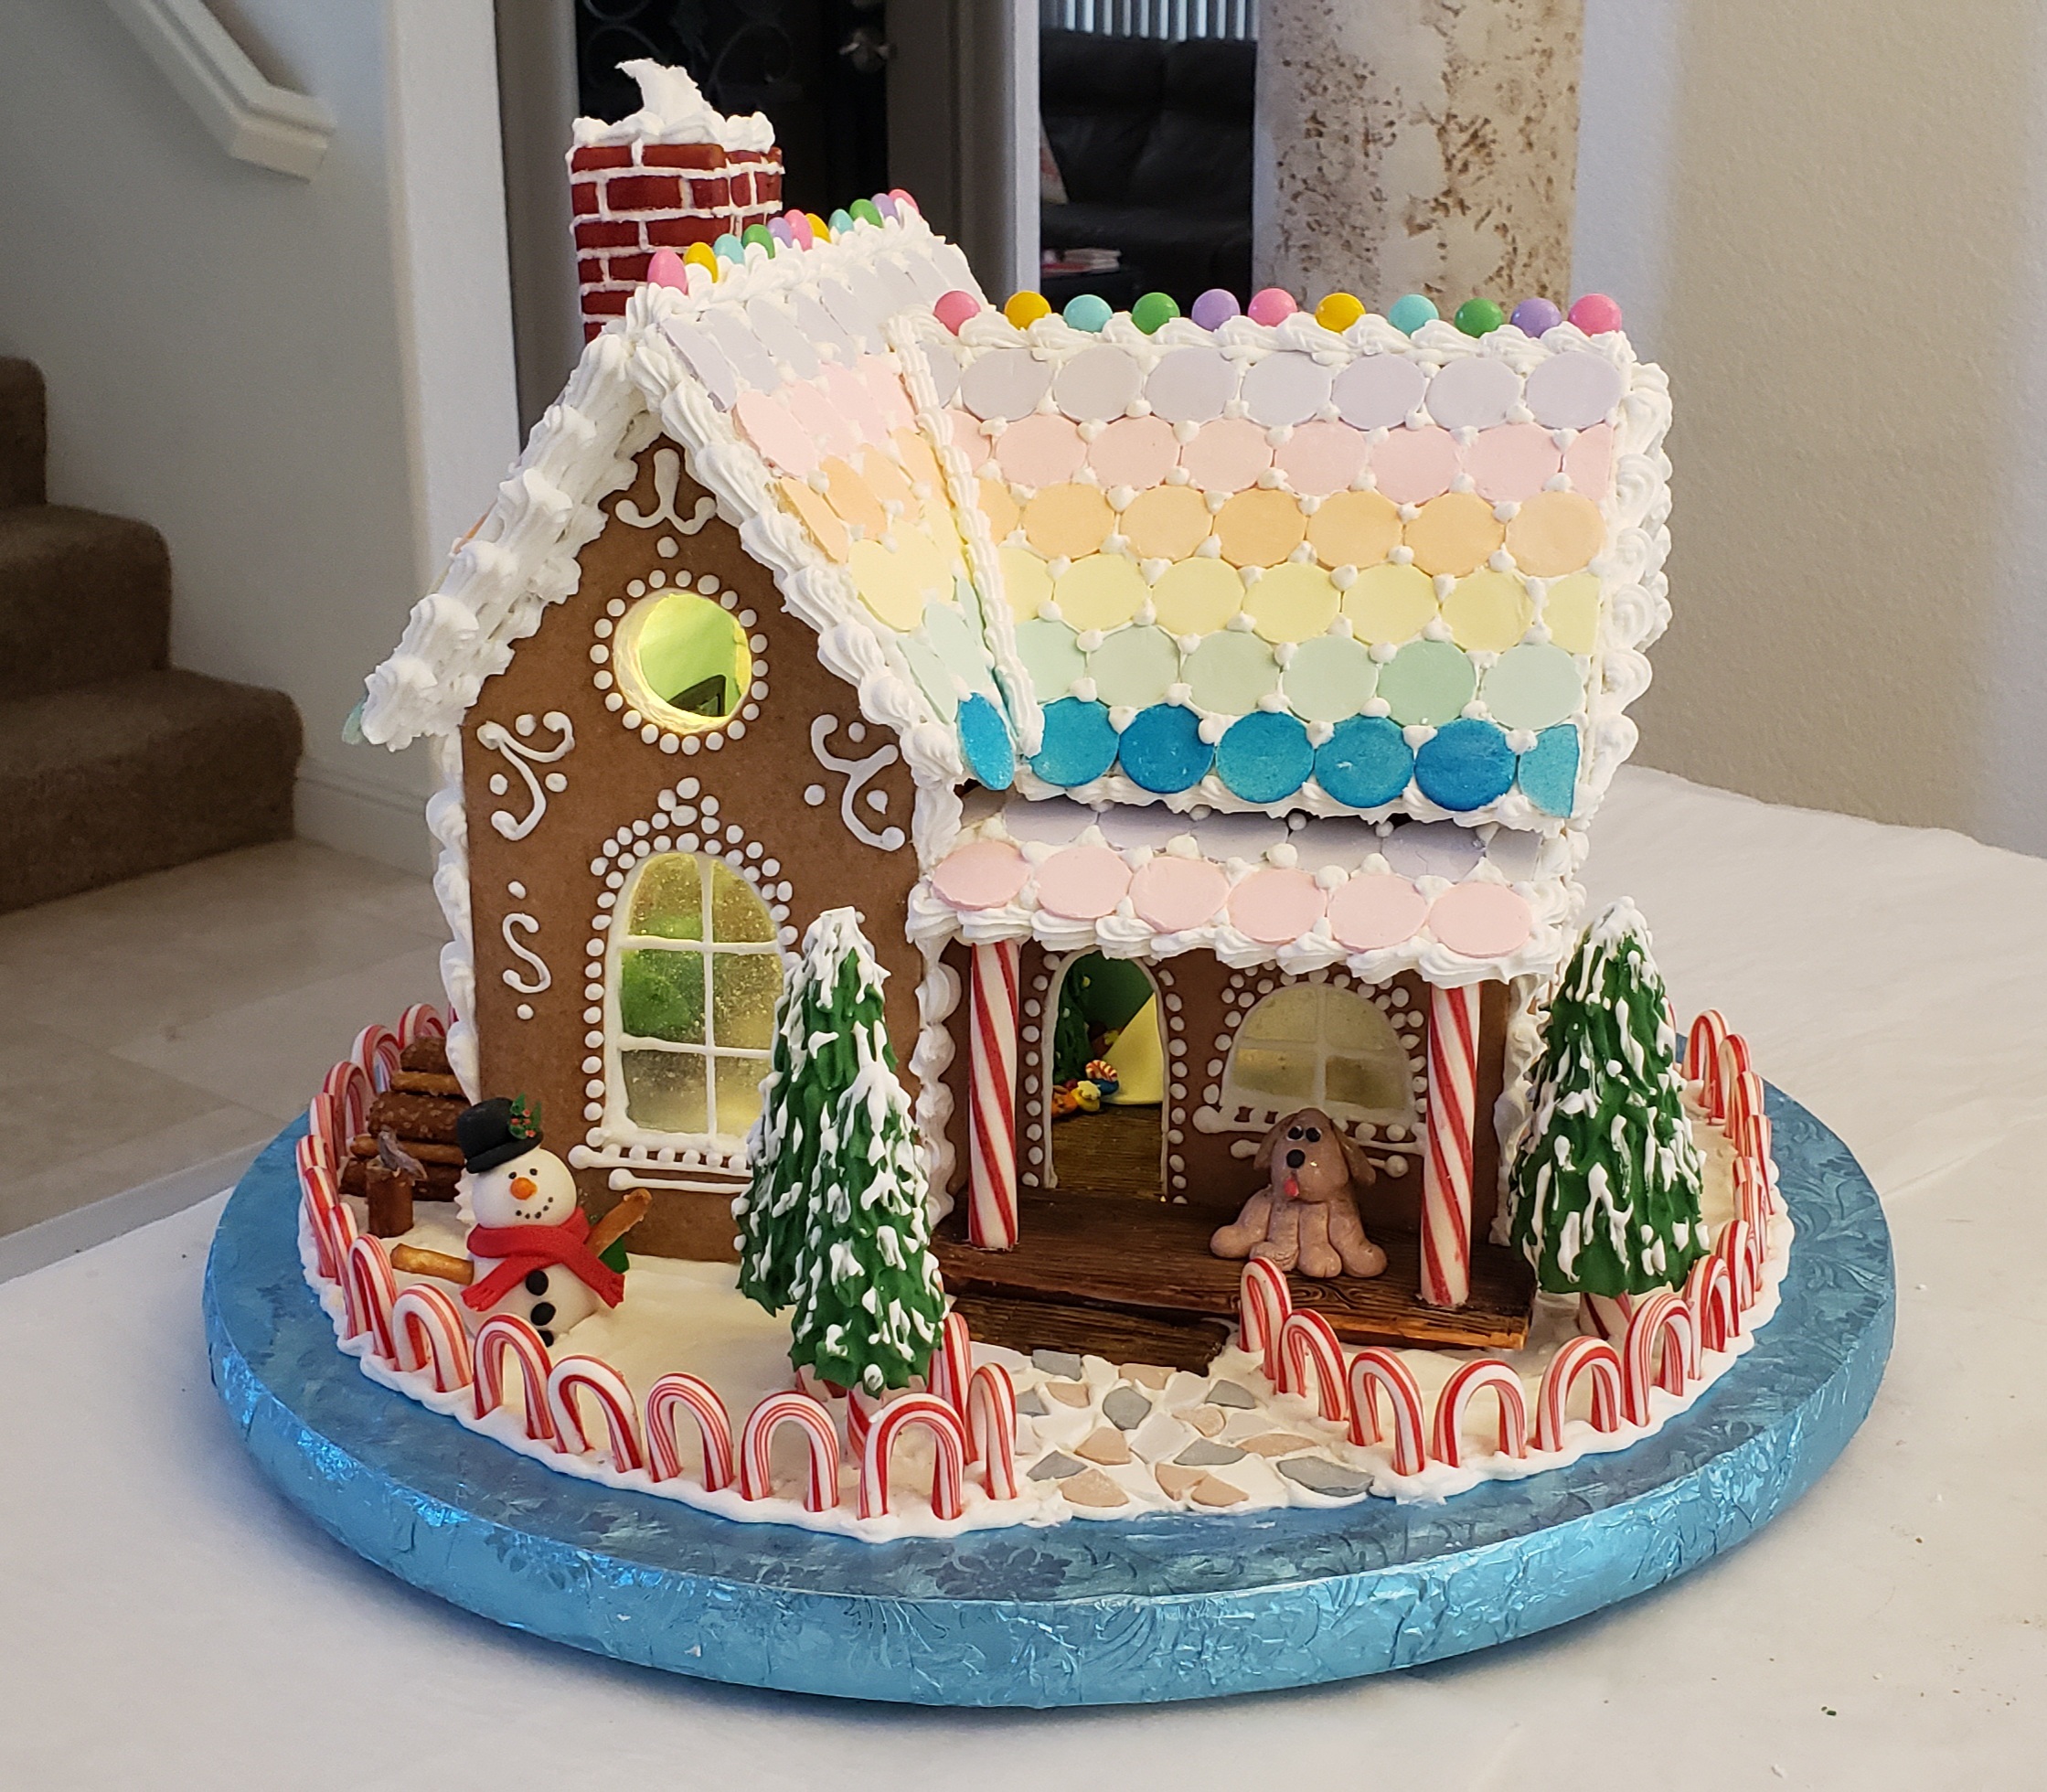
This was a fun house to create! We made this for an auction item and specifically for the presentation on The Art of Making Gingerbread Houses given on November 2, 2024. Click here to view the video presentation.

Just for fun, I kept track of my time, and the total hours came to 53.5 hours. If you multiply that amount times minimum wage, you can understand why this is a hobby and not a profession.
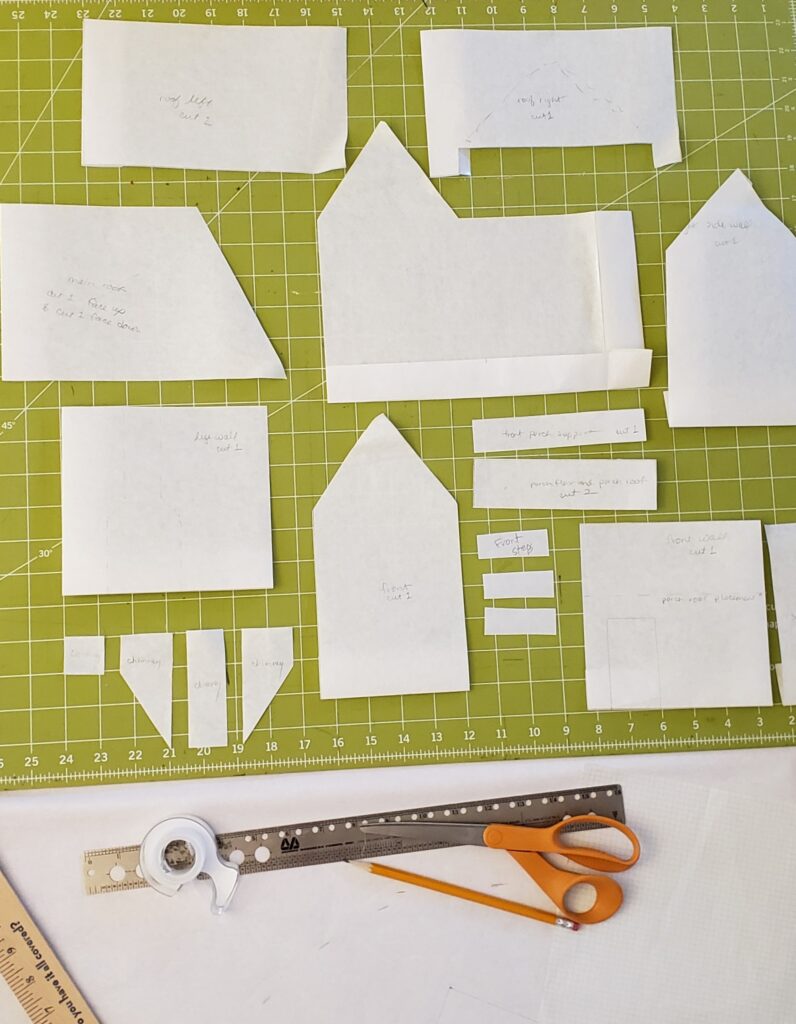
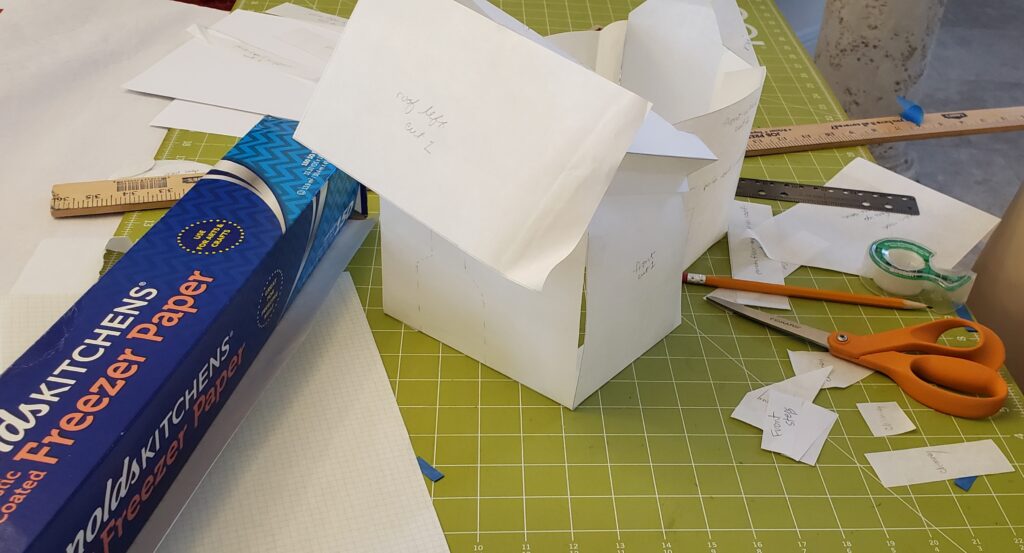
I always start with making a pattern, then tape them together to see if that’s the size I’d like…
These are all the pieces I baked and shaped:
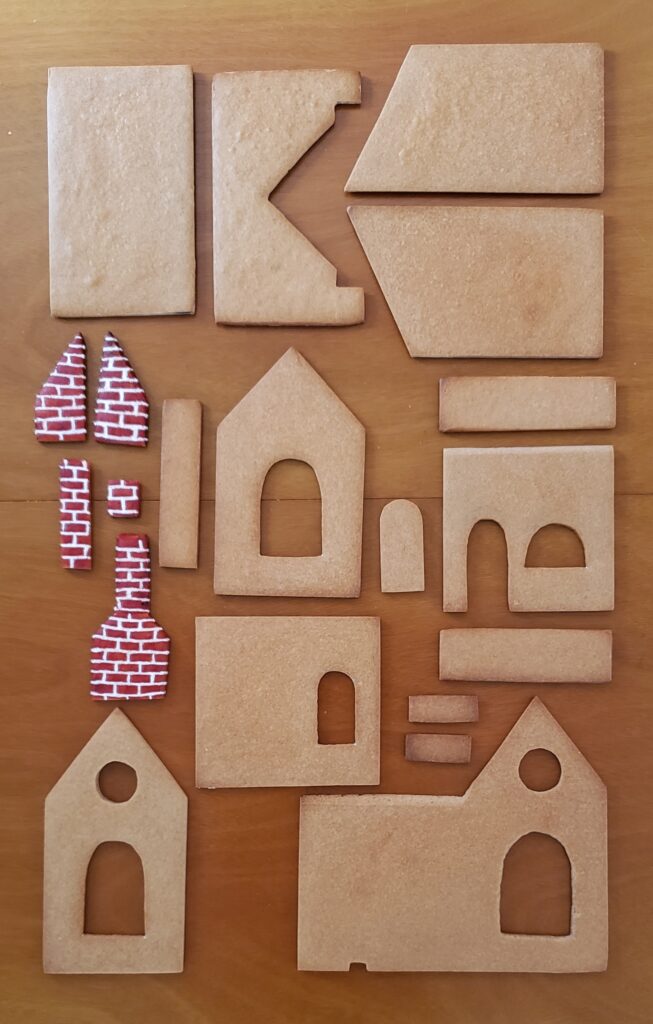
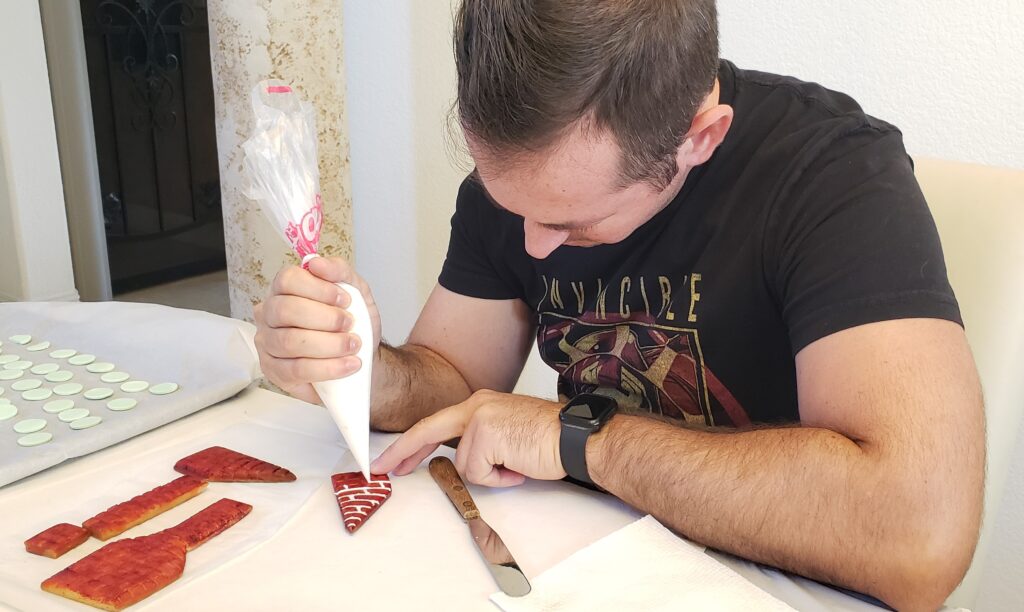
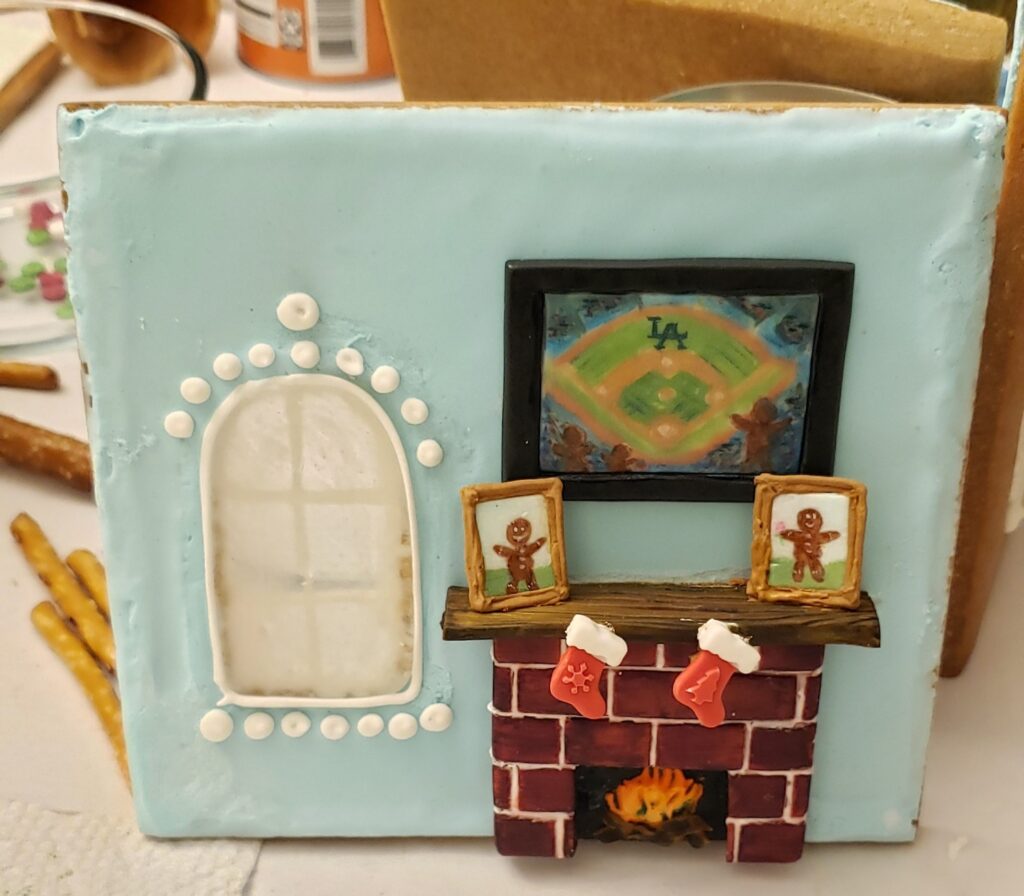
The fireplace was painted with red and brown color gel to look like bricks, then we piped white royal icing to look like mortar.
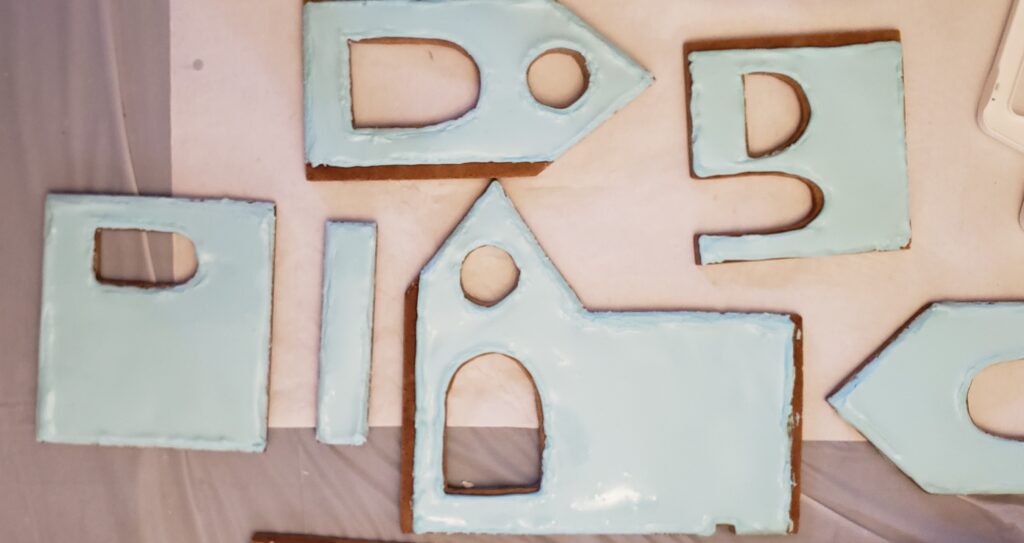
I added light blue flow royal icing to the inside of the pieces and let them dry overnight…
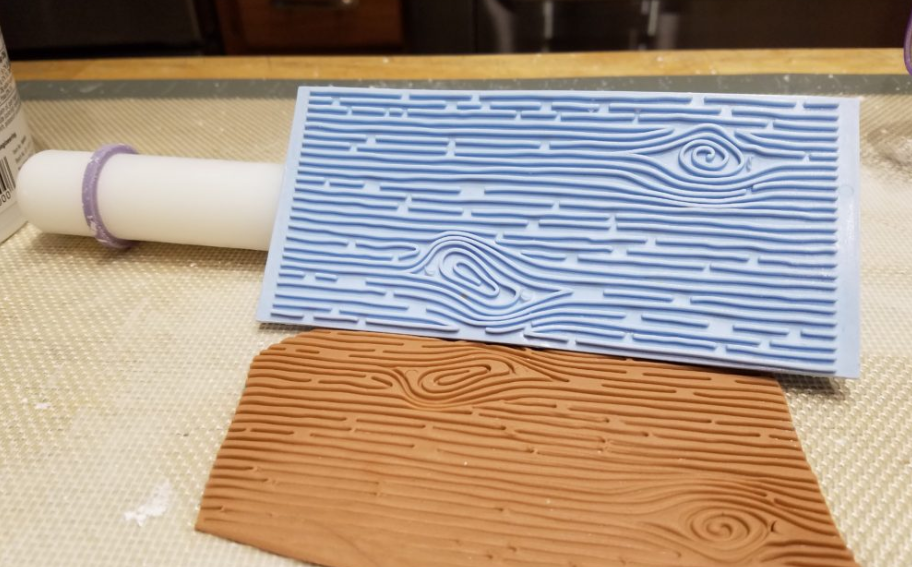
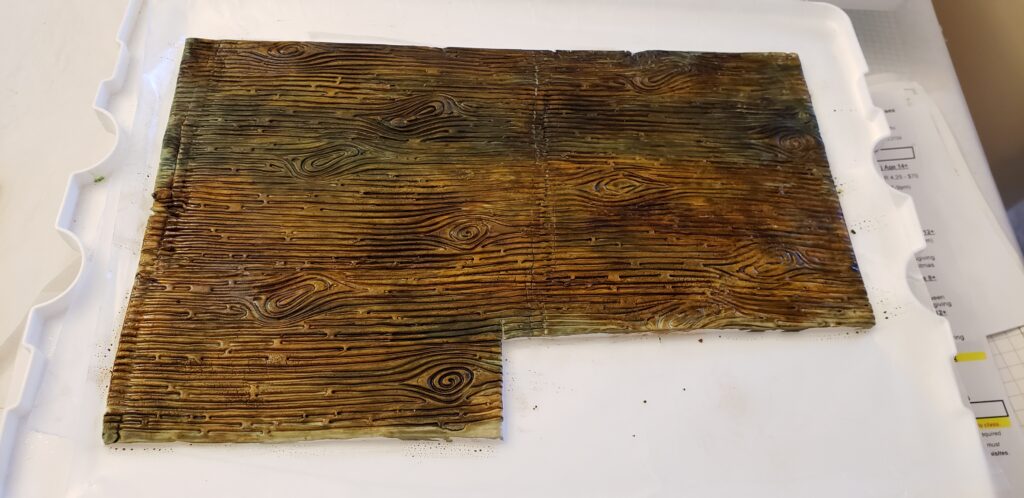
I rolled out some fondant and used a silicone impression mold that looks like wood:
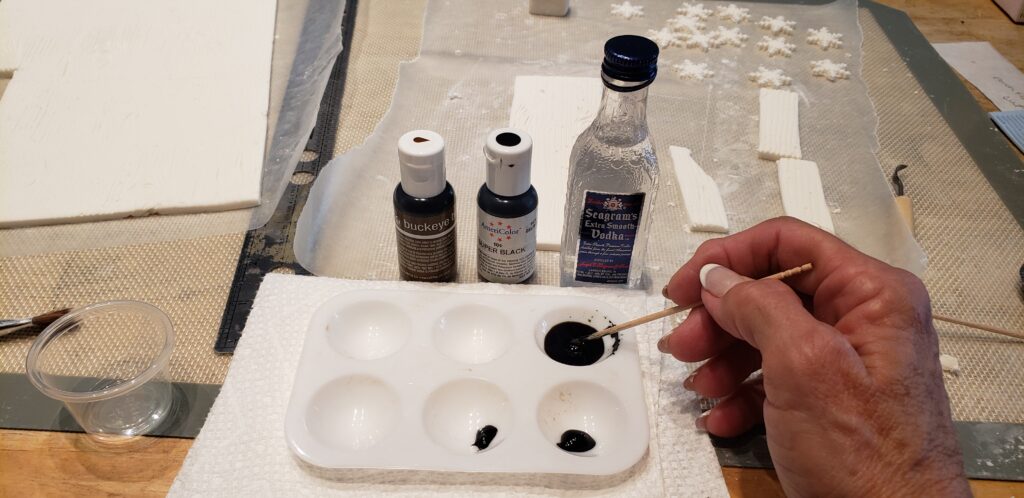
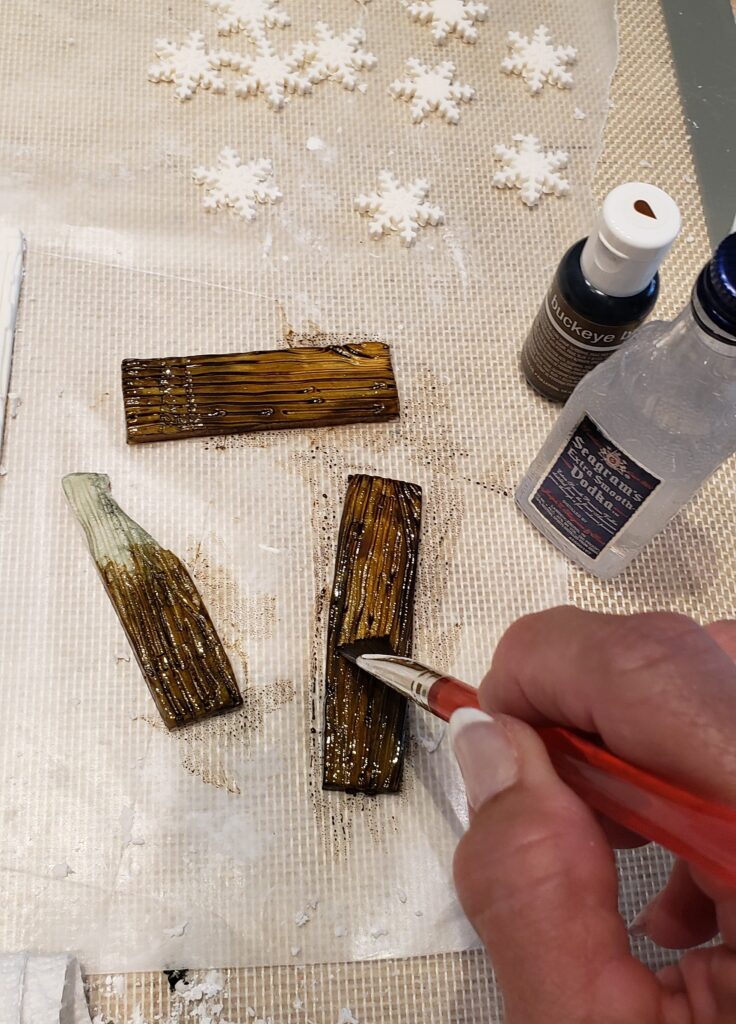
I mixed some brown and black edible color gel with Vodka (to thin out the gel) and added the color to the floor, porch, front step and mantel.
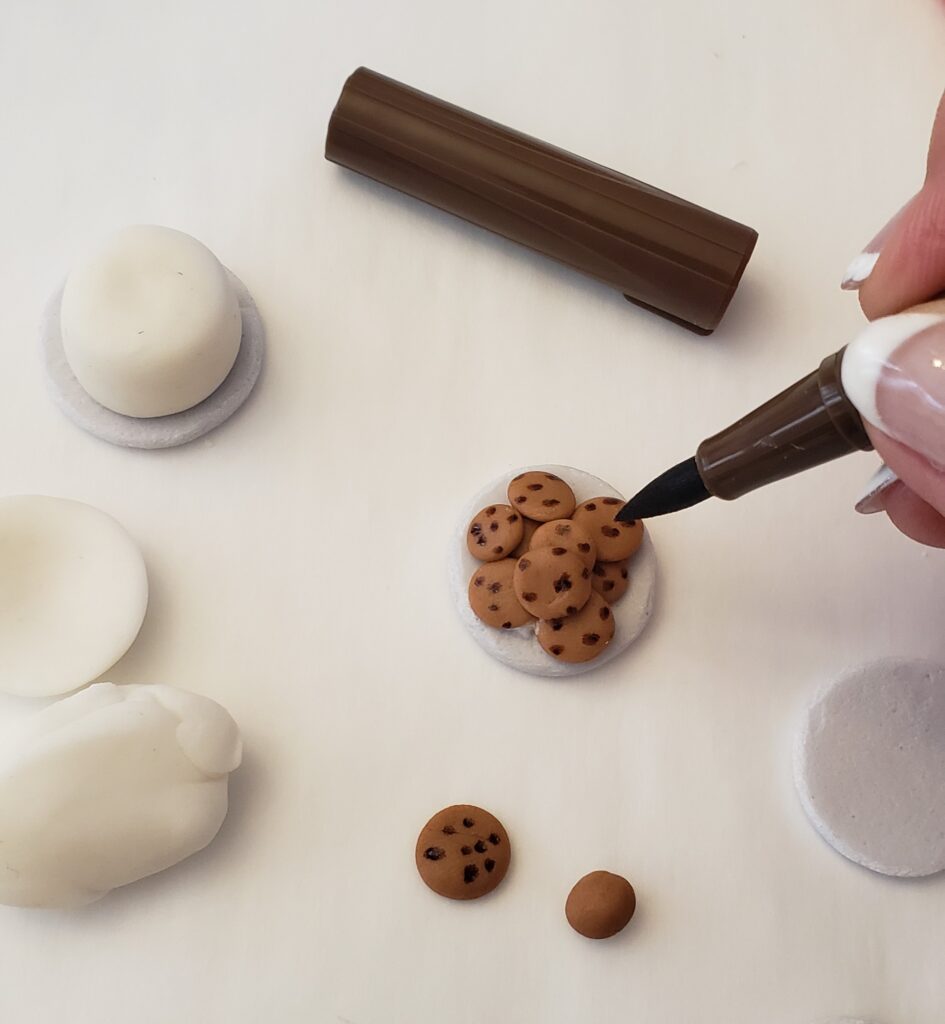
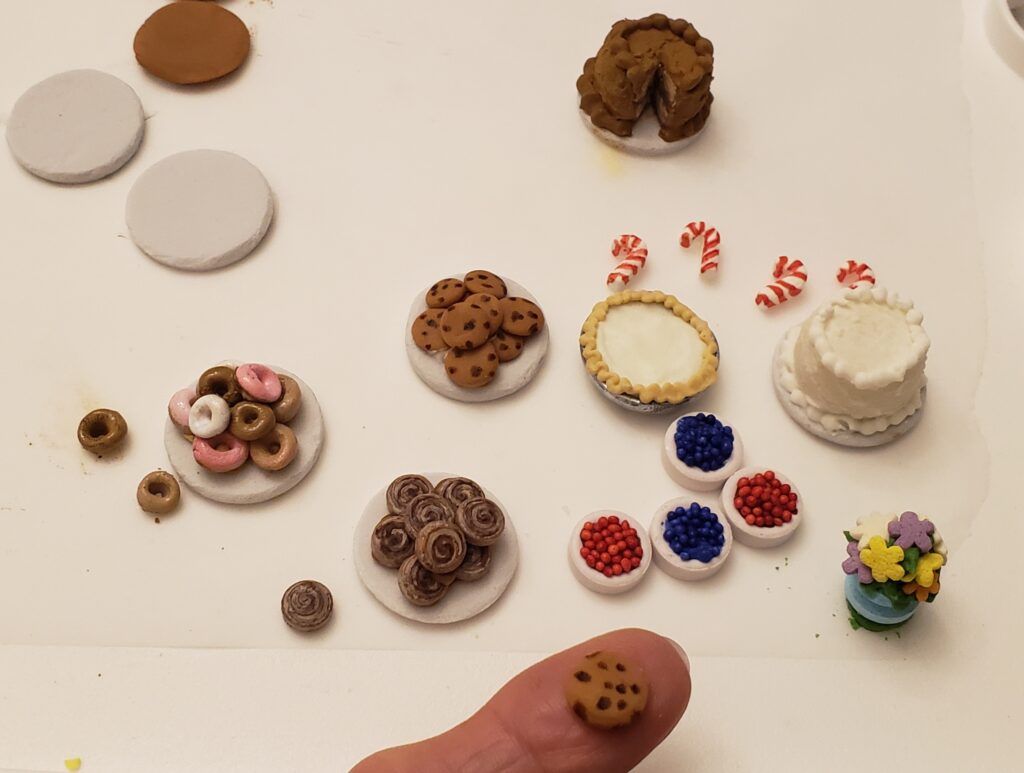
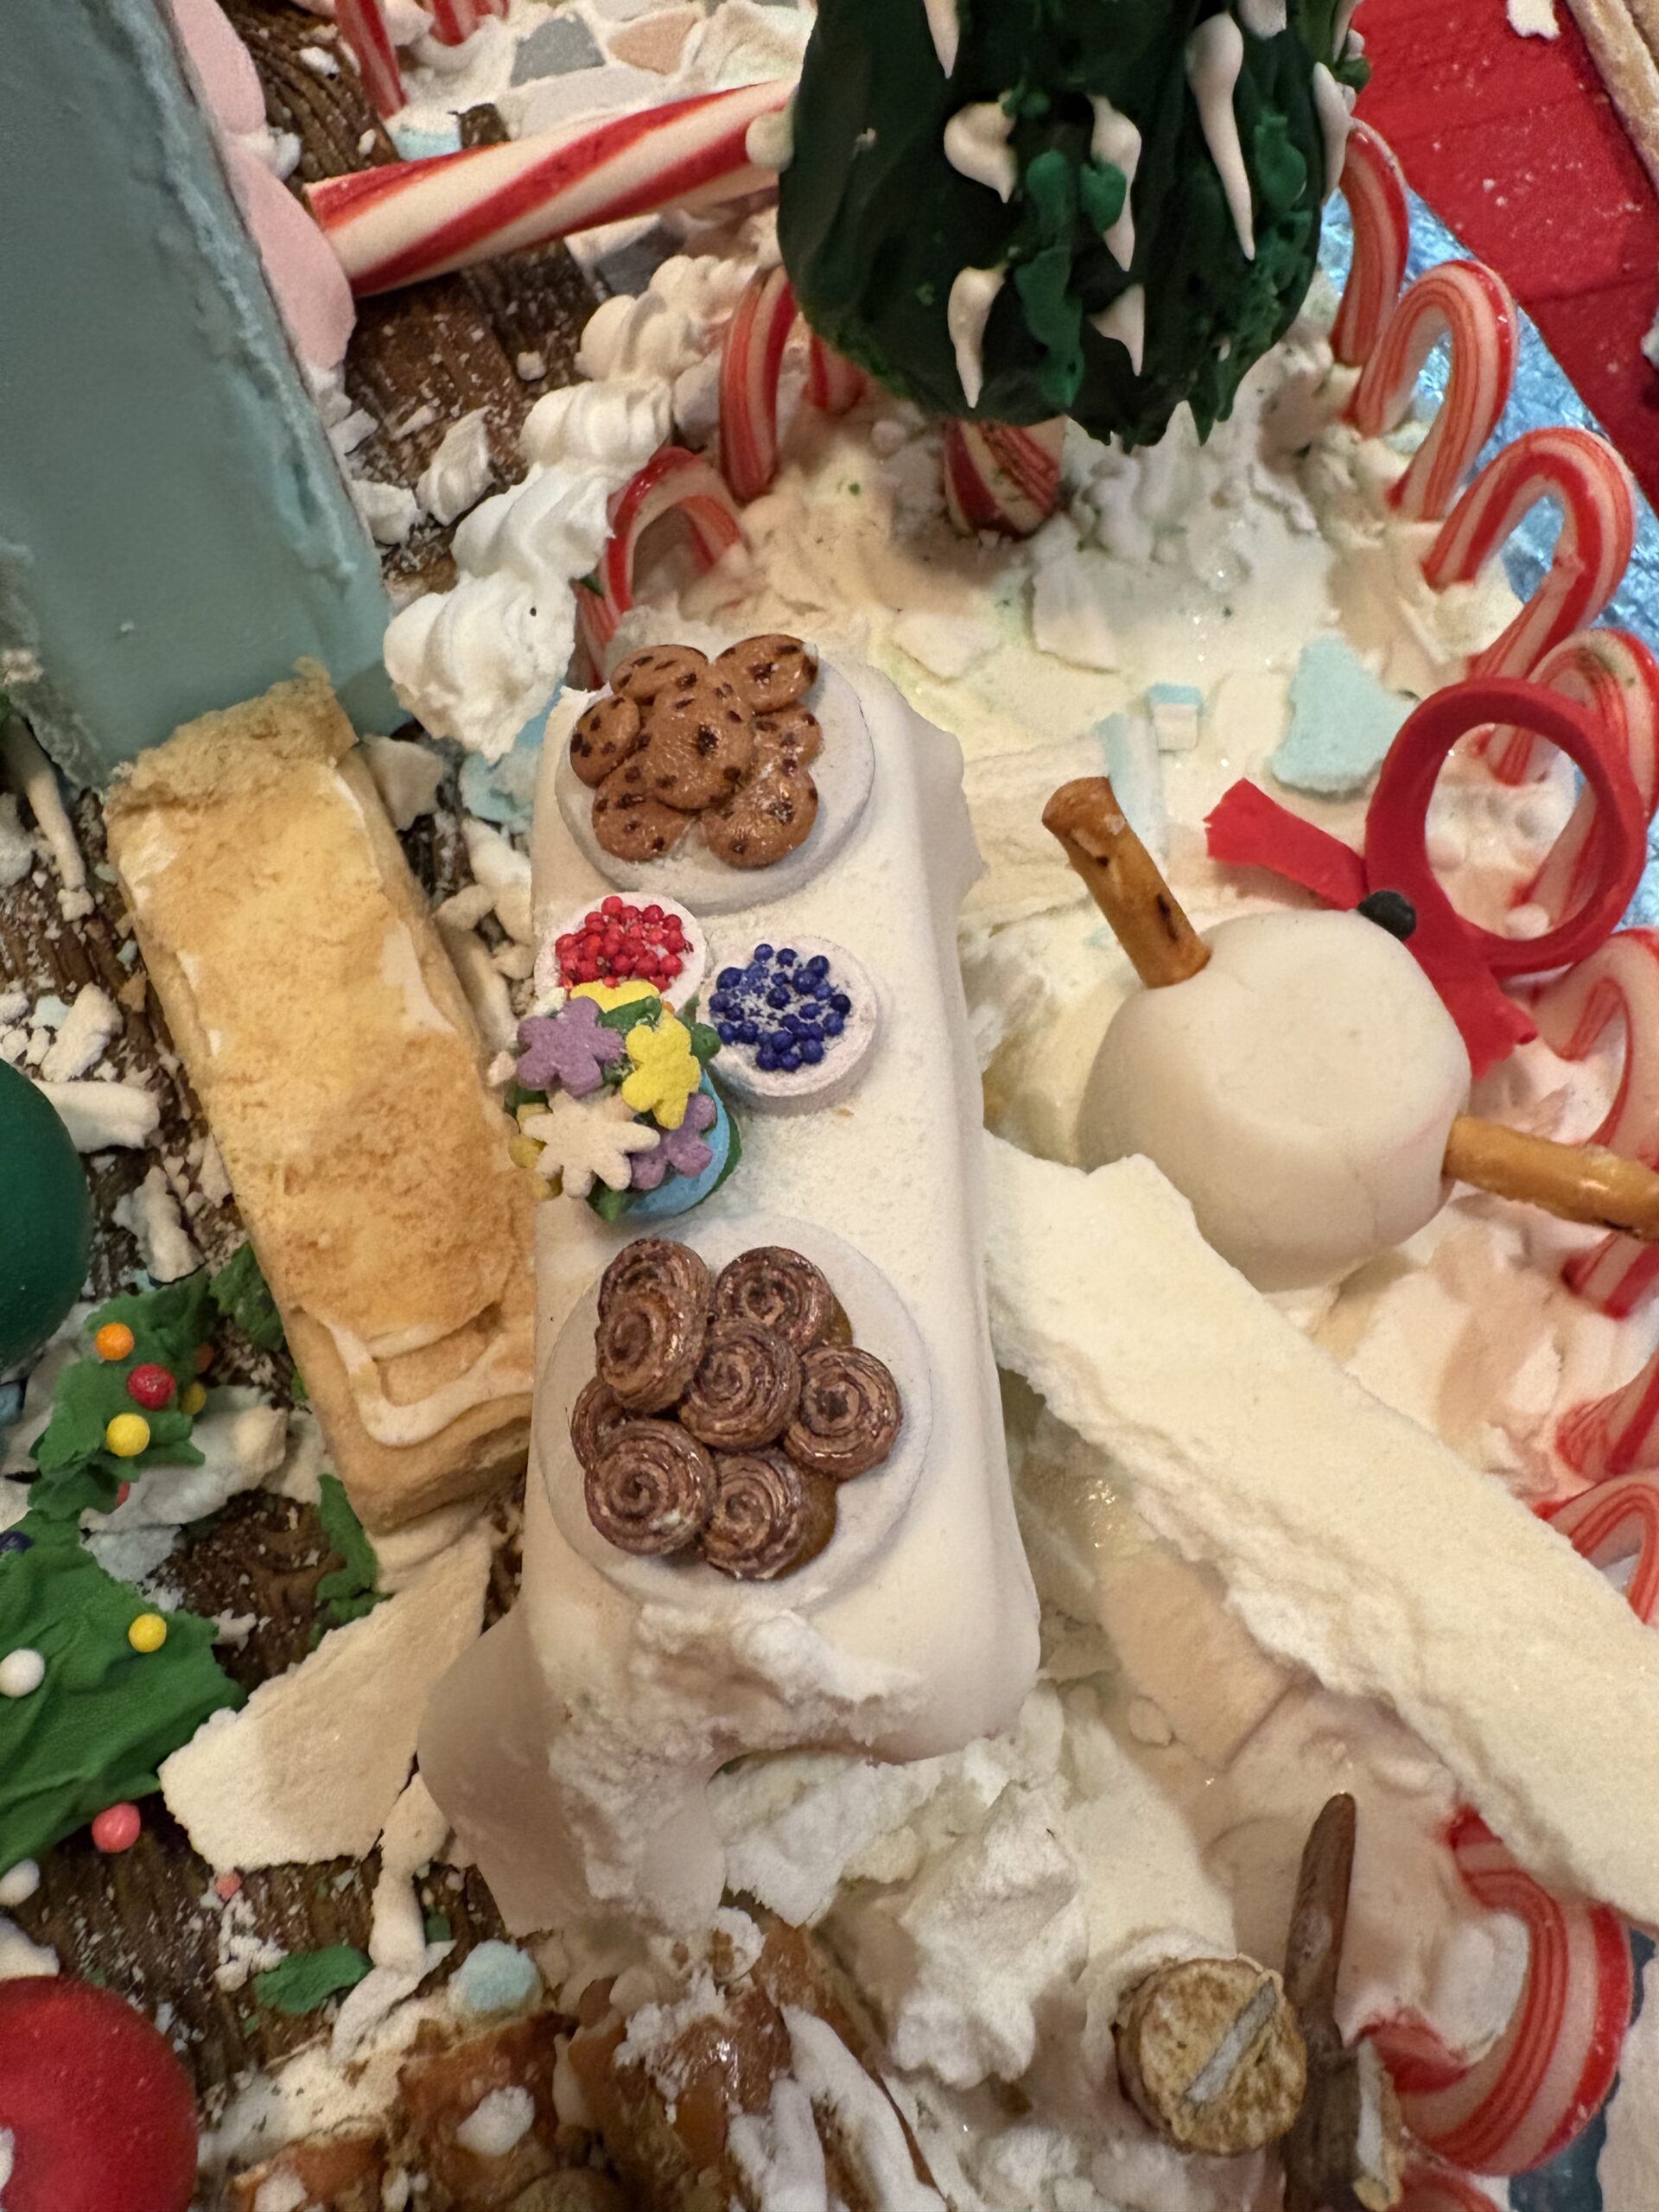
The little cookies, donuts, cakes, pies and pastries were fun to make from fondant! I’m adding “chocolate chips” with my brown edible marker.
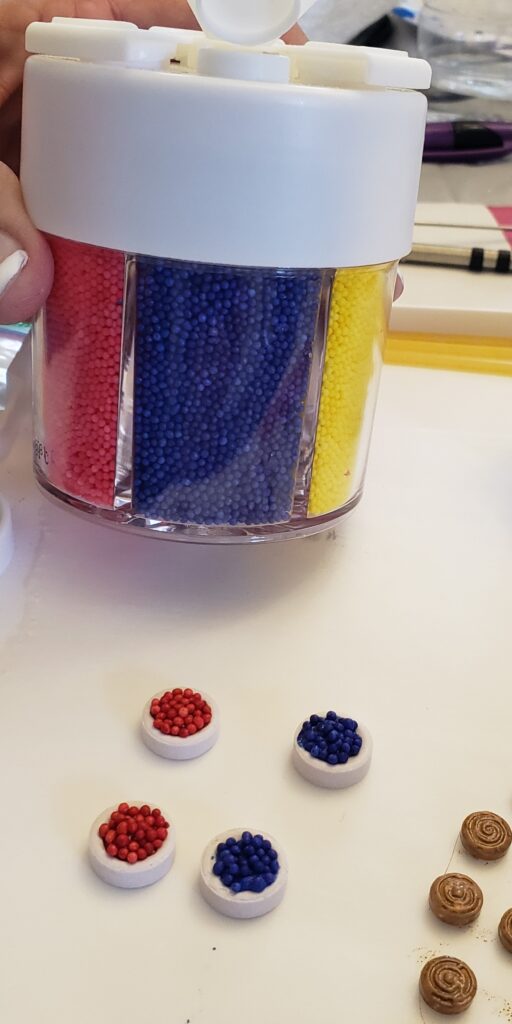
You can see how small these desserts are by the little cookie on my finger!
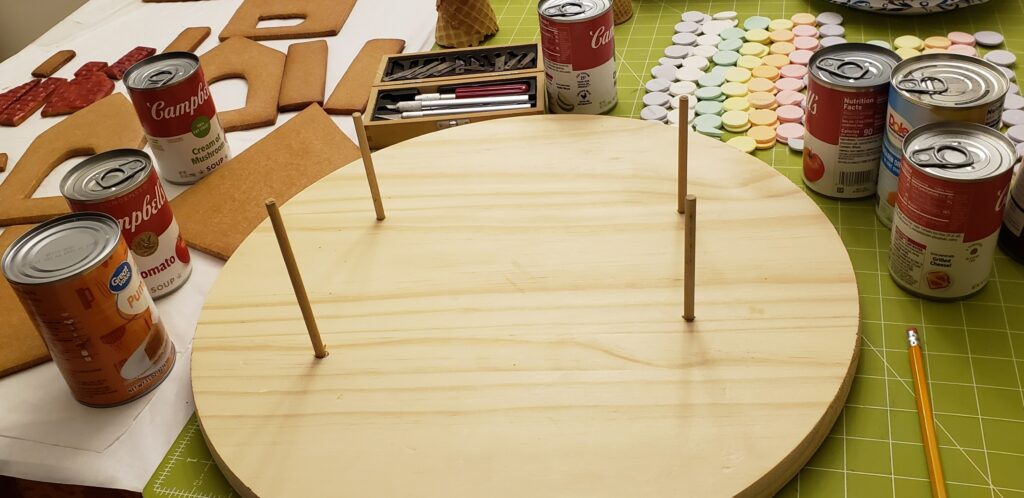
I usually add 1/4-inch wooden dowels by drilling into the wooden board for the four corners. That way the gingerbread house is more secure on the board. Next, I cover the round board with decorative aluminum foil.
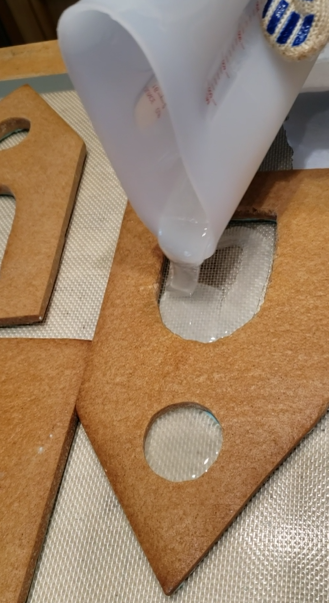
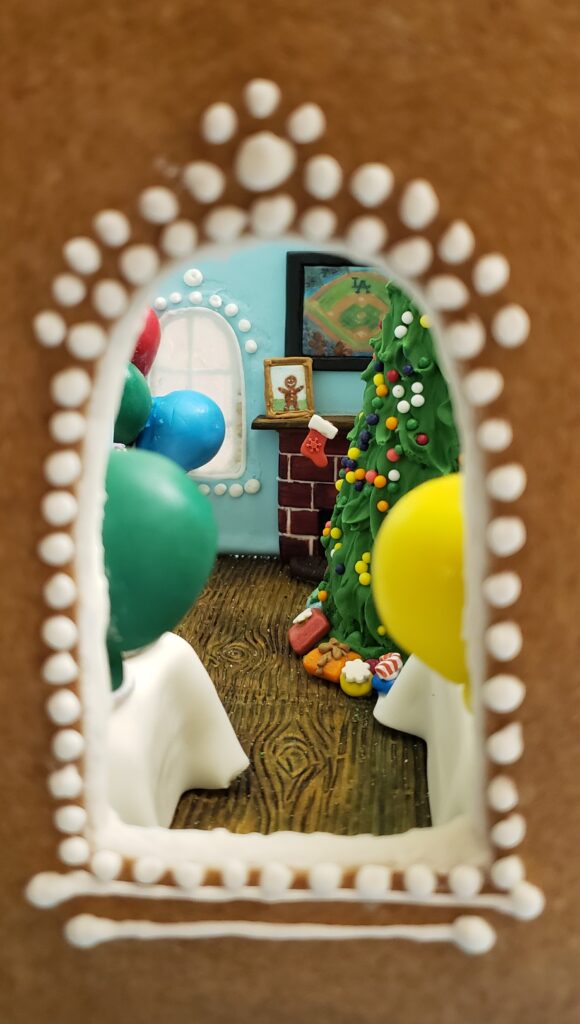
This time, I’m using melted isomalt for the windows. I heat the isomalt crystal cubes in a silicone measuring container in the microwave and pour it into the window. Because the isomalt windows are not completely clear, I’ve left some of the windows open to make the viewing inside easier.
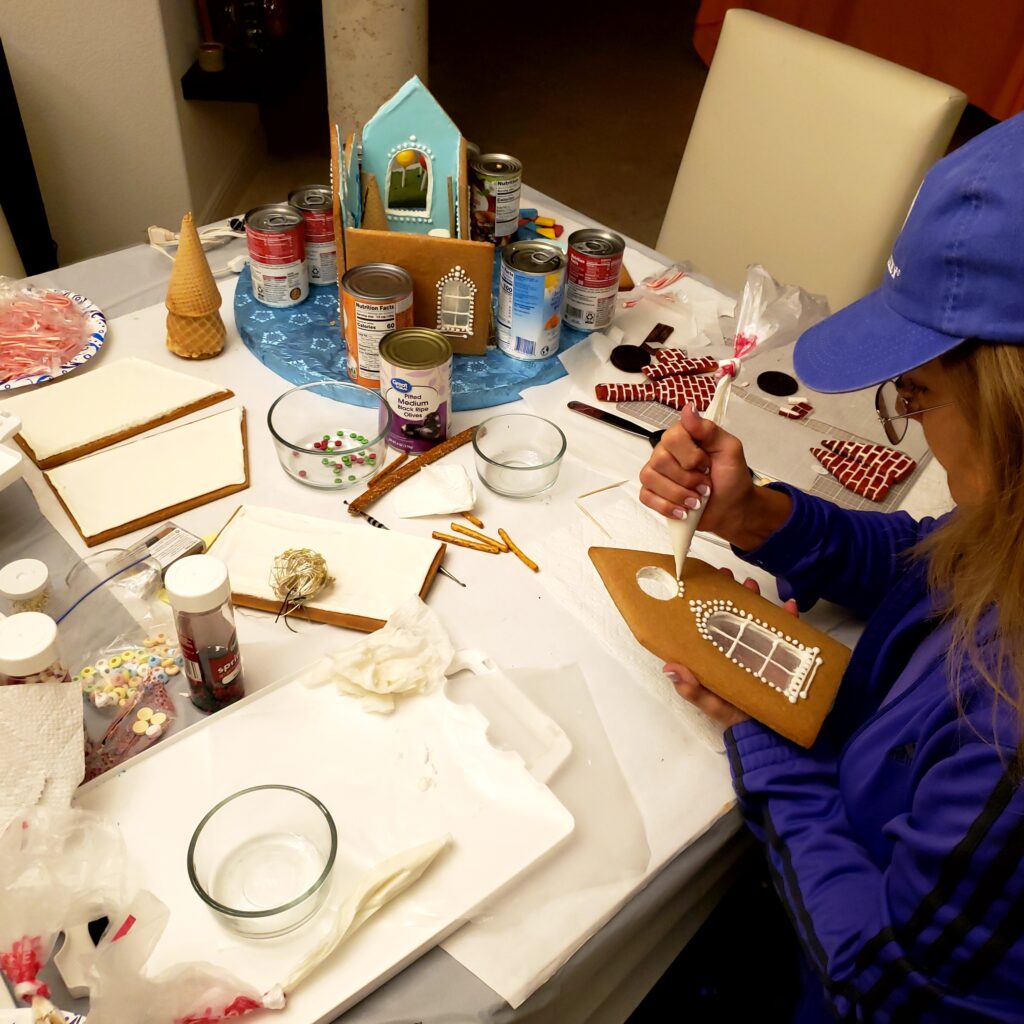
The first two walls are piped into place with royal icing (that acts like glue when it dries) and I decorate the outside of another wall.
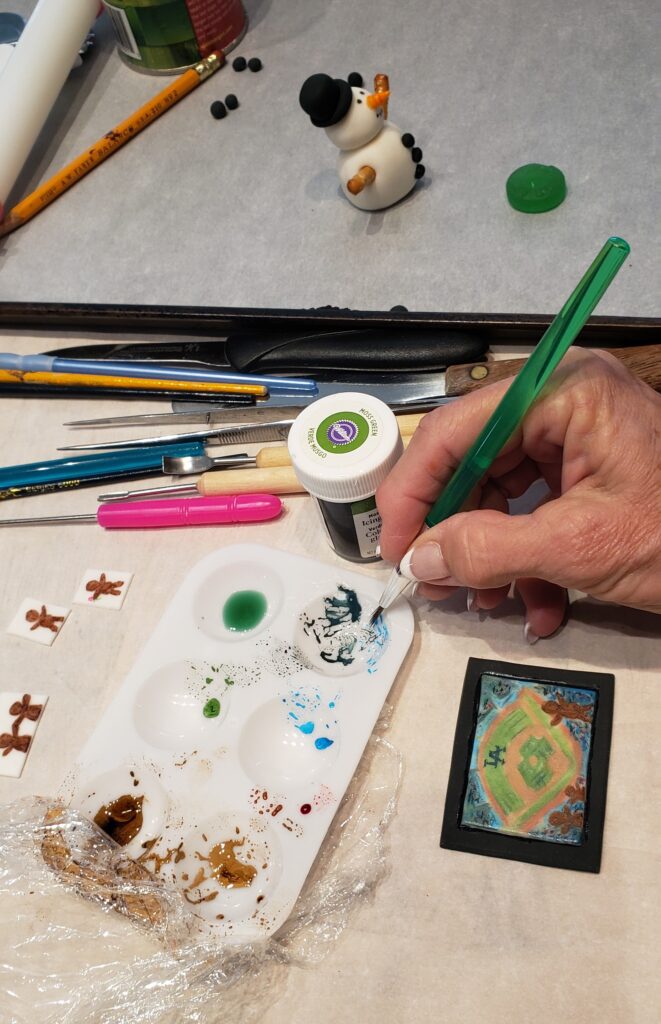
When I asked my husband for ideas on what I should put on the wall over the fireplace mantel, he said, “A flat screen TV, of course!” So, using color gels, I painted a little scene to look like the gingerbread men were at Dodger Stadium watching the baseball game! The day after I completed the gingerbread house, the Los Angeles Dodgers won the World Series!
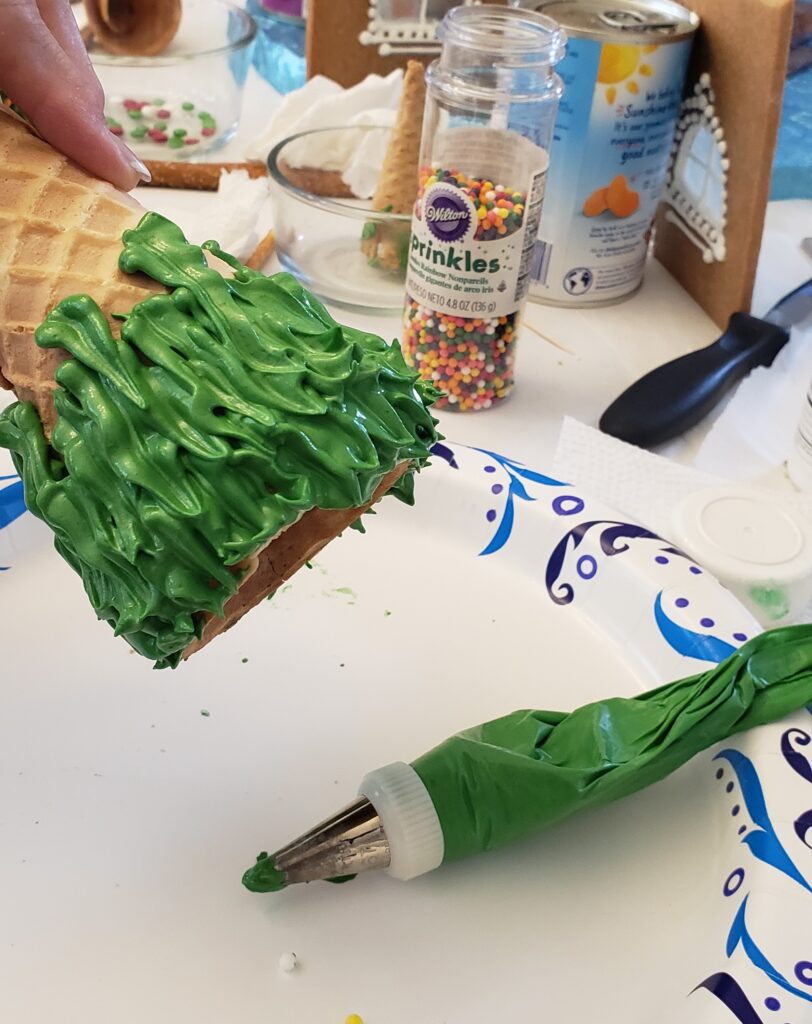
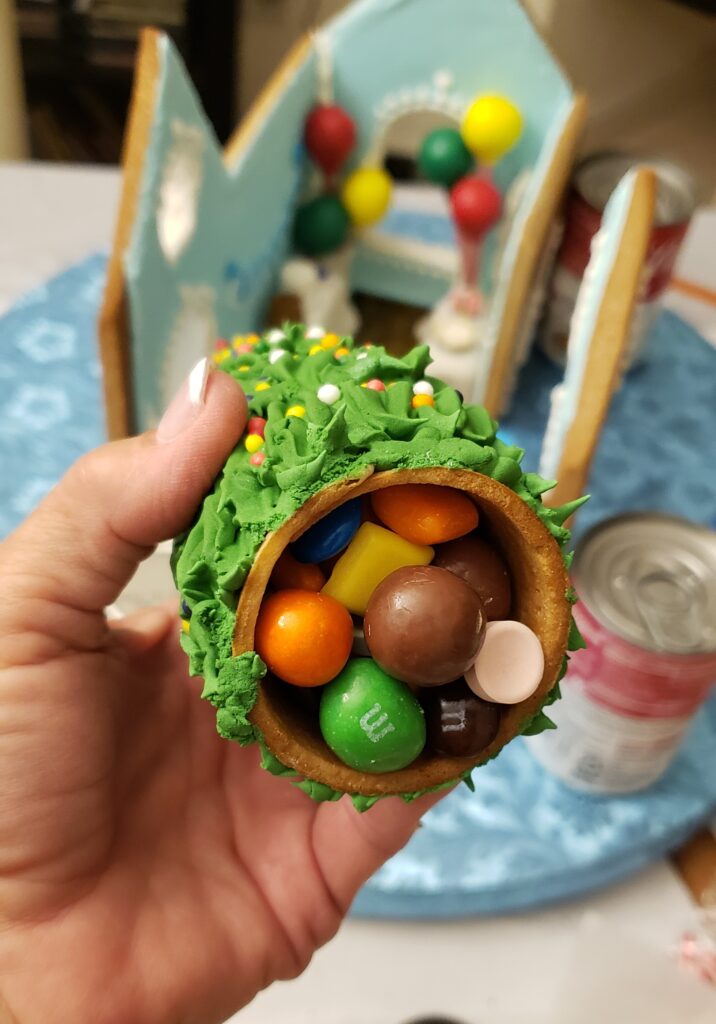
The Christmas trees are ice cream cones turned upside down. I use a leaf piping tip starting at the bottom. The colored sprinkles are added while the royal icing is still wet. Eventually, I balance the tree on a container so I can finish piping the top of the tree.
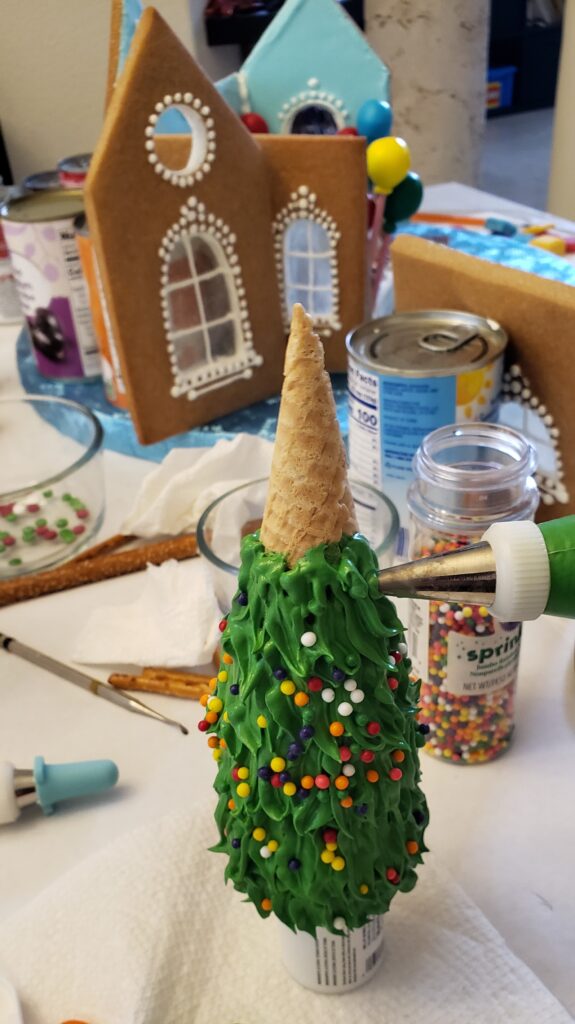
Once the green royal icing is dry, I hide some candy inside the cone and pipe the bottom of the tree to the floor.
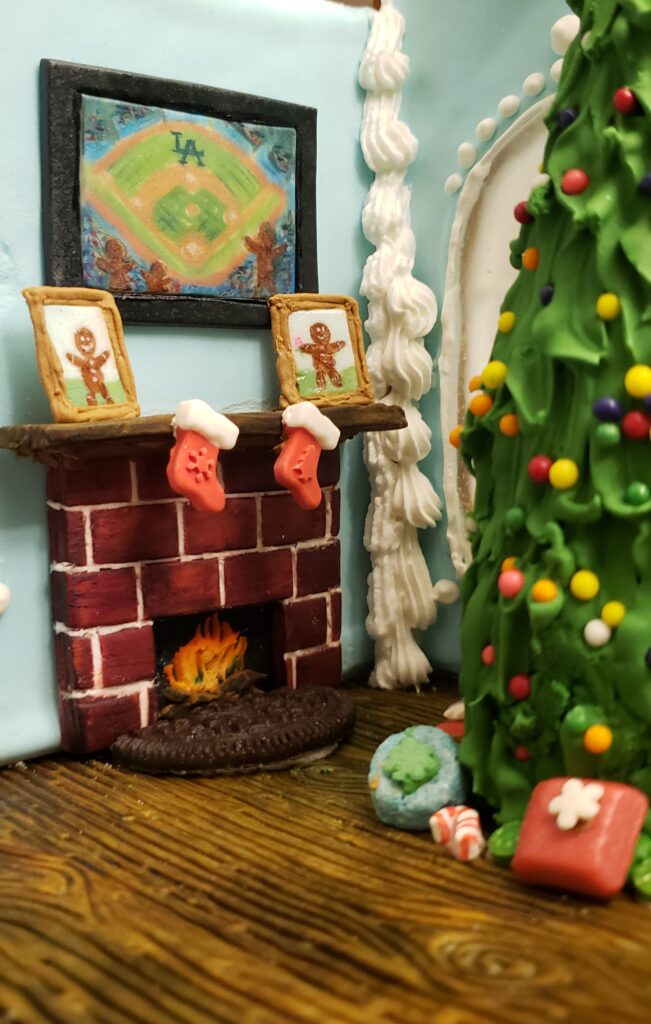
I must take photos of the inside before I add the roof!
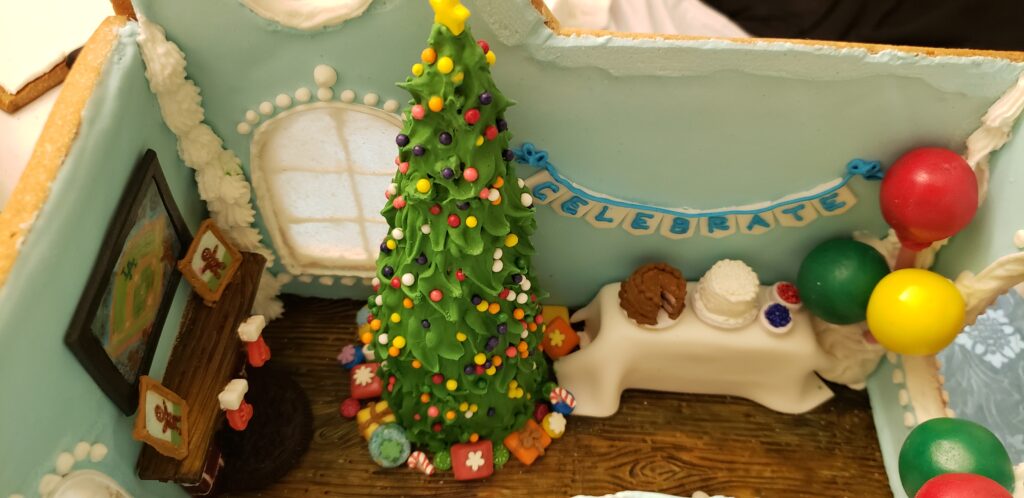
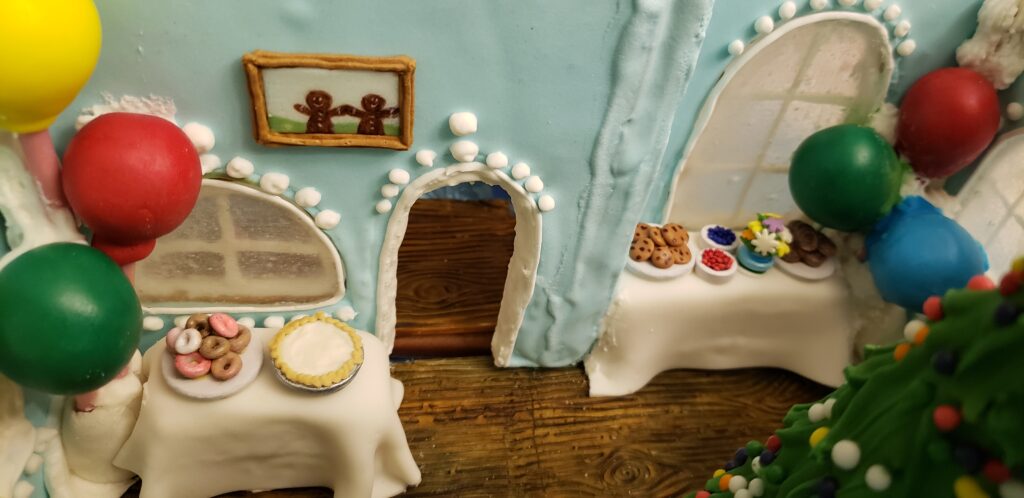
Here’s a view from the top:
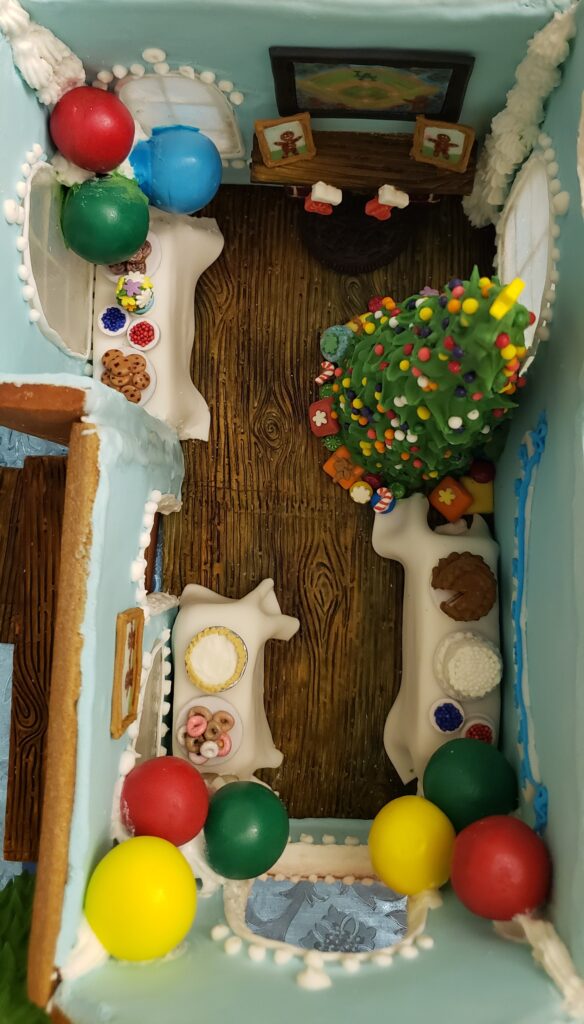
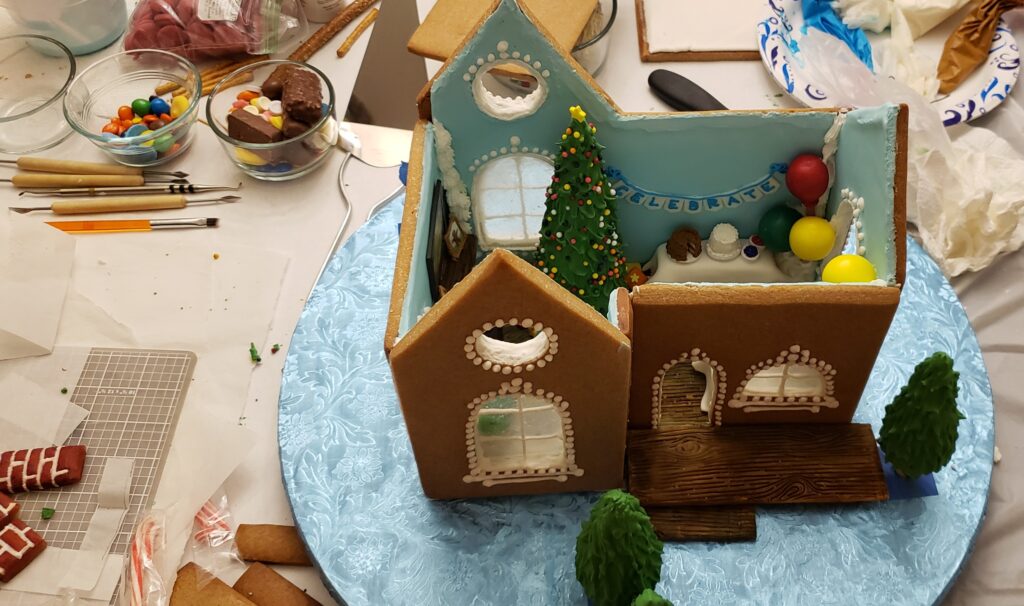
Here is the view from the side window…
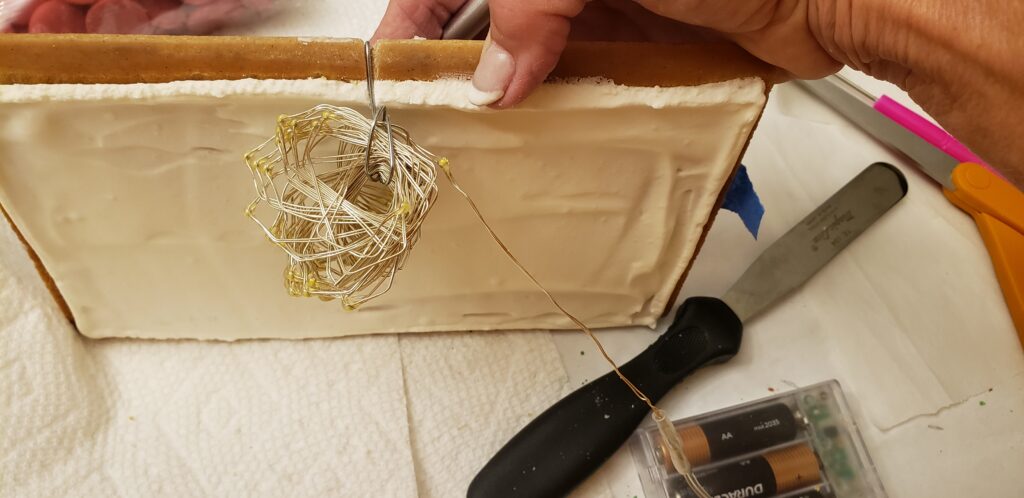
Now I can add the lights to the ceiling and make sure they’re secure by drying the icing overnight.
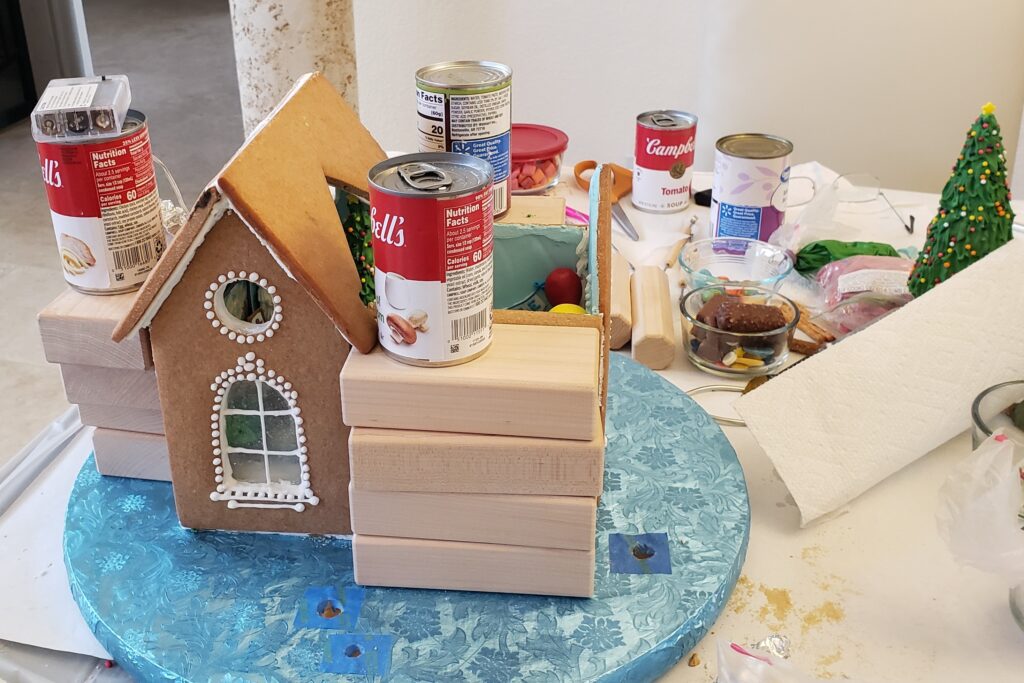
I add royal icing piping to the roof and stabilize it with wooden block and soup cans and also dry overnight.
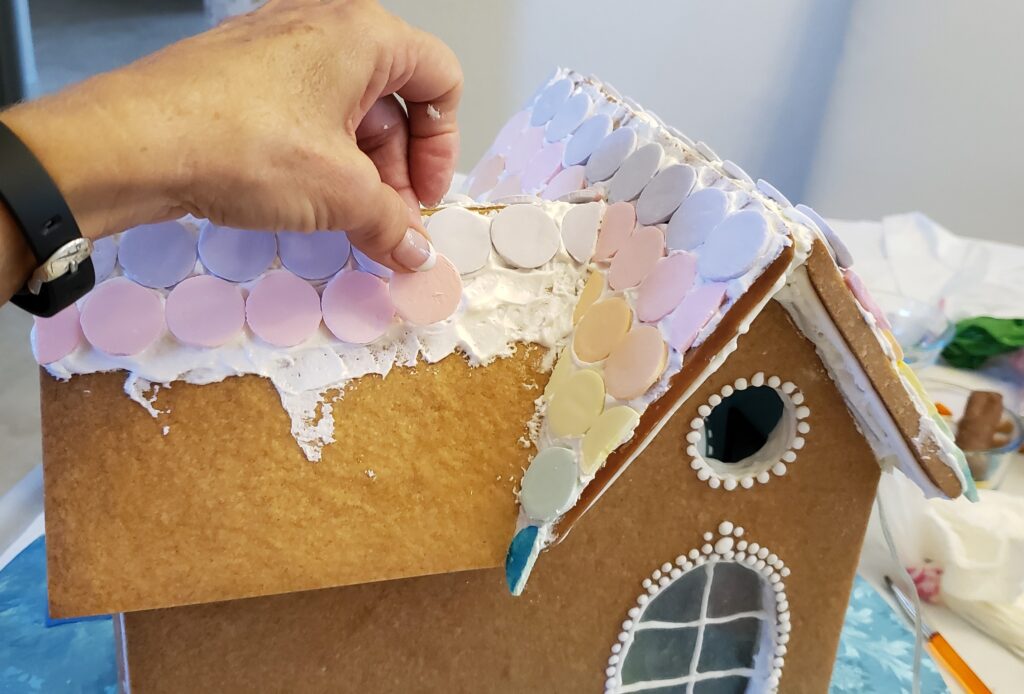
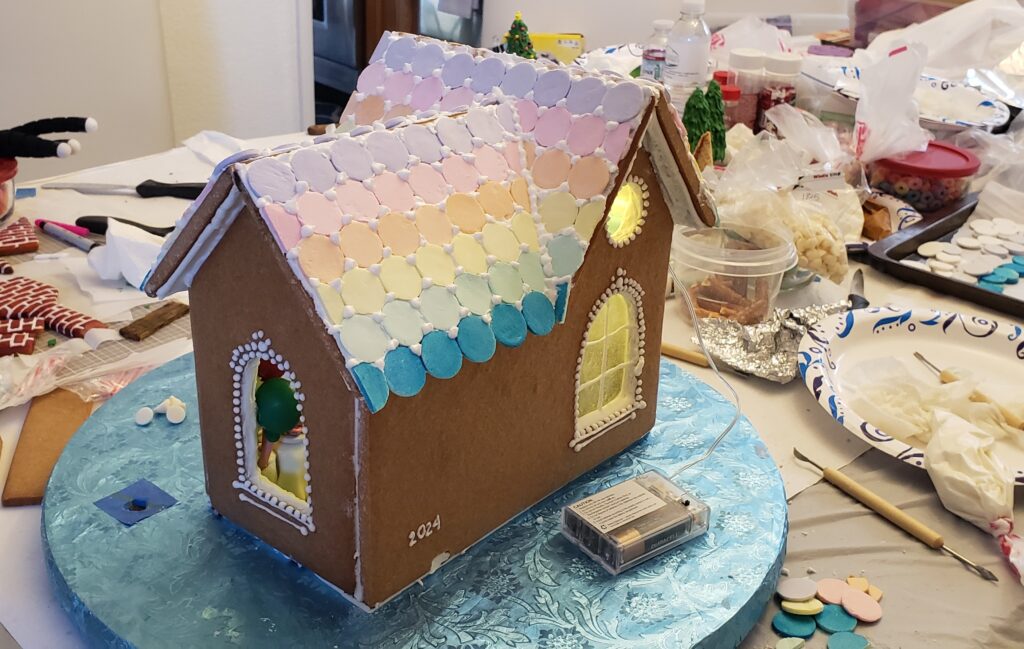
Now I can add the Necco wafer candies staring from the top. If I had overlapped them like I’ve done in the past (like shingles), I would have started at the bottom.
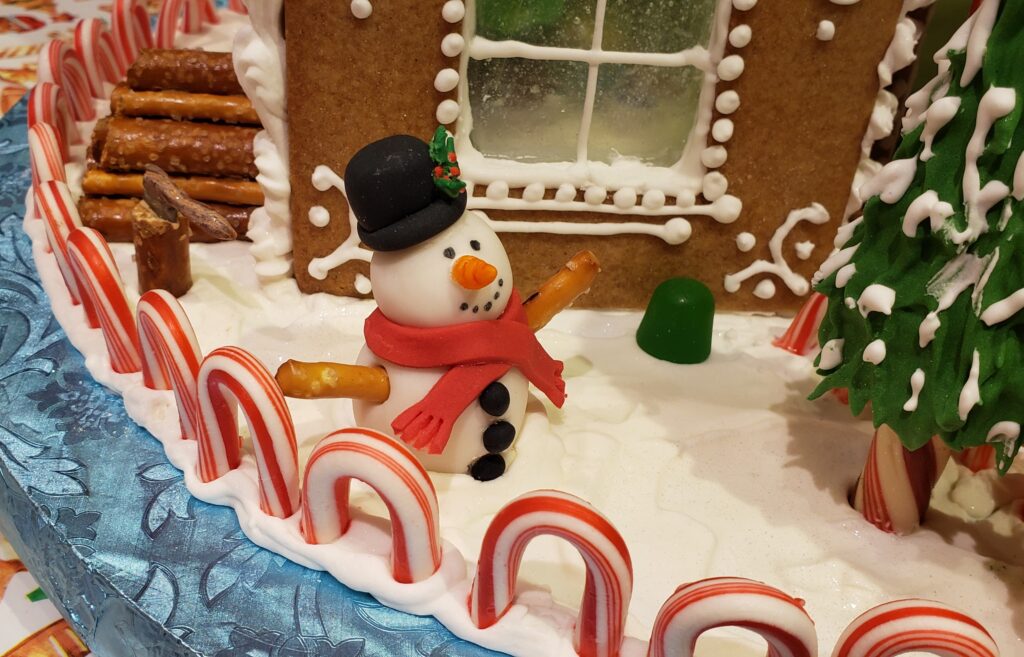
The snowman and dog are made from fondant.
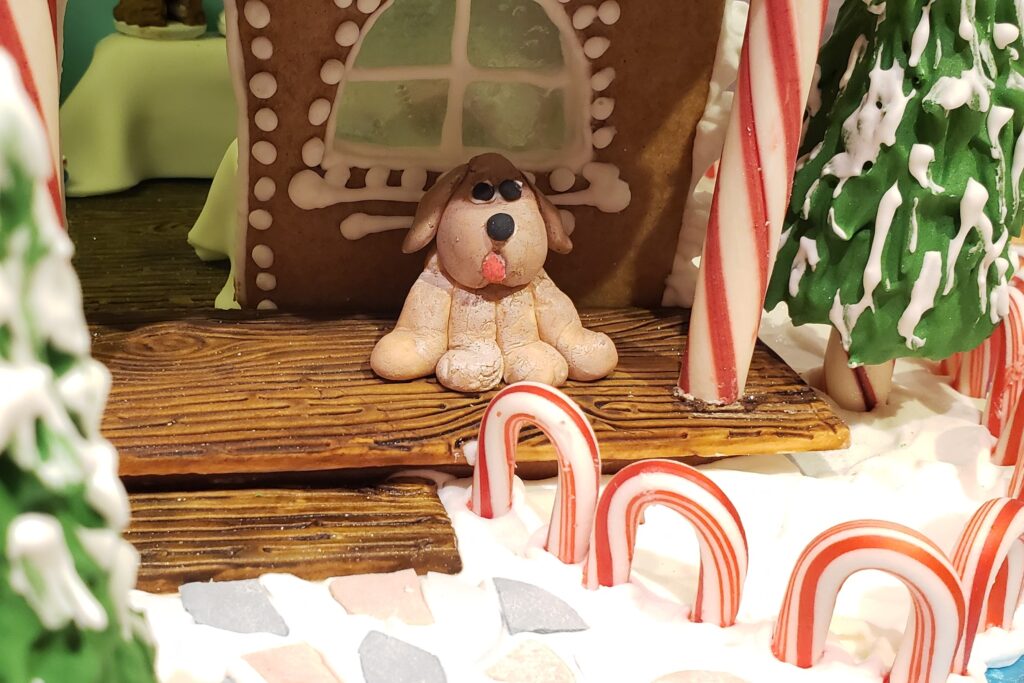
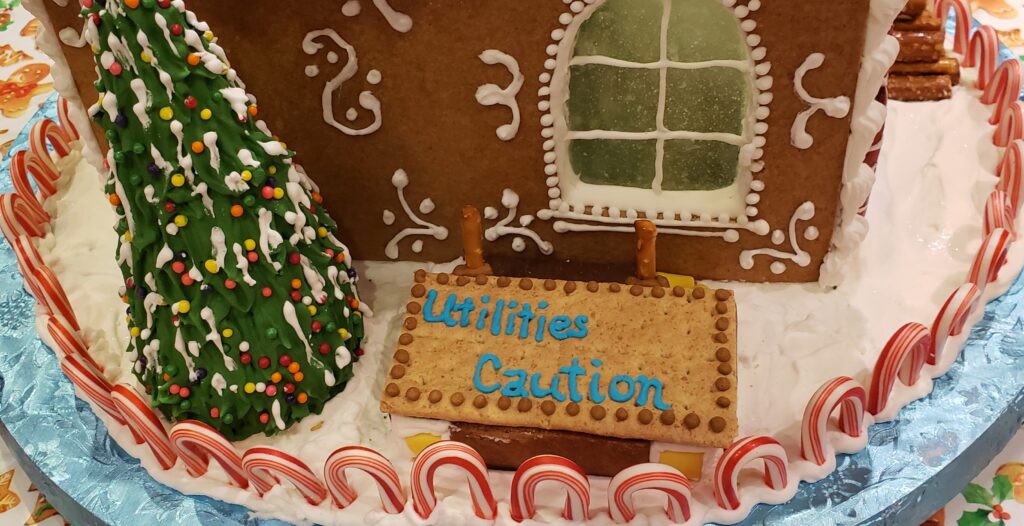
I hid the battery box from the lights under a graham cracker, which can easily be lifted up to turn the lights on and off.
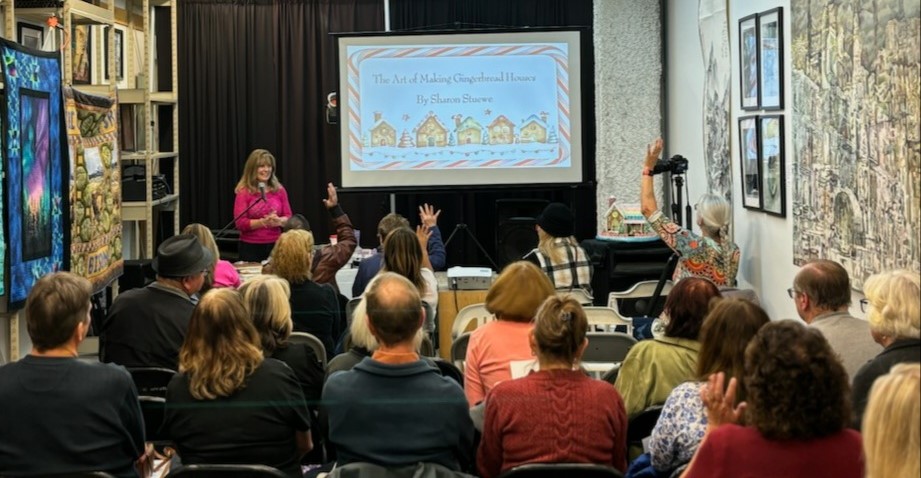
Now I’m ready for my presentation! I really enjoyed sharing my tips and tricks with the audience at the Chino Hills Downtown Art Gallery. Please see the video titled “The Art of Making Gingerbread Houses”
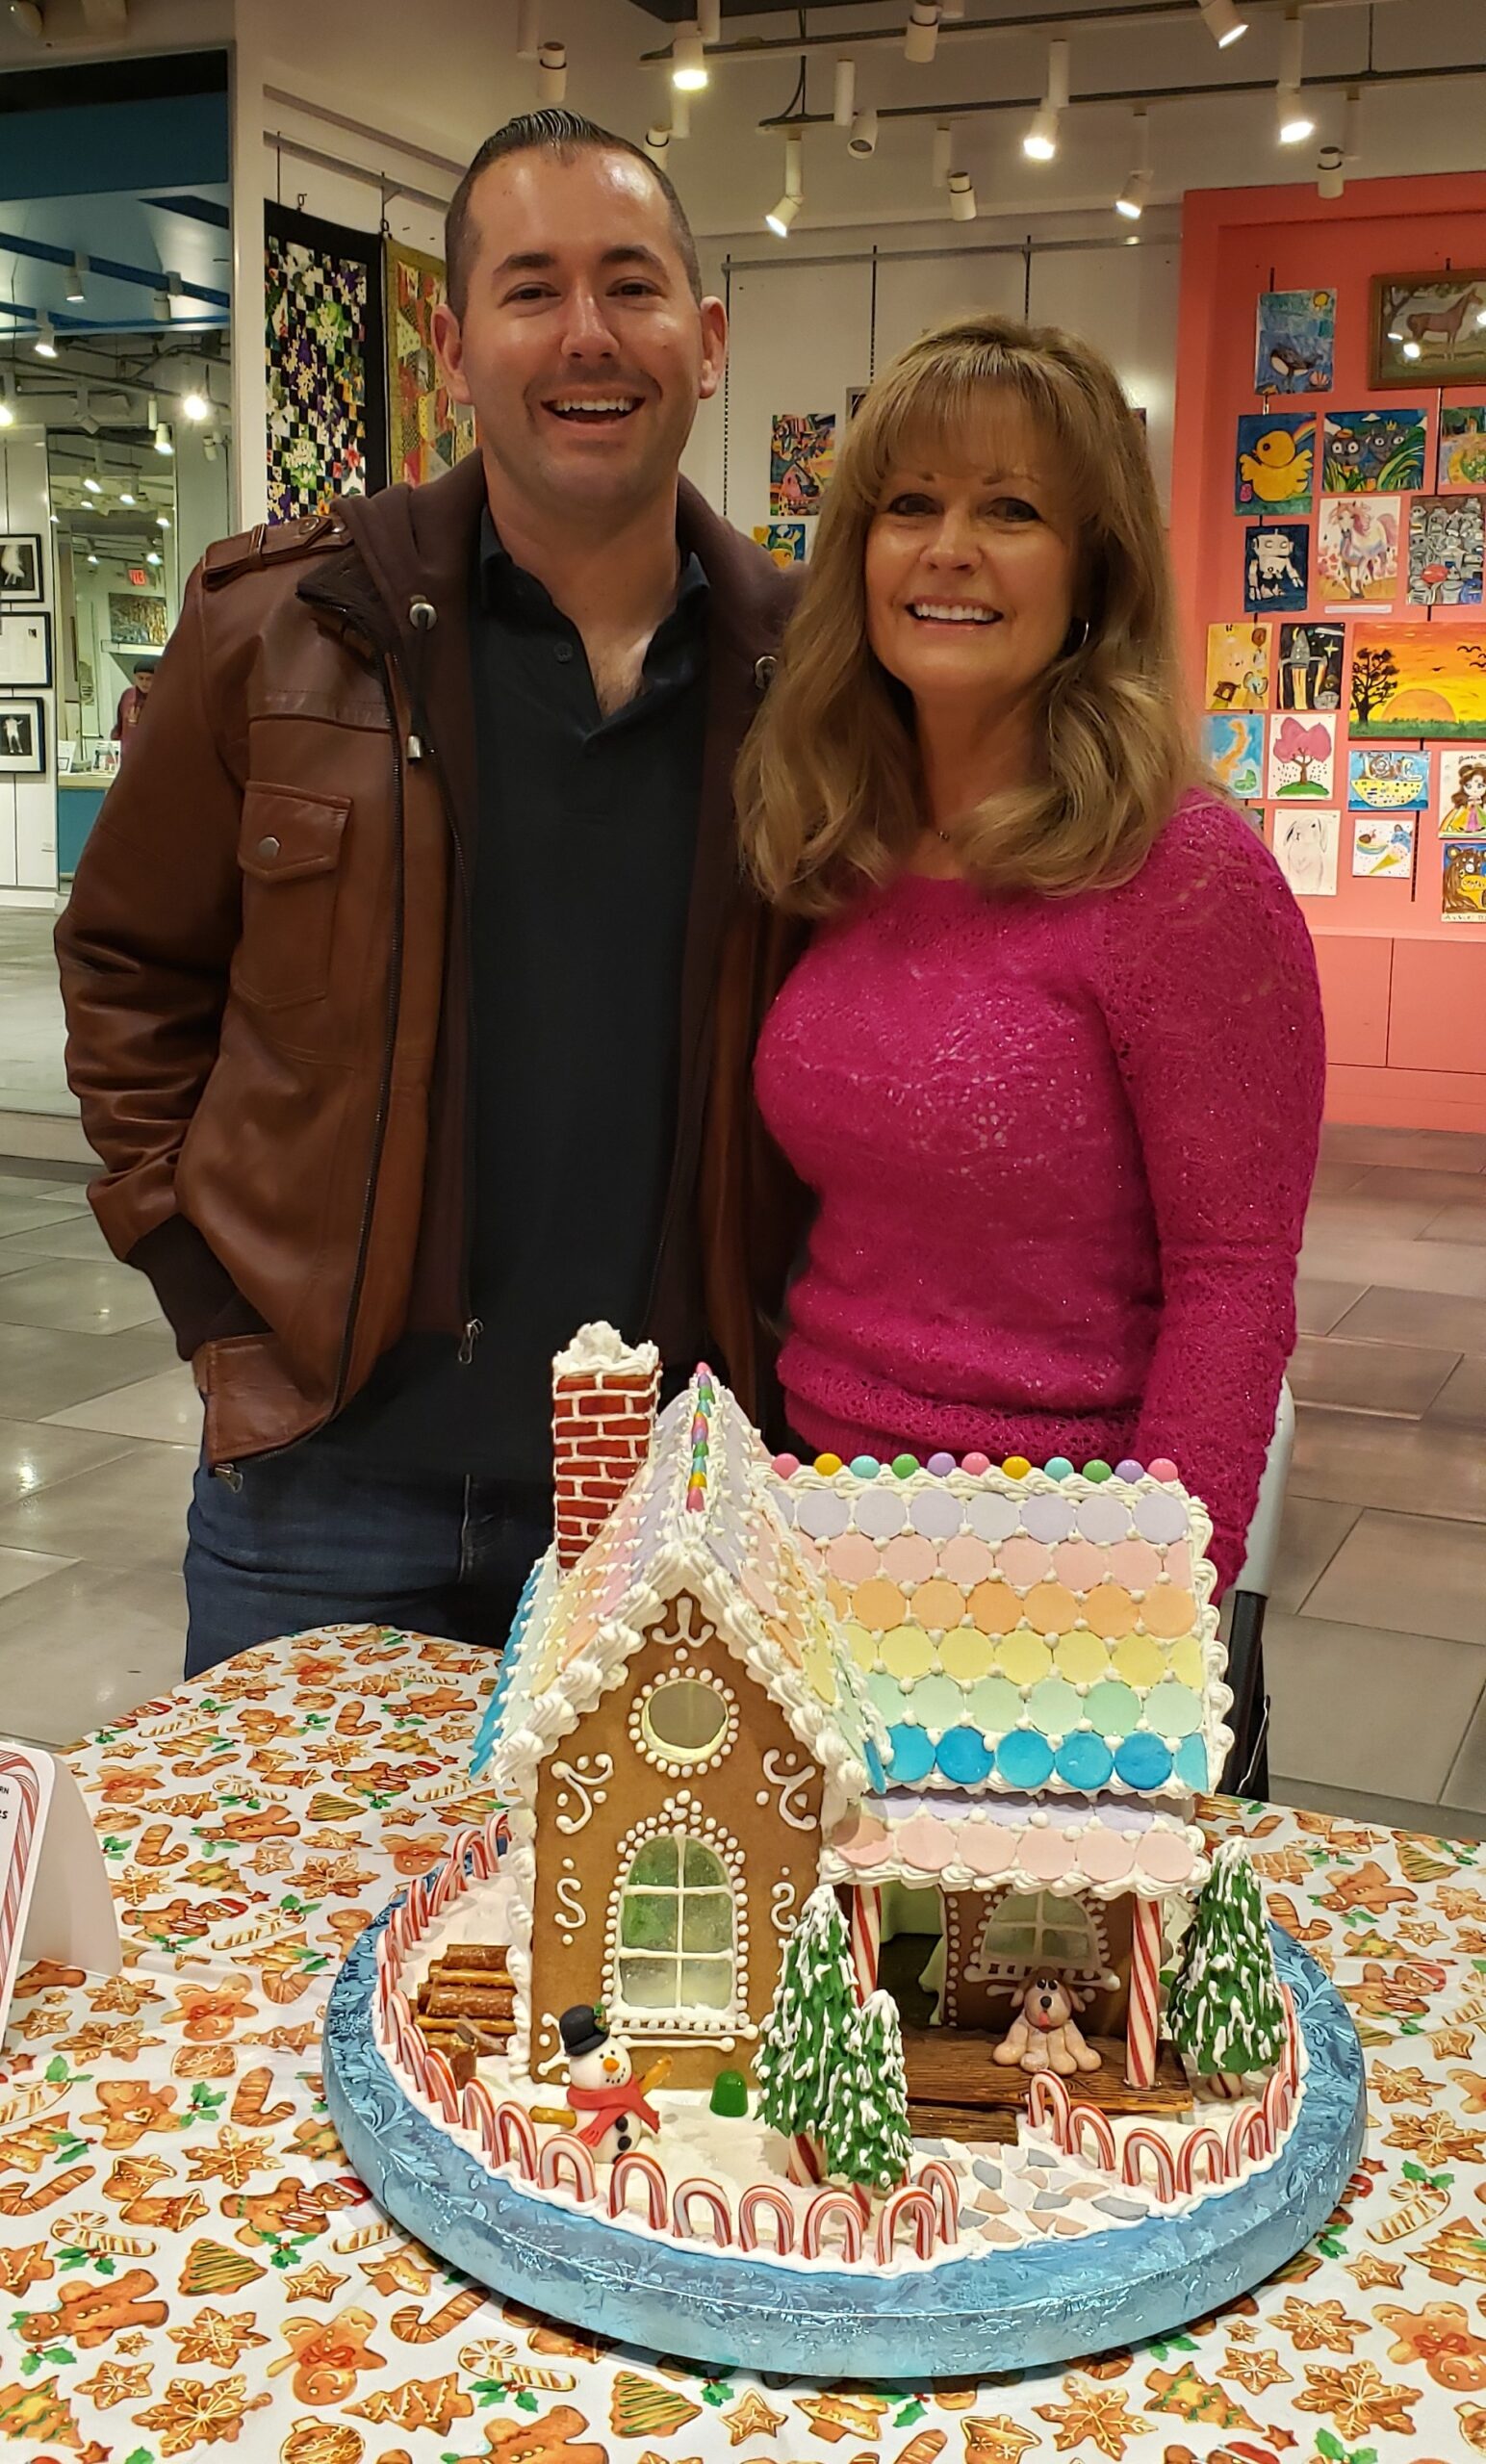
After the presentation, the Party House was auctioned off for $500! Thank you to Richard Ortiz for his generous donation to the Chino Hills Community Foundation!

My son, Garrison, attended the presentation. He’s been helping me make gingerbread houses since he was seven years old!
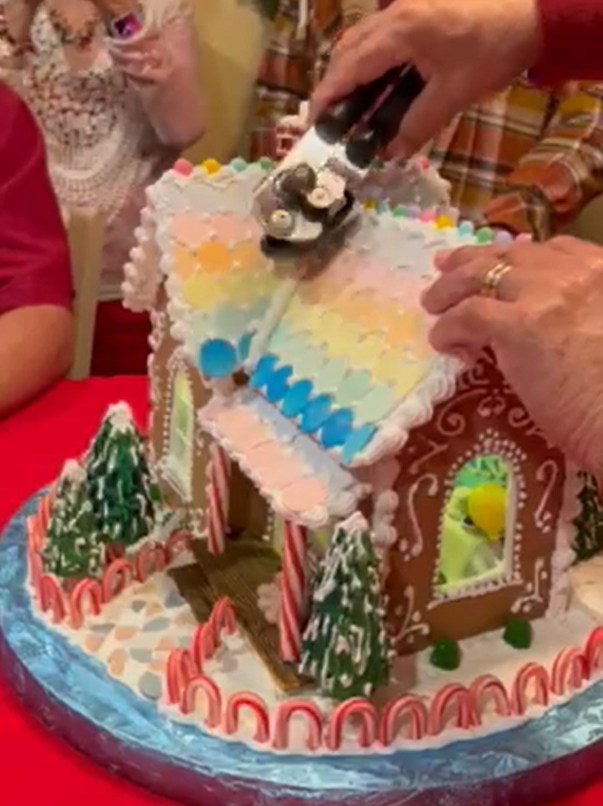
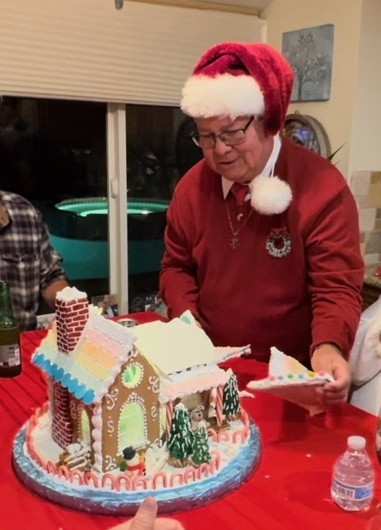
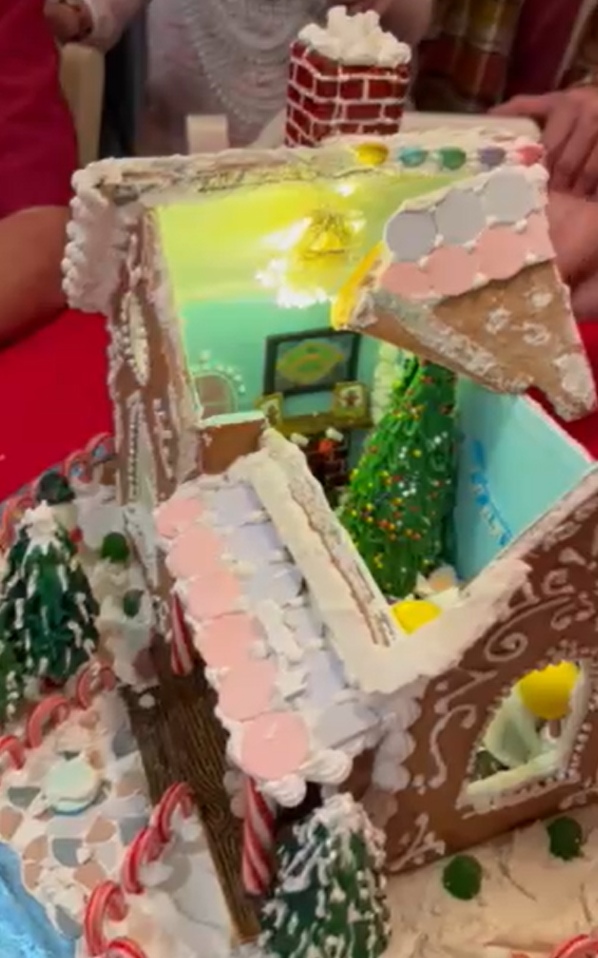
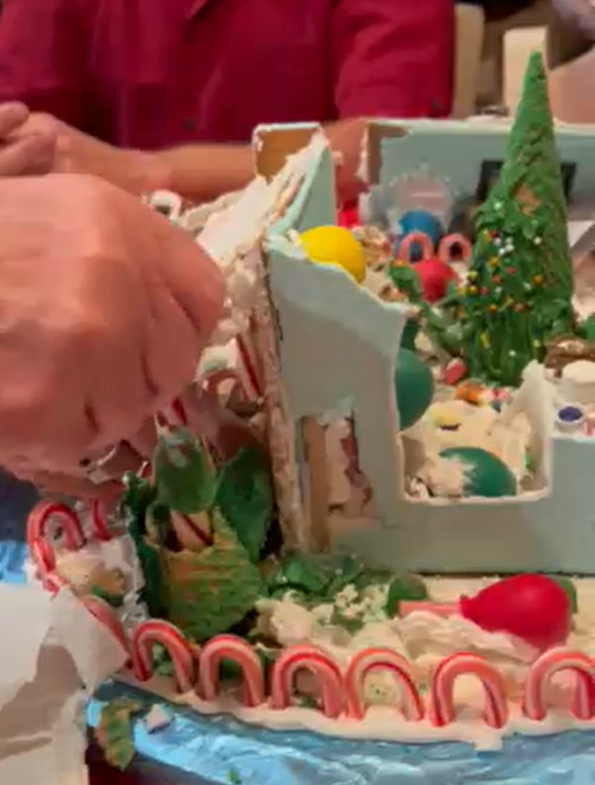
And the final chapter…the destruction! Richard and friends were kind enough to send me photos and videos of the destruction party, which took place on Christmas Eve. Remember, by now the gingerbread house is 8 weeks old, so I wasn’t sure how it might taste! Some of the candy was still okay, but the royal icing was getting a little dried out. It looked like they still had a good time in the destruction phase!
Some people use a hammer, some may choose to use a can opener to take the roof off!
It makes me happy to share the joy!